How to Make a Jewelry Box: A Personalized DIY Gift Guide
Learn how to make a jewelry box tailored for any occasion. This DIY gift guide covers wood selection, anti-tarnish linings, and custom layouts.

The Art of the Handcrafted Jewelry Box Gift
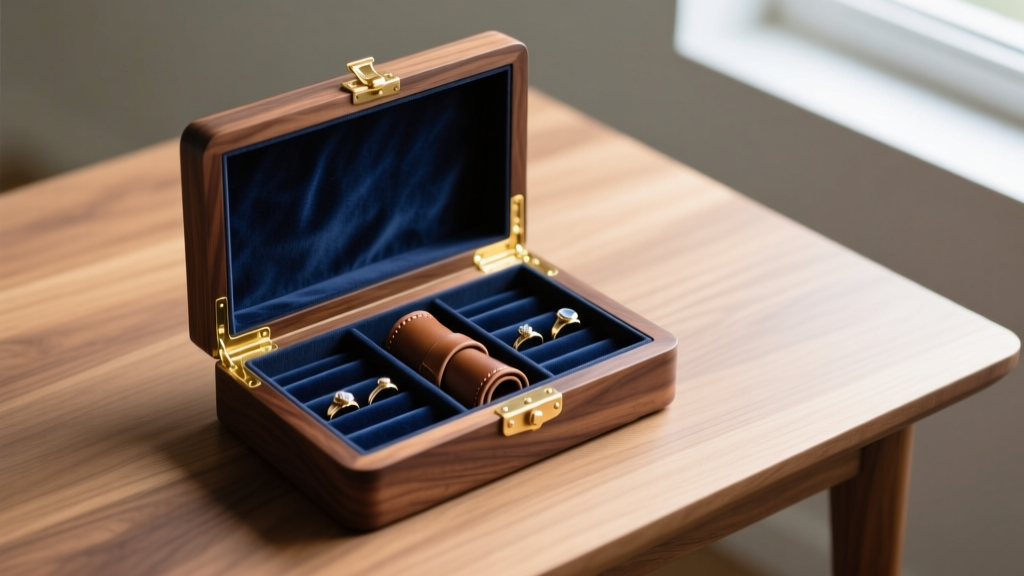
Gifting fine jewelry is a timeless gesture, but presenting it in a mass-produced cardboard or plastic box often undermines the sentiment of the occasion. Learning how to make a jewelry box from scratch transforms a simple gift into a multi-generational heirloom. A handcrafted box demonstrates profound thoughtfulness, allowing you to customize the dimensions, compartmentalization, and materials to perfectly suit the recipient's specific collection and the milestone you are celebrating.
Whether you are commemorating a silver anniversary, outfitting a bridal party, or celebrating a college graduate's entry into the professional world, the architecture of the box must match the occasion. This guide moves beyond generic woodworking plans, focusing on the intersection of material science, anti-tarnish preservation, and occasion-specific design frameworks.
Matching the Box Design to the Occasion & Recipient
The most common failure in DIY jewelry box making is designing a generic grid of squares that fails to accommodate actual jewelry dimensions. A ring roll requires different spacing than a watch cushion, and a statement necklace demands a deep drop-zone. Here is how to tailor your build to the specific gifting occasion.
The Anniversary Heirloom (Hardwoods & Velvet)
For major milestones like a 10th or 25th anniversary, the box should serve as a permanent vanity fixture. Black Walnut (Juglans nigra) or Cherry are ideal choices due to their rich, darkening patinas over time.
- Dimensions: 12" W x 10" D x 6" H.
- Interior Layout: Include a removable upper tray with 1.5" spaced ring rolls (accommodating wide bands and men's rings). The lower well must be at least 3.5" deep to allow heavy statement necklaces to drape without kinking the chains.
- Personalization: Inlay a contrasting wood spline, such as Purpleheart or Maple, into the miter joints to symbolize the blending of two lives.
The Bridal Party Keepsake (Lightwoods & Precision)
Bridal party gifts require a balance of elegance, uniformity, and personalization. Hard Maple or Ash provides a clean, light canvas that takes laser engraving exceptionally well without burning too darkly.
- Dimensions: 8" W x 6" D x 4" H.
- Interior Layout: Focus on daily wear. Include a dedicated watch cushion (minimum 2.5" circumference), a row of 1/8" drilled holes for earring posts, and a shallow divided section for stud earrings and delicate chains.
- Personalization: Laser-engrave the recipient's new monogram or wedding date on the interior lid panel.
The Graduate's Travel Companion (Durability & Compactness)
For a graduation gift, the recipient is likely moving or traveling. A heavy, fragile heirloom box is impractical. Instead, build a compact travel case using Bamboo plywood or a leather-wrapped hardwood frame.
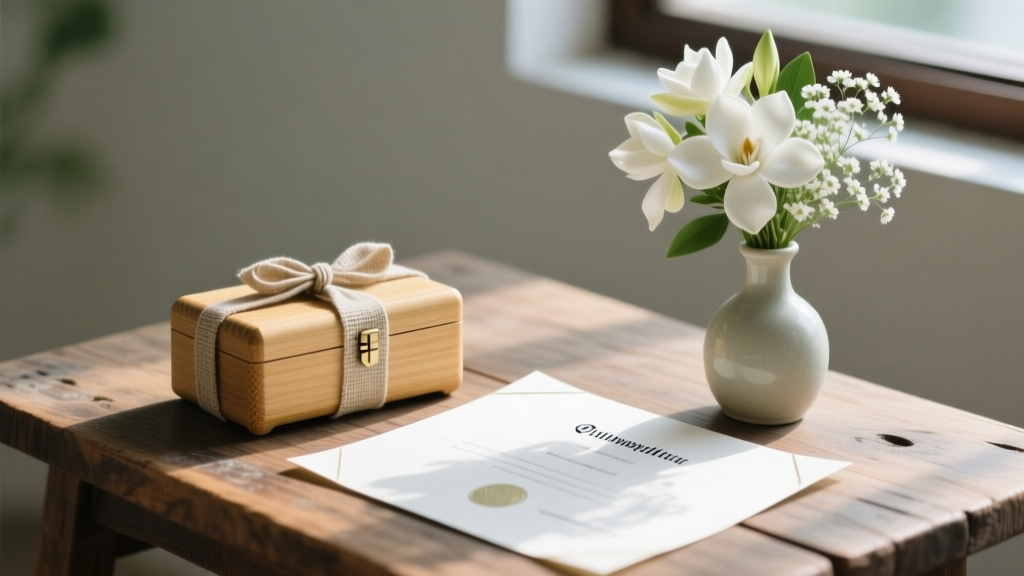
- Dimensions: 6" W x 4" D x 2.5" H.
- Interior Layout: Utilize a snap-button leather strap to secure the lid during transit. Include a zippered mesh pocket on the inside lid to prevent items from shifting in luggage, and a central padded divider for minimal, versatile storage.
Step-by-Step: Core Construction & Joinery
According to the experts at Fine Woodworking, the hallmark of a premium jewelry box is invisible or highly decorative joinery. Standard butt joints glued together will eventually fail due to seasonal wood movement and the stress of the lid's weight.
Milling and Spline Miters
- Dimensioning: Mill your chosen hardwood to exactly 3/8" thickness. This provides enough structural integrity for the box walls while keeping the overall weight manageable and the aesthetic delicate.
- Cutting Miters: Cut 45-degree miters on the table saw using a high-tooth-count crosscut blade (80-tooth or higher) to prevent tear-out on delicate hardwoods.
- Spline Reinforcement: After gluing the miters with wood glue, use a table saw jig to cut 1/8" deep slots across the corners. Glue in contrasting wood splines. This increases the long-grain glue surface area by over 300%, making the joint virtually indestructible.
- Sanding Protocol: Sand all interior panels to 320-grit before assembly. Once the box is glued, sanding the inside corners without rounding over the crisp edges is nearly impossible.
Critical Interiors: Anti-Tarnish Linings & Compartmentalization
The interior lining is not merely decorative; it is a chemical barrier. The Gemological Institute of America (GIA) notes that sterling silver tarnishes primarily due to exposure to hydrogen sulfide (H2S) in the air and moisture. Using the wrong lining material can actually accelerate the degradation of the jewelry you are gifting.
| Lining Material | Tarnish Resistance | Cost per Sq Ft | Best Application |
|---|---|---|---|
| Pacific Silvercloth | Excellent (Absorbs H2S gases) | $15 - $22 | Sterling Silver & Heirlooms |
| Acid-Free Archival Felt | Good (Neutral pH, no off-gassing) | $4 - $8 | Gold, Platinum & Gemstones |
| Standard Craft Velvet | Poor (Traps moisture, contains dyes) | $3 - $5 | Costume Jewelry Only |
| Untreated Wool Felt | Terrible (Naturally emits sulfur) | N/A | NEVER USE IN JEWELRY BOXES |
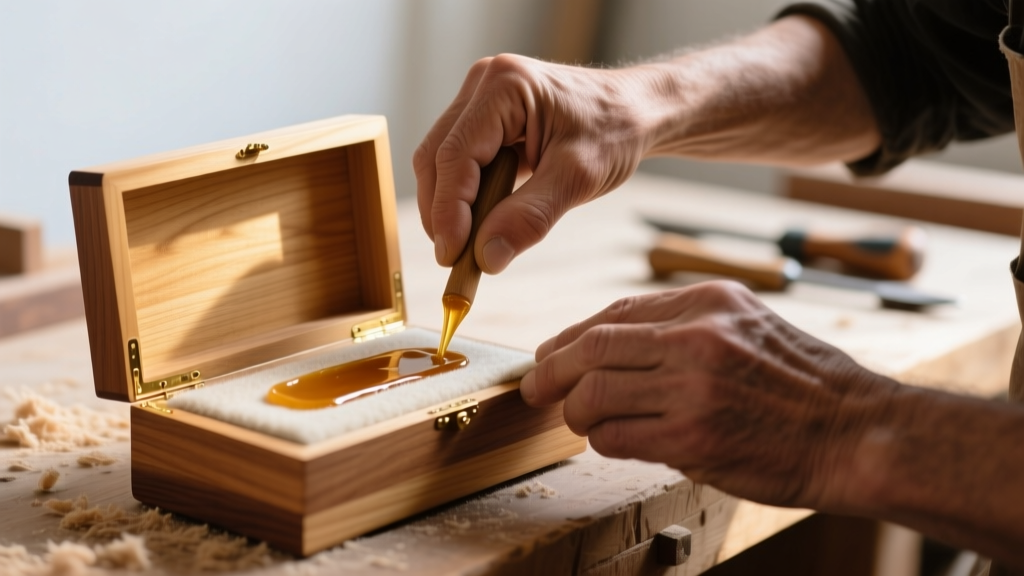
Application Tip: Never use standard spray adhesives or cyanoacrylate (Super Glue) to attach your lining. These adhesives off-gas volatile organic compounds (VOCs) that can cloud porous gemstones like opals, pearls, and turquoise. Instead, use a thin, even layer of traditional warm hide glue or a pH-neutral PVA glue, applied with a foam roller to prevent bleed-through.
Hardware and Hinges: Preventing Long-Term Failure
The fastest way to ruin a handcrafted gift is to outfit it with cheap, zinc-alloy hinges that strip their screws within a year. For a box meant to be passed down, you must use solid brass quadrant hinges or solid brass piano hinges.
Quadrant hinges are the gold standard for lidded boxes. They feature a built-in stop arm that holds the lid open at exactly 95 degrees, preventing the lid from snapping backward and splitting the rear wood panel. Installing them requires precision mortising:
- Use a router plane or a sharp chisel to cut the hinge mortises to the exact depth of the brass leaf.
- Pre-drill all screw holes using a Vix bit (self-centering hinge bit) to ensure the screws seat perfectly straight. A single misaligned screw will bind the hinge and warp the wood over time.
- Wax the brass screws with beeswax before driving them into the hardwood to prevent the brass heads from shearing off under torque.
Final Finishing and Gift Presentation
Avoid polyurethane or lacquer finishes for jewelry boxes. These film-building finishes can feel plasticky and are prone to chipping on sharp corners. Furthermore, if the jewelry box will be stored in a humid environment, trapped moisture can cause the finish to bloom white.
Instead, use a penetrating hardwax oil like Rubio Monocoat or a hand-rubbed Tung Oil varnish. These finishes enhance the chatoyancy (the 3D depth of the wood grain) while leaving a natural, tactile feel. Apply three coats, buffing with 0000 steel wool between coats for a glass-smooth sheen.
The Presentation Rule: When gifting a handmade jewelry box, never place the jewelry directly inside the box wrapped in plastic. The trapped humidity will cause immediate tarnishing. Instead, place the jewelry in a breathable, acid-free cotton pouch inside the box, and include a small, discreet silica gel desiccant packet hidden beneath the lining tray to control ambient moisture during storage.
Learning how to make a jewelry box is an investment of time, precision, and care. By matching the wood species to the occasion, engineering the joinery for longevity, and selecting chemically safe linings, you are not just building a wooden container—you are crafting a dedicated sanctuary for the recipient's most cherished memories.


