Expert Guide to Painting a Jewelry Armoire Beautifully
Learn what to look for when buying and painting a jewelry armoire. Discover the best primers, paints, and step-by-step techniques for a flawless finish.

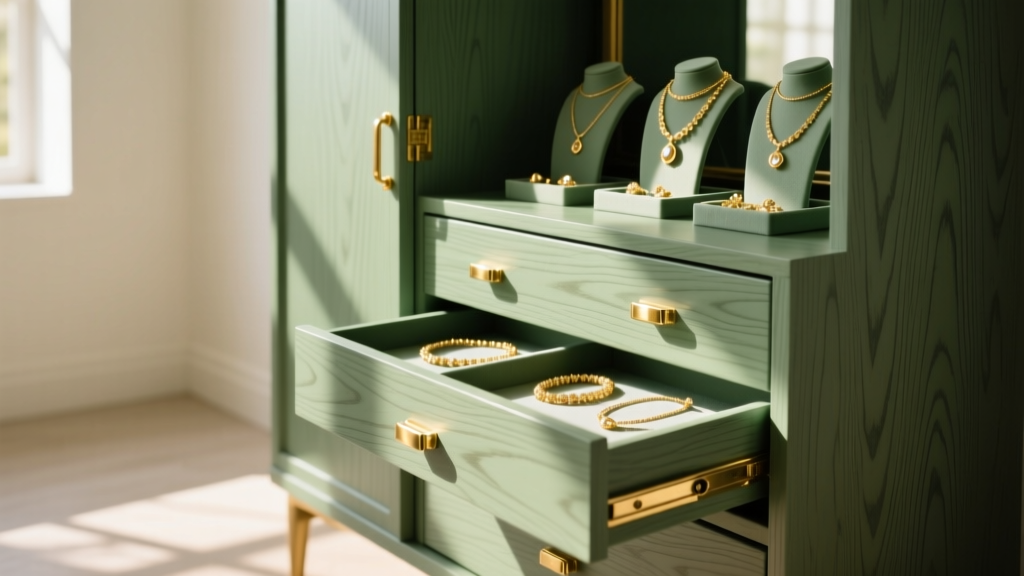
In the current landscape of 2026 interior design, bespoke and upcycled furniture has moved from a niche hobby to a mainstream necessity. Mass-produced storage often lacks the character or exact color palette required for a curated bedroom. This is where the art of painting a jewelry armoire becomes an invaluable skill. Whether you are rescuing a dated oak piece from an estate sale or customizing a flat-pack MDF unit, a factory-smooth paint job requires more than just a can of leftover wall paint. This comprehensive buying and finishing guide will walk you through exactly what to look for when sourcing an armoire, the chemistry of modern furniture paints, and the professional techniques required to achieve a flawless, durable finish that protects your precious metals and gemstones.
Sourcing the Perfect Canvas: What to Look For
Before you even pick up a sanding block, you need to evaluate the armoire you intend to paint. Not all substrates accept paint equally, and understanding the material composition will dictate your prep work and primer selection.
Solid Wood vs. MDF vs. Laminate
Solid Wood (Oak, Mahogany, Pine): Solid wood is the gold standard for longevity. However, open-grain woods like oak require a grain filler if you want a glass-smooth, modern finish. Mahogany and cherry are prone to 'tannin bleed,' where natural wood resins seep through water-based primers, creating ugly pink or yellow stains.
MDF (Medium-Density Fiberboard): MDF provides an incredibly smooth, grain-free surface that is ideal for painting. The primary danger with MDF is moisture; using a water-based primer can cause the edges to swell and fuzz. Always use a solvent-based or shellac-based primer on MDF.
Laminate and Veneer: Many budget-friendly armoires feature a plastic laminate or paper-foil veneer. According to Family Handyman experts, laminate requires aggressive scuff-sanding and a specialized bonding primer to ensure the paint does not peel off in sheets when you open the drawers.
Hardware and Joinery Inspection
When buying a vintage armoire to upcycle, inspect the drawer joinery. Dovetail joints indicate high quality and will withstand the moisture introduced during the cleaning and painting process. Stapled or glued butt joints may loosen. Additionally, ensure all drawer pulls, hinges, and internal hooks can be easily removed with a standard screwdriver. Painting over hardware is a hallmark of amateur DIY work and will ruin the functionality of delicate jewelry clasps.
The Professional Material Arsenal
Achieving a professional-grade finish requires specific chemical formulations. Standard latex wall paint remains tacky (a phenomenon known as 'blocking') and will cause necklaces to stick to the drawers. Instead, you need advanced alkyd enamels and specialized sealers.
| Material Category | Recommended Product Type | Purpose & Expert Notes |
|---|---|---|
| Cleaner | TSP Substitute (e.g., Krud Kutter) | Deglosses the surface and removes furniture polish, oils, and grime without the harsh environmental impact of traditional TSP. |
| Abrasives | 120-grit and 220-grit Aluminum Oxide | 120-grit for initial scuff-sanding; 220-grit for smoothing primer between coats. |
| Primer | Shellac-Based (e.g., Zinsser B-I-N) | Blocks tannin bleed, adheres to laminate, and seals in odors. Dries in 45 minutes. |
| Paint | Waterborne Alkyd Enamel | Levels like an oil-based paint but cleans up with soap and water. Cures to a hard, furniture-grade shell. |
| Topcoat | Water-Based Polycrylic | Protects the paint from chipping and prevents anti-tarnish drawer liners from sticking to the paint. |
Preparation: The Make-or-Break Phase
The secret to a flawless finish lies entirely in the preparation. Skipping steps here will result in a textured, peeling armoire that could potentially damage your jewelry through friction or chemical off-gassing.
Deep Cleaning and Scuff Sanding
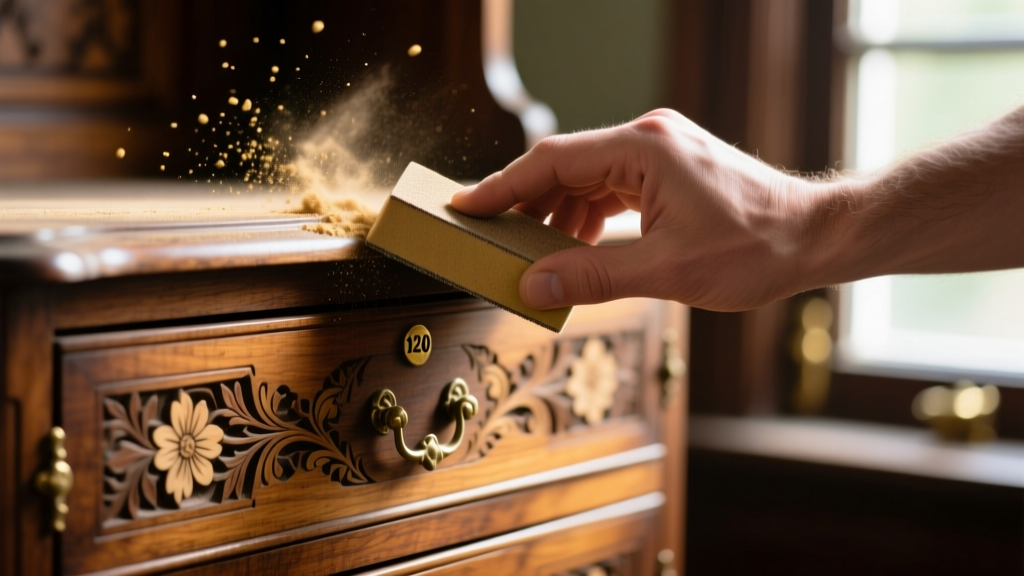
Begin by removing every piece of hardware, including internal ring rolls and necklace hooks. Label every drawer and its corresponding cavity using painter's tape, as drawers are rarely perfectly interchangeable. Clean the entire piece with a TSP substitute to remove years of furniture polish and hand oils. Once dry, perform a 'scuff sand' using 120-grit sandpaper. You are not trying to strip the piece down to bare wood; you are merely scratching the existing finish to create microscopic grooves for the primer to grip. As noted in Bob Vila's furniture painting guidelines, failing to scuff-sand is the number one reason DIY paint jobs fail within the first year.
Priming for Adhesion and Stain Blocking
Apply a single coat of shellac-based primer. Shellac is the ultimate problem-solver. It adheres to virtually any surface, including glass and laminate, and completely seals in wood tannins and water stains. Because shellac dries incredibly fast, work in small sections and use a high-quality synthetic bristle brush for the details and a 4-inch high-density foam roller for the flat drawer fronts.
Mastering the Alkyd Enamel Application
For the topcoat, waterborne alkyd enamel is the undisputed champion of furniture painting. Unlike traditional latex, alkyd resins 'level out' as they dry, meaning brush strokes and roller stipple melt away, leaving a factory-smooth surface. Sherwin-Williams and Benjamin Moore both offer exceptional alkyd lines that are low-VOC, making them safe for indoor bedroom environments.
The 'Tipping Off' Technique
To achieve a glass-like finish on the large, flat surfaces of the armoire doors and drawer fronts, use the 'tipping off' method. First, apply the paint using a foam roller to get an even, wet layer. Immediately afterward, take a dry, high-quality angled sash brush and lightly drag it from one end of the drawer to the other in a single, unbroken stroke. Do not apply pressure; let the weight of the brush do the work. This pops any air bubbles left by the roller and aligns the paint molecules for a streak-free finish.
Sealing, Curing, and Interior Protection
Patience is the final, and most difficult, step in painting a jewelry armoire. While alkyd enamel may feel dry to the touch in four hours, it takes up to 30 days to fully 'cure' and reach its maximum hardness. If you load heavy jewelry or install tight-fitting drawer organizers before the paint has cured, the finish will dent and stick.
Topcoating and Drawer Flocking
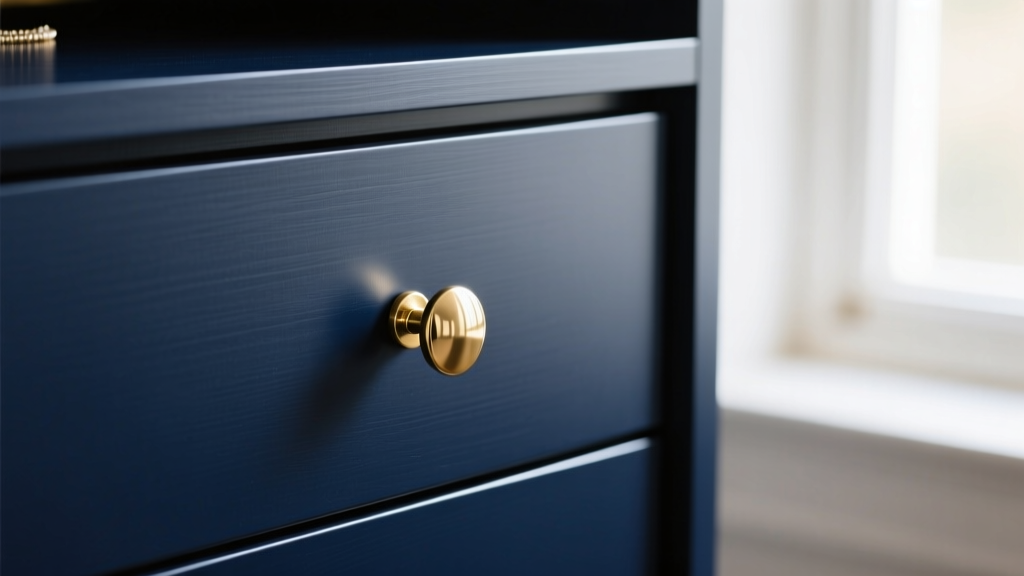
Once the paint has cured for at least a week, apply two thin coats of water-based polycrylic. Avoid oil-based polyurethane, which will amber over time and ruin crisp whites or cool grays. The polycrylic creates a sacrificial barrier against scratches from sharp brooch pins and heavy metal belt buckles.
Finally, address the interior. Raw painted wood can sometimes off-gas trace acids that accelerate silver tarnishing. Line the bottom of every drawer and the inside of the doors with an anti-tarnish silver cloth or adhesive-backed velvet flocking. This not only elevates the luxury feel of your bespoke armoire but also provides a chemically neutral, cushioned environment that ensures your fine jewelry remains pristine and organized for decades to come.


