Picture Frame Jewelry Box: Troubleshooting & Fixes
Solve common picture frame jewelry box issues like tarnishing, sagging frames, and tangled necklaces with our expert troubleshooting guide and hardware fixes.

The Anatomy of a Failing Display
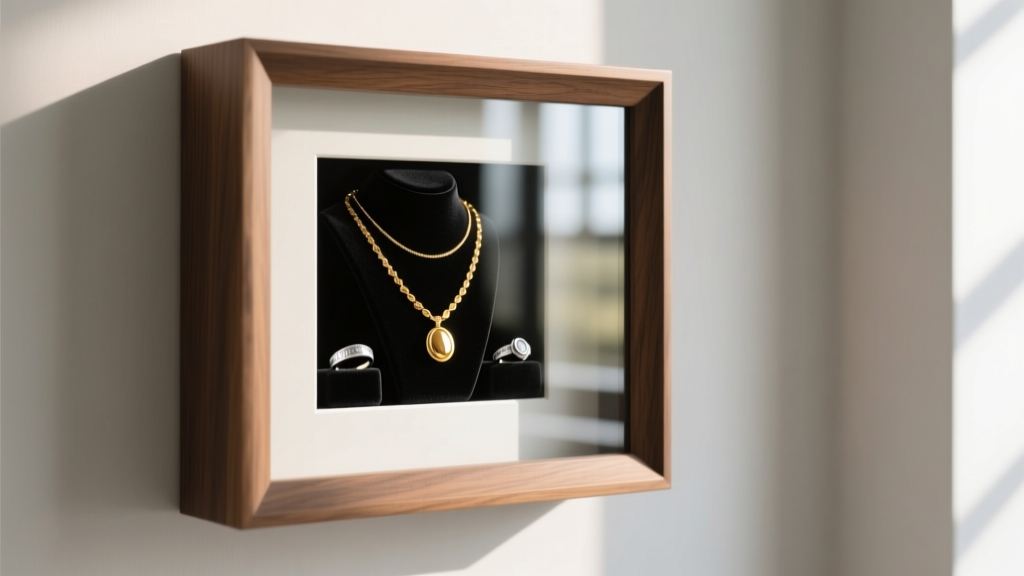
Picture frame jewelry boxes offer a stunning, gallery-like way to display your collection, but their unique architectural design introduces specific structural and environmental vulnerabilities. Unlike traditional enclosed velvet boxes, these displays expose your pieces to fluctuating ambient conditions while bearing significant dynamic weight on wall mounts or easels. When a picture frame jewelry box begins to fail, it rarely happens all at once. Instead, you will notice subtle signs: silver chains developing a yellowish hue, the frame bowing slightly in the center, or necklaces slipping off standard wooden pegs. Troubleshooting these issues requires an understanding of material science, load distribution, and conservation-grade storage techniques. In this comprehensive guide, we will diagnose the most frequent failures associated with picture frame jewelry organizers and provide exact, actionable solutions to restore both their functionality and their protective qualities.
Troubleshooting Tarnish and Moisture Traps
The most common complaint among picture frame jewelry box owners is rapid tarnishing, particularly for sterling silver and copper alloys. This occurs because standard display frames are not hermetically sealed. The gap between the glass or acrylic front and the frame backing allows ambient humidity and sulfur-containing airborne pollutants to circulate freely. Furthermore, standard soda-lime glass offers zero ultraviolet (UV) protection, meaning direct sunlight can accelerate the degradation of certain gemstones and fade interior velvet linings.
Upgrading Your Glazing and Sealing
If your jewelry is tarnishing within weeks of placement, your first troubleshooting step is to evaluate the glazing material. Upgrading to a UV-filtering acrylic, such as OP3 grade, or investing in Tru Vue Museum Glass, will block 99% of harmful UV rays while reducing glare. However, glazing alone does not stop airborne sulfur. To create a microclimate within the frame, you must integrate anti-tarnish technology without ruining the visual aesthetic.
- Pacific Silvercloth Integration: Cut strips of Pacific Silvercloth and discreetly line the inner edges of the frame backing. The embedded silver particles act as a sacrificial layer, absorbing sulfur before it reaches your jewelry.
- Silica Gel Cassettes: Avoid loose silica packets that look messy. Instead, use adhesive-backed museum-grade silica gel cassettes (like those from Conserv Equipment) mounted to the bottom interior rail of the frame to maintain a stable 40-50% relative humidity.
- Weatherstripping the Seal: Apply a thin, 1/16-inch foam weatherstripping tape around the inner lip of the frame where the backing board sits. This compresses when the backing is secured, drastically reducing the air exchange rate inside the display.
According to conservation guidelines from the Smithsonian Museum Conservation Institute, controlling the microclimate and limiting light exposure are the most critical factors in preventing the oxidation of sensitive metals and organic gemstones like pearls and amber.
Fixing Structural Sag and Hardware Failures
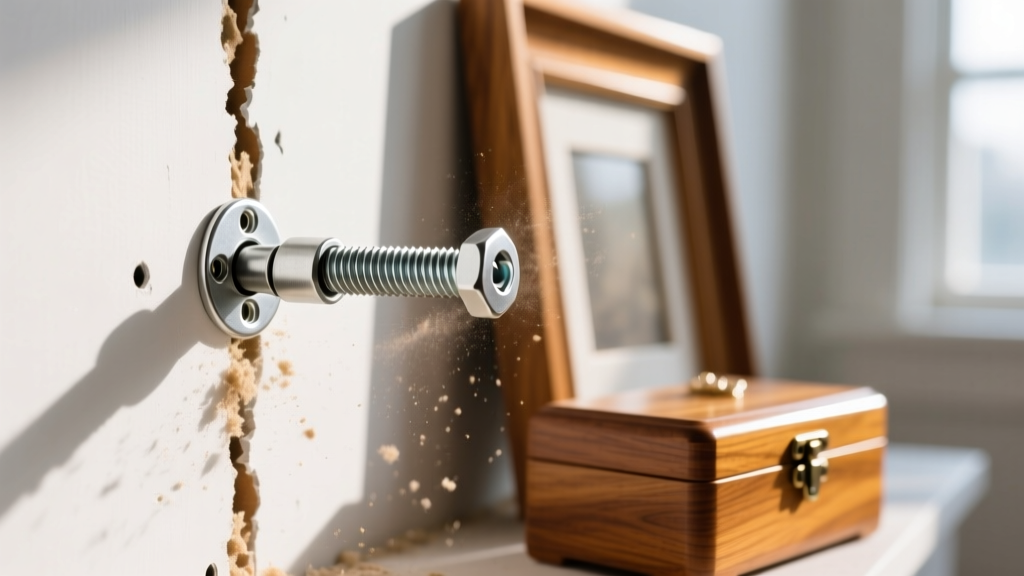
A fully loaded picture frame jewelry box can easily weigh between 15 and 30 pounds, depending on the frame material (MDF, solid oak, or aluminum) and the density of the jewelry stored. When mounted on a wall, the dynamic load increases every time you open and close the hinged front panel. Standard plastic expansion anchors are entirely insufficient for this type of dynamic shear and pull-out force, leading to sagging frames or catastrophic wall failures.
Diagnosing Frame Bowing
If your frame is made of Medium-Density Fiberboard (MDF) and you notice the top and bottom rails bowing outward, the material is failing under the tensile stress of the hanging wire or the compression of the wall mount. MDF is highly susceptible to creep over time. The permanent fix is to install a rigid aluminum flat bar (1/8-inch thick, 1-inch wide) across the interior top and bottom rails, secured with wood screws. This creates a structural exoskeleton that prevents further warping.
Selecting the Correct Wall Anchors
Never rely on the plastic anchors included in the manufacturer's hardware kit. Use the following matrix to determine the correct mounting hardware for your specific wall type and frame weight:
| Anchor Type | Weight Capacity (1/2 in. Drywall) | Best Application | Installation Note |
|---|---|---|---|
| Plastic Expansion | 10-15 lbs (Static only) | Small, empty acrylic frames | Fails under dynamic opening/closing loads |
| Threaded Drywall Anchors | 20-30 lbs | Medium MDF frames on interior walls | Requires pre-drilling to prevent drywall crumbling |
| Molly Bolts | 30-50 lbs | Heavy wood frames with moderate jewelry | Expands behind drywall; requires precise drill bit sizing |
| Toggle Bolts (Snaptoggles) | 50-100+ lbs | Large oak/metal frames fully loaded | Superior pull-out strength; allows for screw removal and reinsertion |
For frames that utilize a piano hinge along the side, ensure the hinge screws are anchored into the solid wood stile of the frame, not just the thin veneer or MDF edge, which will strip out rapidly under the leverage of the glass panel.
Solving the Necklace Tangling and Peg Slip Problem
Most mass-produced picture frame jewelry boxes utilize straight, smooth wooden dowels or basic metal nails as hanging pegs. Because the frame sits vertically, gravity pulls necklaces downward, causing chains to slip off the ends of straight pegs or slide into one another, resulting in severe tangling. Troubleshooting this requires modifying the hanging geometry and increasing surface friction.
Upgrading Hanging Hardware
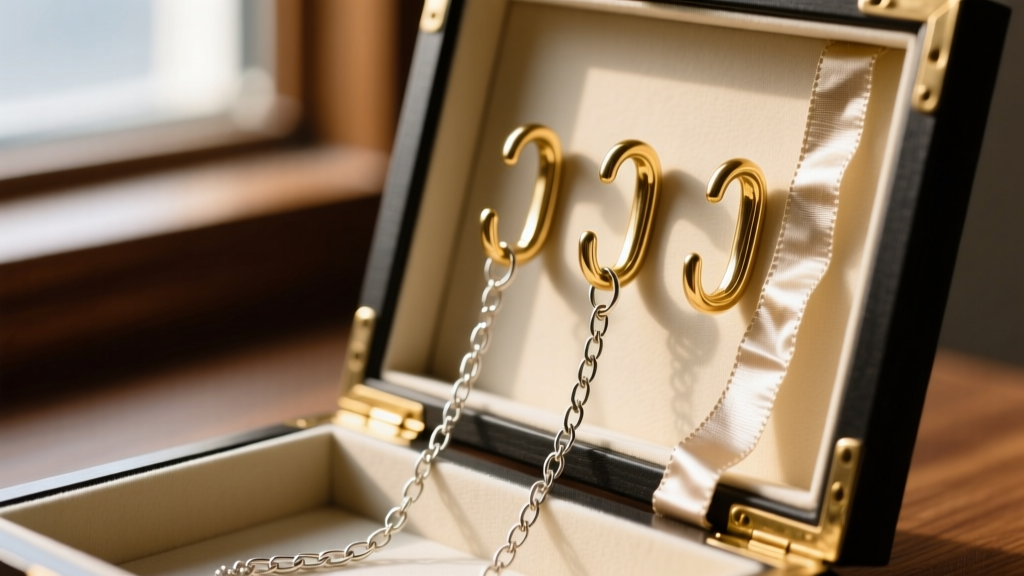
Replace straight wooden dowels with angled brass cup hooks or specialized jewelry display pegs that feature an upward 15-degree return lip. The upward angle counteracts gravity, ensuring that even heavy statement necklaces remain securely seated. If you prefer to keep the existing wooden pegs for aesthetic reasons, wrap the base and shaft of each peg in self-adhesive anti-tarnish felt tape. This not only increases the coefficient of friction to prevent slipping but also protects delicate chain links from micro-abrasions against bare wood.
Strategic Spacing and Tiering
Tangling often occurs because necklaces are hung too closely together. The American Gem Society recommends storing chains fully unclasped and laid flat when possible, but for vertical displays, maintain a minimum lateral clearance of 2.5 inches between heavy pendants. For choker-length chains (14-16 inches), utilize the upper third of the frame, reserving the lower two-thirds for longer opera and lariat styles (24-34 inches) to prevent the pendants from overlapping.
Restoring Peeling Backing and Interior Liners
The interior backing board of a picture frame jewelry box is typically covered in velvet, suede, or felt. Over time, especially in environments with high humidity or temperature fluctuations, this fabric begins to peel away from the edges or bubble in the center. This failure is almost always due to the use of low-grade, water-based PVA adhesives by manufacturers, which become brittle and lose their tack over time, or due to plasticizer migration from synthetic velvets breaking down the glue bond.
Proper Adhesive Selection and Application
Do not attempt to fix peeling velvet with super glue, hot glue, or standard white craft glue. Cyanoacrylate (super glue) will bleed through the fabric and create hard, discolored spots, while hot glue creates uneven lumps that show through the fabric. To properly re-adhere the liner, you must use a professional-grade spray adhesive or contact cement.
- Preparation: Carefully peel back the loose fabric. Use a soft brush to remove any dried, flaking adhesive from both the MDF backing board and the underside of the fabric.
- Adhesive Application: Apply a light, even coat of 3M Super 77 Multipurpose Spray Adhesive to both the board and the fabric. Allow it to become tacky for 3 to 5 minutes (consult the manufacturer's open-time specifications).
- Smoothing: Starting from the center and working outward to the edges, use a clean, lint-free cotton cloth wrapped around a wooden block to smooth the fabric down. This prevents stretching and eliminates air bubbles.
- Mechanical Fastening: For a permanent, fail-safe repair, use a heavy-duty upholstery stapler to secure the fabric edges to the back of the wooden frame, then cover the staples with a dust cover backing paper or ribbon.
Summary Checklist for Long-Term Maintenance
A picture frame jewelry box is a functional piece of art that requires periodic maintenance to ensure it continues to protect your valuable collection. By addressing environmental seals, structural load limits, and hanging geometry, you can transform a failing display into a secure, museum-quality showcase. Perform a bi-annual inspection of your wall anchors, replace anti-tarnish strips every six months, and always ensure your glazing is free of micro-scratches that can harbor moisture. With these targeted troubleshooting techniques, your display will remain both structurally sound and aesthetically flawless for decades.


