Repairing a Vintage Jewelry Box Mele & Co. Heirloom: 5 Fixes
Expert troubleshooting for your vintage jewelry box Mele & Co. heirloom. Learn how to fix stuck drawers, musical movements, and peeling linings.

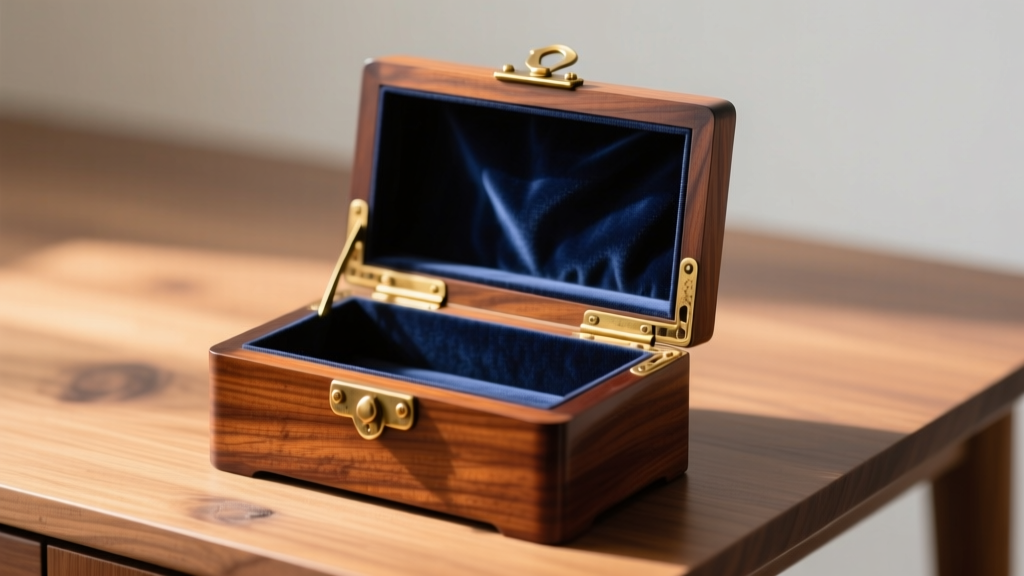
Owning a vintage jewelry box Mele & Co. crafted decades ago is like holding a piece of functional art. Founded in the mid-20th century, Mele & Co. became synonymous with heirloom-quality wooden valets, musical jewelry armoires, and intricately inlaid mahogany or burl walnut chests. However, as we navigate the shifting indoor climate standards of 2026, these vintage wooden vessels face unique environmental stressors. Wood swells, Swiss musical movements seize, and original velvet linings degrade into acidic dust. If you have inherited or thrifted one of these masterpieces, you likely need to troubleshoot decades of wear. This comprehensive restoration guide dives deep into the exact materials, horological lubricants, and woodworking techniques required to bring your vintage Mele jewelry box back to its original glory.
The Anatomy of a Mid-Century Mele Masterpiece
Before applying any solvents or sandpaper, you must understand the construction of your specific piece. Authentic vintage Mele boxes typically feature a core of plywood or secondary wood (like poplar or basswood) veneered with premium hardwoods such as Honduran mahogany, burled walnut, or rosewood. The hardware is usually solid brass or heavy brass-plating, and the interiors are lined with rayon velvet, suede, or leatherette. According to the Conservation Wiki on Wood Artifacts, the most common failure points in mid-century wooden storage are the hide glues used in dovetail joints and the petrochemical breakdown of synthetic linings. Identifying your box's specific material grade is the first step in preventing catastrophic devaluation during the repair process.
Troubleshooting Sticky or Jammed Drawers
As indoor humidity fluctuates, the solid wood drawer fronts and secondary wood rails absorb moisture, causing them to swell and bind against the carcase. Never force a stuck drawer, as the delicate veneer on the drawer face can easily delaminate.
Step 1: Identify the Friction Point
Remove the drawer and rub a piece of white chalk along the bottom edges and side rails. Insert the drawer and gently wiggle it. Remove it again; the areas where the chalk is rubbed away indicate the exact friction points.
Step 2: Lubrication vs. Material Removal
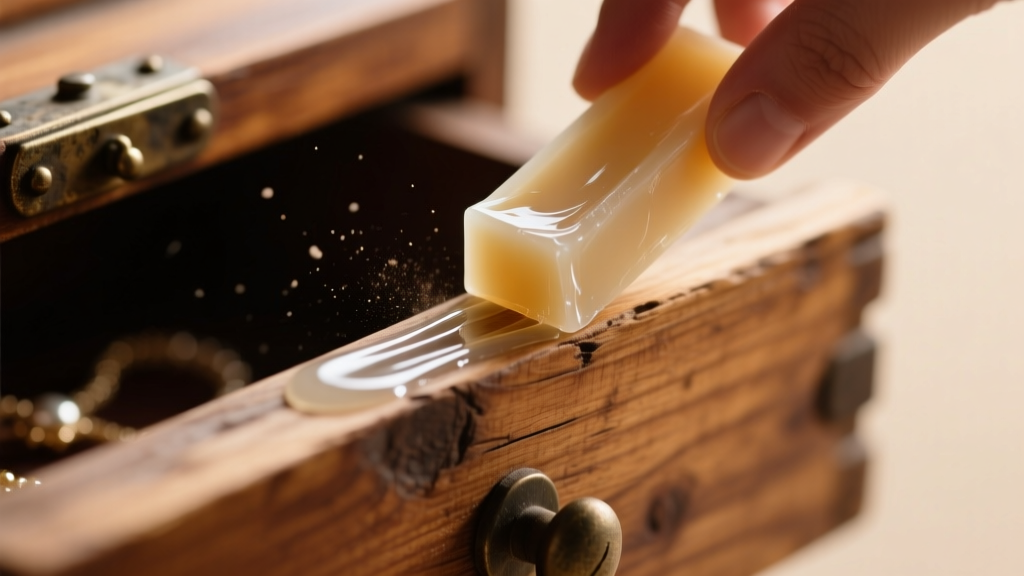
For minor swelling, apply a coat of pure paraffin wax or a specialized dry PTFE lubricant to the rails. Avoid liquid silicone sprays, which can seep into the raw wood and cause finishing issues later. If wax fails, use 220-grit aluminum oxide sandpaper to gently reduce the *rails* of the drawer. As noted by Fine Woodworking, you should only sand the secondary wood rails, never the visible drawer face or the interior carcase, to maintain the structural geometry of the chest.
Rescuing the Swiss Musical Movement
Many vintage Mele boxes feature a wind-up musical movement, often manufactured by legendary Swiss firms like Reuge or Thorens. When the lid is lifted, a brass stop-lever releases the governor, and the cylinder plays a melody. Over time, the original lithium or animal-based greases oxidize into a hard, gummy resin, seizing the mainspring.
The Naphtha Flush Technique
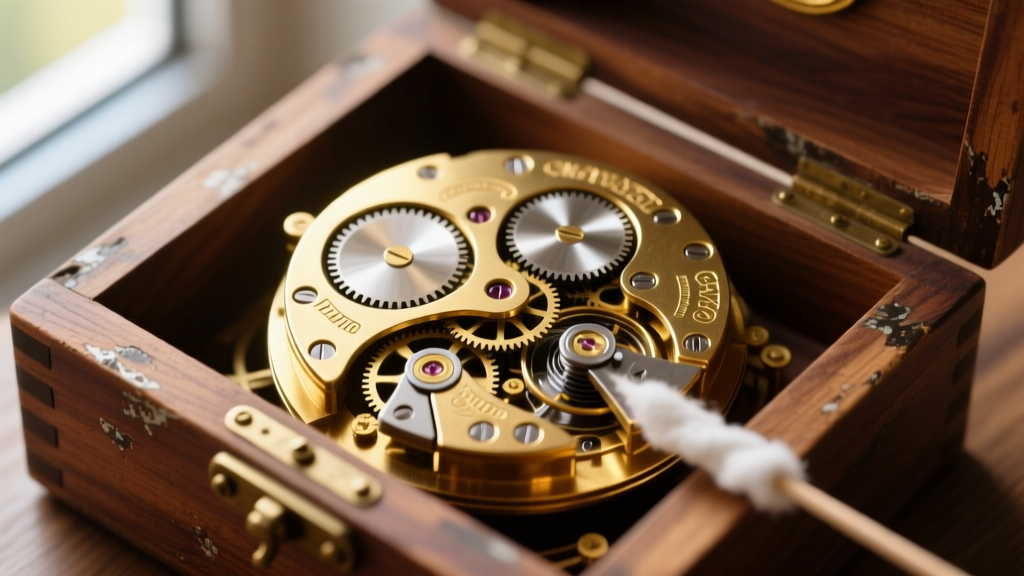
Do not use WD-40. Standard penetrating oils contain heavy solvents that will ruin the acoustic resonance of the brass comb and attract dust. Instead, use a high-purity VM&P Naphtha or dedicated horological cleaning fluid. Apply the naphtha sparingly with a fine-tip oiler directly to the mainspring barrel arbor and the governor fly-fan pivots. Allow it to dissolve the hardened grease for 15 minutes, then gently wind the key back and forth to work the solvent through the gear train.
Re-Lubricating the Gear Train
Once the movement is freed and the naphtha has evaporated, apply a microscopic drop of synthetic clock oil (such as Moebius 9010) to the pivot points. Avoid oiling the brass cylinder pins or the steel comb teeth, as oil here will deaden the sound and cause dust accumulation. If the mainspring itself is broken (characterized by a complete lack of tension when winding), the entire movement must be swapped. Fortunately, modern 18-note or 30-note Reuge replacement movements are still manufactured and can be retrofitted using the original mounting screws.
Restoring Tarnished Brass Hardware and Hinges
The brass escutcheons, hinges, and pull-knobs on a vintage jewelry box Mele chest are prone to severe oxidation. Before polishing, you must determine if the brass is lacquered. If the hardware has a clear, flaking coating, it is lacquered. You must strip this with a gentle acetone soak before polishing, otherwise, you will just smear the tarnish under the plastic coating.
Hardware Cleaning Agent Comparison
| Cleaning Agent | Best For | Abrasiveness | Residue Risk |
|---|---|---|---|
| Maas Metal Polish | Heavy tarnish, raw brass | Low-Medium | Low (wipes clean) |
| Brasso | General maintenance | Medium | High (chalky buildup in crevices) |
| Wright's Brass Cream | Light oxidation, delicate pieces | Very Low | Medium |
| Bar Keepers Friend (Liquid) | Extreme corrosion (use with caution) | High | High (can stain wood veneer) |
Always mask the surrounding wood veneer with low-tack painter's tape. The Getty Conservation Institute warns that abrasive polishes embedded in the open pores of mahogany or walnut veneer can cause permanent white hazing that is nearly impossible to extract without professional solvent stripping.
Replacing Degraded Velvet and Suede Linings
The original rayon velvet or suede linings in mid-century boxes often suffer from 'powdering'—a chemical breakdown where the fabric backing disintegrates into a fine, acidic dust that can actually tarnish silver and degrade pearl finishes. If your lining is shedding, it must be replaced immediately to protect your jewelry.
Safe Removal and Archival Replacement
Use a heat gun on its lowest setting (around 150°F) to soften the original animal hide glue or early synthetic adhesives. Gently lift the fabric with a flexible steel putty knife. Clean the bare wood substrate with a damp cloth and let it dry completely. For the replacement, source an acid-free, archival-quality rayon suede or jewelers' felt. Avoid modern craft felts, which often contain sulfur compounds that accelerate silver tarnishing. Apply a thin, even coat of PVA (polyvinyl acetate) conservation glue or an acid-free spray adhesive like 3M Super 77 Multi-Purpose. Press the fabric down using a hard rubber brayer, working from the center outward to eliminate air bubbles, and trim the excess with a fresh X-Acto blade against a steel ruler.
When to Call a Professional Restorer
While drawer tuning, musical movement maintenance, and lining replacements are well within the capabilities of a dedicated DIY enthusiast, certain issues require a professional conservator. If the exterior burl walnut veneer is blistering, if the structural dovetails have completely failed, or if the box features intricate marquetry that is lifting, do not attempt a home repair. The cost of professional veneer consolidation is a fraction of the value lost by a botched glue-up. By understanding the precise mechanics and materials of your vintage Mele heirloom, you ensure it remains a functional, beautiful sanctuary for your most precious pieces for generations to come.


