Troubleshooting Your DIY Jewelry Holder: Fix Tarnish & Tangles
Is your DIY jewelry holder causing tarnish or tangles? Learn expert troubleshooting tips to fix material failures, weight limits, and spacing issues.

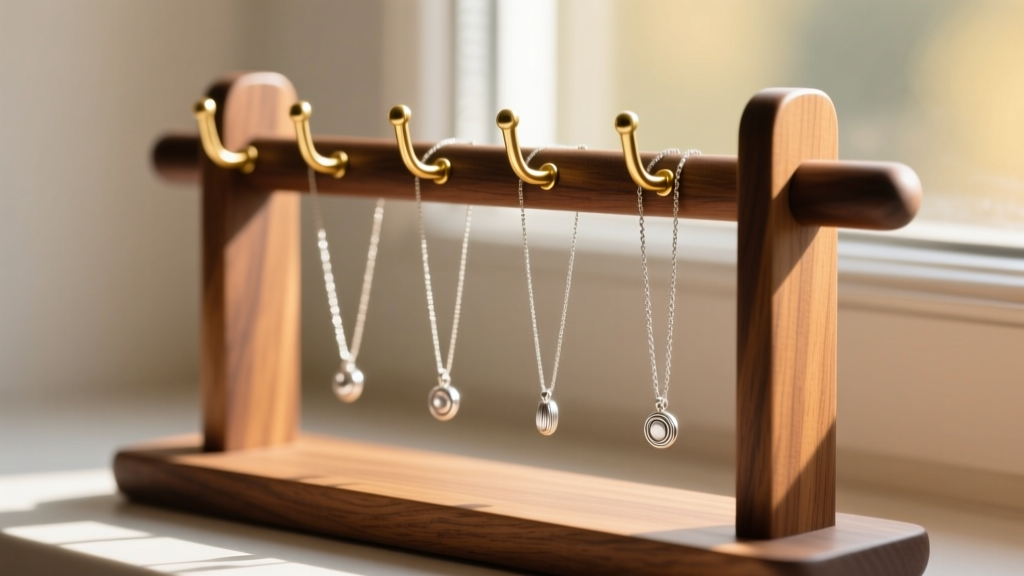
Building a custom display for your collection is a rewarding weekend project, but a poorly executed DIY jewelry holder can quickly become a liability. While social media is flooded with aesthetically pleasing upcycled organizers, many of these projects ignore the fundamental chemistry and physics of jewelry preservation. The result? Accelerated tarnishing, structural collapses, and a tangled mess of delicate chains.
As jewelry storage specialists, we frequently troubleshoot DIY builds that have inadvertently damaged valuable pieces. Whether you are working with reclaimed barn wood, acrylic sheets, or upcycled vintage frames, understanding the failure points of your materials is critical. This guide dives deep into the specific material grades, structural tolerances, and chemical interactions you need to know to fix and future-proof your custom organizer.
The Chemistry of Tarnish: Why Your Wood is Destroying Silver
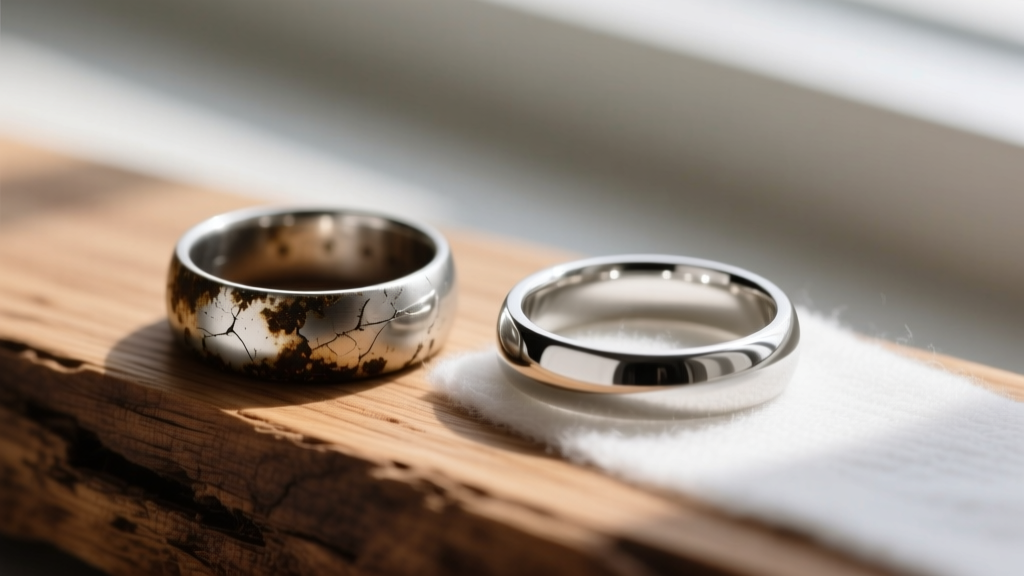
The most common complaint we receive regarding DIY wooden organizers is accelerated tarnishing, particularly with sterling silver and copper alloys. If your silver is turning black or your copper is developing a verdigris patina within weeks of hanging on your new display, the culprit is likely chemical off-gassing.
Identifying Acidic and Reactive Woods
Not all woods are safe for metal storage. Hardwoods like oak, walnut, and cherry contain high levels of tannic acid and natural oils that off-gas volatile organic compounds (VOCs). When trapped in a shadowbox or enclosed DIY display, these acidic vapors create a micro-environment that rapidly corrodes silver. Furthermore, engineered woods like MDF (Medium-Density Fiberboard) and particleboard are bound with urea-formaldehyde resins, which continuously emit formaldehyde gas—a known catalyst for metal tarnish.
The Troubleshooting Fix: Archival Sealing
You do not necessarily need to throw away your wooden build, but you must neutralize the off-gassing. According to guidelines from the Smithsonian Museum Conservation Institute, porous materials must be sealed with an inert barrier before coming into contact with sensitive artifacts.
- Step 1: Sand the wood down to bare grain to remove any old, reactive stains or waxes.
- Step 2: Apply three coats of a water-based polyurethane (such as Minwax Polycrylic). Avoid oil-based polyurethanes, as they take months to fully cure and off-gas solvents during that time.
- Step 3: Line the contact points with 1/8-inch Volara polyethylene foam or 100% acid-free cotton flannel. Never use standard craft felt, which often contains recycled synthetic fibers and acidic dyes.
Structural Failures: Troubleshooting Hook Pull-Out and Bowing
A heavy statement necklace or a stack of solid gold bangles can easily exceed the shear strength of standard craft hardware. When hooks pull out of the base material or shelves begin to bow, you are dealing with a mechanical failure rooted in improper load distribution.
Material Load Tolerances
To fix a failing structure, you must match your hardware to the tensile strength of your base material. Below is a troubleshooting matrix for common DIY base materials and their maximum safe load capacities per standard 1-inch screw-in hook.
| Base Material | Thickness | Max Safe Load (Per Hook) | Common Failure Mode | Troubleshooting Fix |
|---|---|---|---|---|
| MDF / Particleboard | 1/2 inch | 2.5 lbs | Stripped threads, hook pulls out under dynamic load | Inject cyanoacrylate (CA) glue into pilot hole before threading hook |
| Birch Plywood | 3/4 inch | 8.0 lbs | Veneer chipping, surface delamination | Use a flat washer under the hook collar to distribute surface pressure |
| Solid Pine / Whitewood | 1 inch | 12.0 lbs | Wood splitting along the grain | Pre-drill pilot holes; avoid placing hooks near end-grain edges |
| Cast Acrylic (Plexiglass) | 1/4 inch | 4.0 lbs | Stress cracking around the drill hole | Use rubber grommets and avoid overtightening; never use extruded acrylic |
Upgrading Your Hardware
If your current hooks are bending under the weight of heavy gemstone pendants, upgrade to 18-gauge or 16-gauge 316L stainless steel eye hooks. Standard craft store hooks are typically made from 22-gauge plated brass or soft aluminum, which will permanently deform under loads exceeding 6 ounces. For heavy pearl strands or solid gold chains, bypass screw-in hooks entirely and use threaded stainless steel pegs secured with a two-part marine epoxy on the reverse side of the board.
Solving the Necklace Tangling Nightmare
There is nothing more frustrating than carefully hanging a delicate 18-inch cable chain on your DIY jewelry holder, only to find it slipped off and knotted with three other necklaces by morning. This is a physics problem related to the center of gravity and the coefficient of friction.
The Rule of Spacing and Friction
Necklaces slip because standard metal hooks offer near-zero friction, and the weight of the pendant pulls the chain laterally. To troubleshoot this, implement the following modifications:
- The 3-Inch Rule: Never space hooks closer than 3 inches apart for necklaces longer than 16 inches. When necklaces overlap, the friction between the chains causes them to bind and tangle when removed.
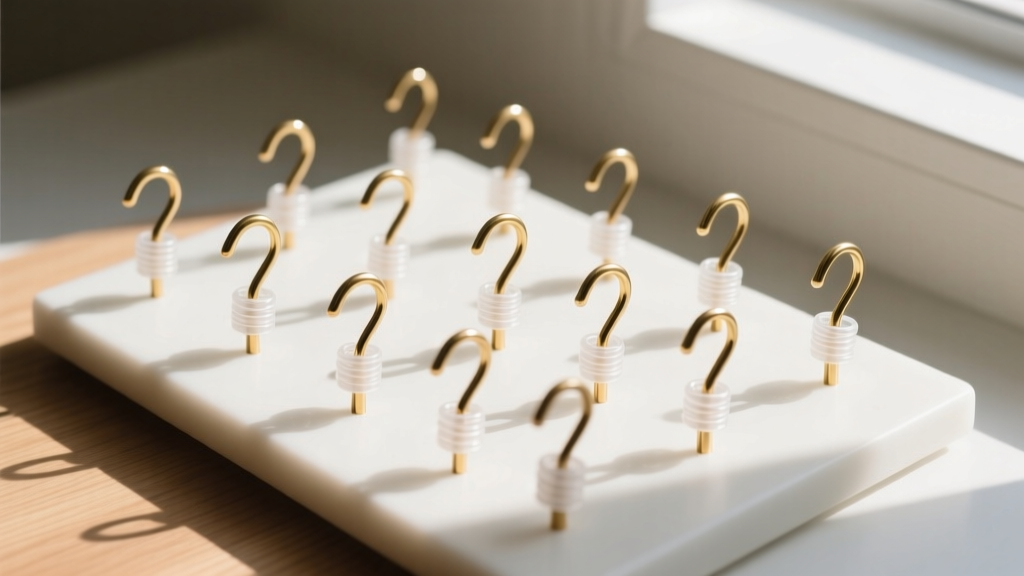
- Add Silicone Friction Sleeves: Purchase 3/32-inch clear heat-shrink tubing (commonly used for electronics). Cut 1/2-inch segments and slide them over the tips of your metal hooks. Apply a quick blast from a heat gun. This creates a high-friction, chemically inert silicone bumper that prevents chains from sliding off the edge, without introducing the sulfur found in rubber bands that causes silver tarnish.
- Staggered Vertical Drops: If your DIY build features multiple rows of hooks, stagger them in a zig-zag pattern rather than aligning them directly above one another. This prevents the bottom of a long necklace from catching on the hook directly below it.
Environmental Troubleshooting: Humidity Traps
If you have built an enclosed DIY shadowbox or a glass-front cabinet, you may have accidentally created a humidity trap. Moisture trapped inside an enclosed space will cause ferrous metals to rust and organic materials (like pearls and tortoiseshell) to degrade.
"Proper air exchange is critical in enclosed micro-environments. Sealed displays without passive desiccants or ventilation will inevitably reach equilibrium with the highest humidity level introduced, often during the initial construction phase when wood or glue is still off-gassing moisture." — Gemological Institute of America (GIA) Care Guidelines.
Implementing Passive Climate Control
To fix a humid shadowbox, drill four 1/4-inch ventilation holes in the back panel (near the top and bottom corners) and cover them with fine brass mesh to keep dust out. Additionally, hide a small, breathable sachet of indicating silica gel (the type that changes color when saturated) behind the backing board. Avoid using standard calcium chloride moisture absorbers, as they can leak corrosive brine if tipped over.
When to Abandon the DIY Route
While troubleshooting can save most projects, some DIY jewelry holders are beyond redemption. If your build utilizes pressure-treated lumber (which contains copper azole and arsenic), heavily rusted vintage ironwork, or particleboard that has begun to swell and crumble from moisture exposure, it is time to retire it. The chemical risk to high-karat gold, porous opals, and untreated silver is simply too high. In these cases, invest in a museum-grade, powder-coated steel or solid acrylic organizer, and reserve your DIY skills for less chemically sensitive household projects.


