How to Upgrade a Five Below Jewelry Organizer in 5 Steps
Learn how to hack and upgrade a basic Five Below jewelry organizer to safely store fine silver and gold using archival materials.

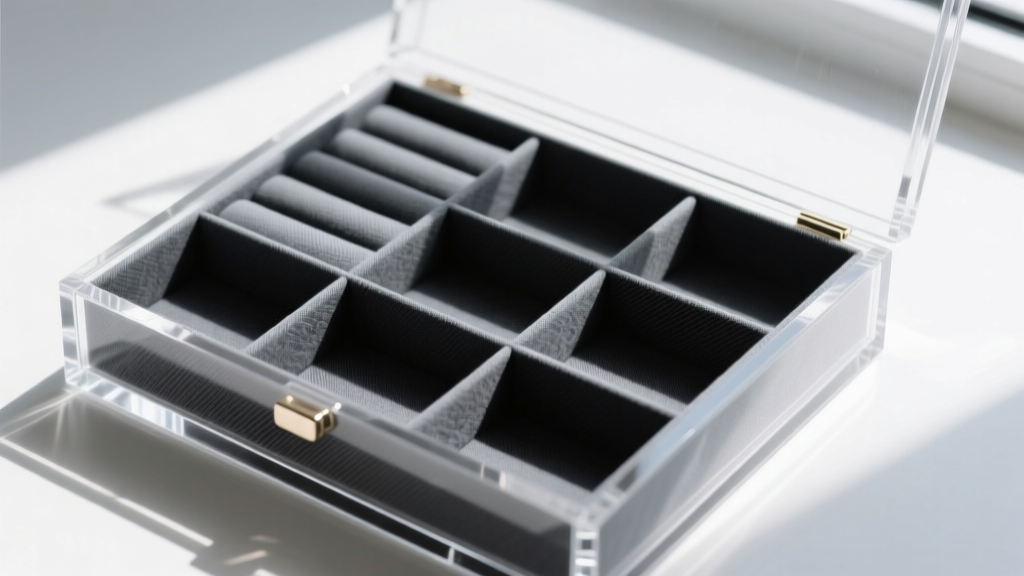
The appeal of a five below jewelry organizer is undeniable. For five dollars, you get a multi-compartment acrylic or velvet-lined tray that perfectly sorts your rings, earrings, and pendants. For costume jewelry, glass beads, and everyday fashion accessories, these budget-friendly storage solutions are fantastic. However, if you are storing fine jewelry—such as sterling silver, 14k or 18k gold, platinum, or porous gemstones like opals and pearls—these cheap organizers can actually cause irreversible damage.
As a jewelry storage specialist, I frequently see micro-abrasions on high-polish gold and accelerated tarnishing on sterling silver directly linked to budget storage materials. The good news? You do not need to spend $150 on a luxury vault. With a few archival-grade materials and about an hour of your time, you can hack and upgrade your budget acrylic organizer into a museum-quality microclimate. Here is your comprehensive, step-by-step guide to transforming a basic five below jewelry organizer into a safe haven for your fine jewelry collection.
The Chemistry of Budget Storage: Why Upgrading is Necessary
Before diving into the modification process, it is crucial to understand why cheap storage damages fine metals. According to the Gemological Institute of America (GIA), improper storage is a leading cause of preventable jewelry damage. Budget organizers typically suffer from three fatal flaws:
- Off-Gassing Adhesives: The glues used to bind cheap velvet or flocking to acrylic and MDF (medium-density fiberboard) bases release volatile organic compounds (VOCs) and sulfur gases. Sulfur reacts with the copper alloy in sterling silver to form silver sulfide, resulting in rapid, heavy tarnishing.
- Static-Buildup Synthetics: Standard budget velvet is usually a polyester-nylon blend that generates static electricity. This static attracts microscopic silica dust from the air, which acts like sandpaper on high-polish 18k gold and rhodium-plated white gold, causing micro-abrasions.
- Prong-Snagging Fibers: Cheap, loosely woven synthetic fibers easily catch on delicate pavé prongs and marquise-cut gemstone settings, potentially loosening the stones over time.
Material Comparison: Budget vs. Archival
| Material Type | Sulfur Absorption | Micro-Abrasion Risk | Static Generation | Lifespan |
|---|---|---|---|---|
| Budget Polyester Velvet | None (Traps VOCs) | High (Silica trap) | High | 1-2 Years |
| Standard Cotton Flannel | Low | Medium | Low | 3-5 Years |
| Pacific Silvercloth | High (Absorbs gases) | Zero (Non-abrasive) | None | 10+ Years |
| Archival Polyethylene Foam | None (Inert) | Zero | None | Indefinite |
Sourcing Your Archival Upgrade Kit
To properly upgrade your five below jewelry organizer, you need to replace the toxic interior environment with chemically inert, protective materials. You can source these items online or from specialized craft and conservation stores.
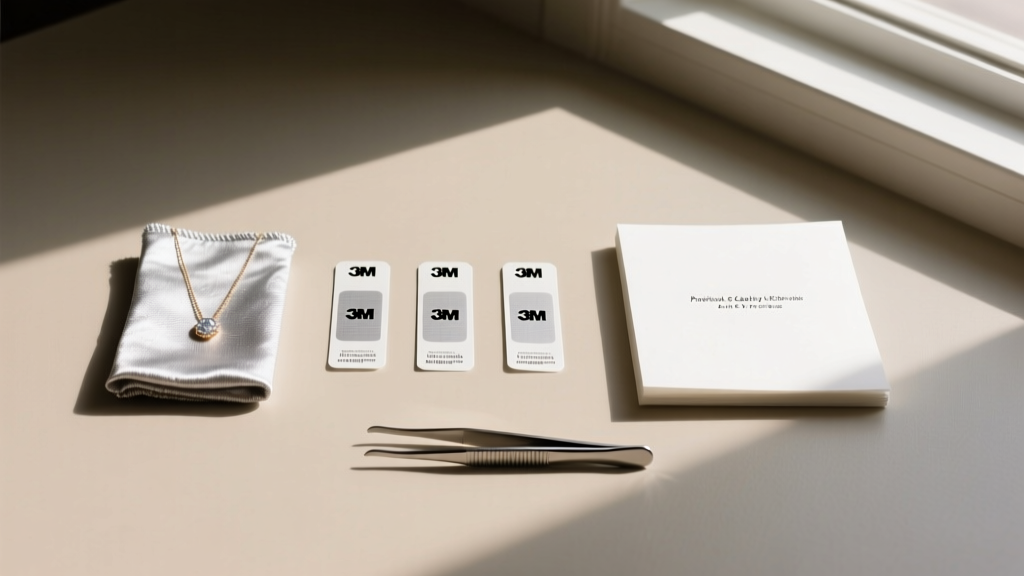
- Pacific Silvercloth or Anti-Tarnish Flannel: This specialized fabric is embedded with microscopic silver particles that intercept and absorb sulfur gases before they reach your jewelry. (Approx. $15-$20 per yard).
- 3M Anti-Tarnish Strips: Small, chemically treated paper strips that neutralize airborne sulfides and chlorides in enclosed spaces.
- Acid-Free, Lignin-Free Tissue Paper: Essential for buffering delicate chains and separating porous gemstones.
- Acid-Free Double-Sided Tape: Standard craft glues contain water and acidic compounds that can warp acrylic and release gases. Use archival tape or silicone adhesive dots.
- Pinking Shears: To cut the anti-tarnish fabric without leaving frayed edges that could snag on jewelry clasps.
Step-by-Step: Transforming Your Organizer
Step 1: Deep Cleaning and De-gassing
If your organizer is brand new, it is likely off-gassing manufacturing chemicals. Remove any existing velvet inserts or foam pads. Wash the bare acrylic or plastic tray in lukewarm water with a few drops of mild, phosphate-free dish soap. Rinse thoroughly and allow it to air-dry in a well-ventilated area for at least 48 hours. This crucial step allows the bulk of the initial VOCs to dissipate before you seal the jewelry inside.
Step 2: Measuring and Cutting the Archival Lining
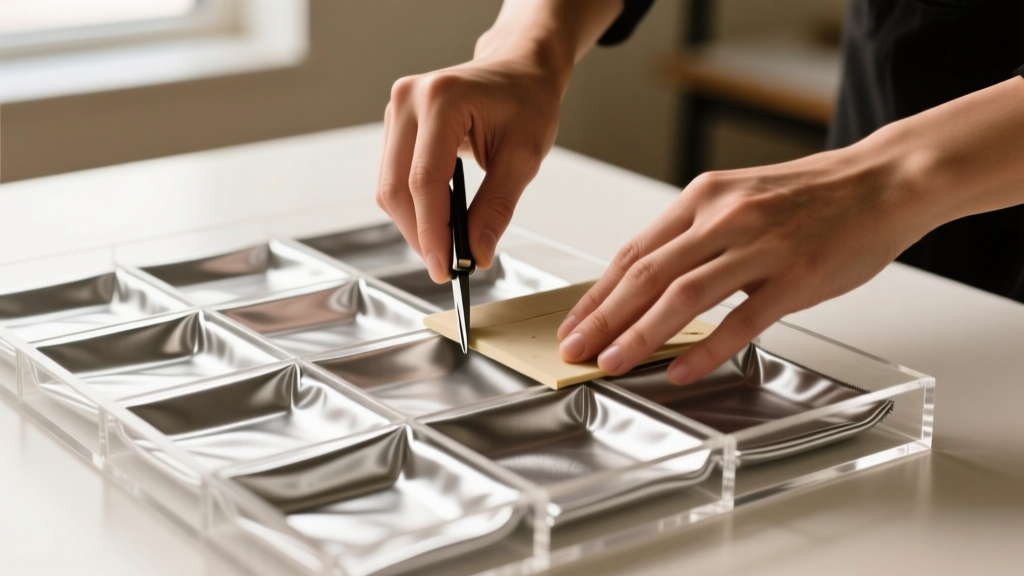
Measure the bottom and interior walls of each compartment in your five below jewelry organizer. Using your pinking shears, cut the Pacific Silvercloth or anti-tarnish flannel to size. The zig-zag edge created by the pinking shears prevents the fabric from unraveling, eliminating the risk of loose threads catching on delicate earring posts or bracelet clasps.
Step 3: Installing the Lining Without Toxic Adhesives
Apply small squares of acid-free, double-sided archival tape to the corners of the acrylic compartments. Carefully press the cut anti-tarnish fabric into place. Use a smooth bone folder or a plastic spudger to push the fabric firmly into the sharp corners of the acrylic dividers. Avoid using liquid glues, which can cloud the acrylic and introduce unwanted moisture into the storage microclimate.
Step 4: Establishing Anti-Tarnish Microclimates
Once the lining is secured, it is time to add active tarnish prevention. Cut the 3M Anti-Tarnish strips into small, one-inch squares. Tuck one square discreetly beneath the fabric lining in the largest compartment of the organizer, or secure it to the underside of the lid if your organizer has a cover. According to the National Park Service Museum Handbook, creating a localized microclimate with sulfur-absorbing materials is the most effective way to protect silver artifacts in enclosed spaces.
Step 5: Reconfiguring for Prong and Chain Protection
Budget organizers often feature large, open slots that allow necklaces to tangle and rings to knock against one another. To fix this, use your acid-free tissue paper. Crumple small pieces of the tissue to create soft, inert barriers between rings with varying Mohs hardness scales. For example, never store a diamond ring (Mohs 10) next to a pearl or opal (Mohs 5.5-6.5). Stuff the tissue into the ring slots to hold the bands upright, preventing the metal bands from scratching each other and keeping delicate pavé prongs facing upward, away from abrasive surfaces.
Pro-Tip for Chain Storage: To prevent fine gold and silver chains from tangling and kinking in shallow acrylic drawers, thread one end of the chain through a piece of archival tissue paper or an acid-free glassine envelope before closing the clasp. This provides physical separation and eliminates the static friction that causes knotting.
Maintenance Schedule for Your Upgraded System
An upgraded five below jewelry organizer is not a 'set it and forget it' solution. To maintain the archival integrity of your DIY vault, adhere to the following maintenance schedule:
- Every 6 Months: Replace the 3M Anti-Tarnish strips. Once the strips turn completely black or dark brown, they are saturated with sulfur and are no longer effective.
- Annually: Inspect the Pacific Silvercloth lining. If it has turned a deep, dark copper or brown color, it has exhausted its reactive silver particles and should be replaced.
- As Needed: Wipe down the exterior acrylic with a microfiber cloth and a specialized acrylic cleaner (like Novus Plastic Polish). Never use ammonia-based glass cleaners like Windex, as they can cause acrylic to craze, crack, and cloud over time.
Final Thoughts on Budget Hacks
You do not need to spend hundreds of dollars on luxury, mahogany-and-brass jewelry armoires to keep your fine collection safe. By understanding the chemistry of metal degradation and investing a few dollars in archival-grade materials, you can easily elevate a basic five below jewelry organizer into a highly effective, conservation-approved storage system. This DIY approach not only saves you money but also provides the peace of mind that your heirloom pieces, engagement rings, and daily-wear gold will remain in pristine, scratch-free condition for generations to come.


