Willow Tree Jewelry Box Repair: Fix Hinges & Tarnish
Learn how to troubleshoot and repair your Willow Tree jewelry box. Fix broken resin hinges, touch up chipped paint, and upgrade the lining to prevent tarnish.

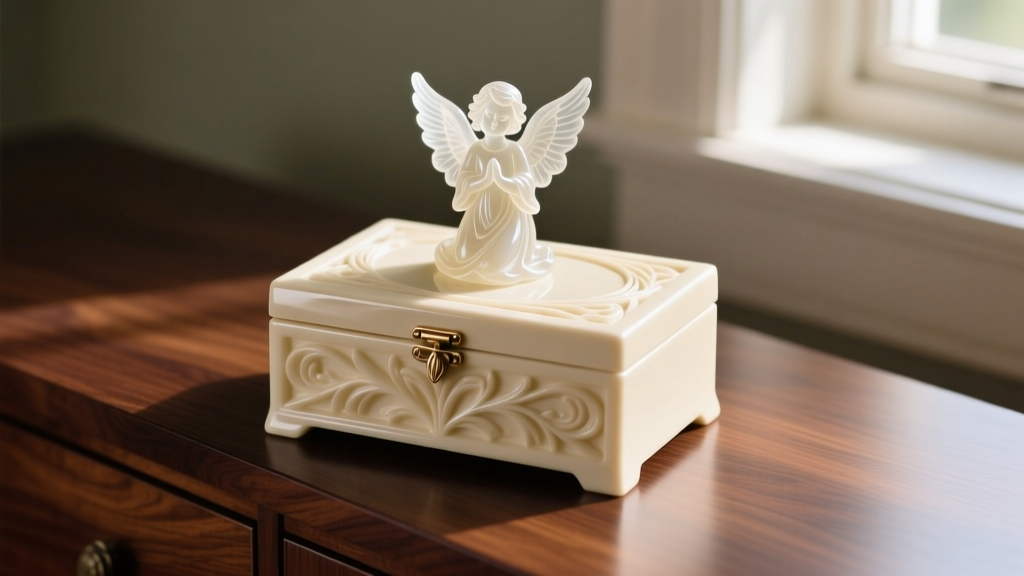
The Unique Anatomy of a Willow Tree Keepsake Box
Willow Tree figurines, created by artist Susan Lordi and manufactured by Demdaco, are beloved for their emotive, faceless designs. When these heavy, hand-painted resin sculptures are mounted atop decorative jewelry boxes, they create a beautiful but structurally complex keepsake. Unlike standard jewelry organizers, a Willow Tree jewelry box combines a medium-density fiberboard (MDF) or particleboard base with a dense polyurethane resin lid topper.
This hybrid material construction leads to a specific set of troubleshooting challenges. The weight of the resin figurine creates a cantilever effect when the lid is opened, placing immense shear stress on small brass hinges. Furthermore, the interior flocked linings often utilize adhesives that can inadvertently accelerate silver tarnishing. In this comprehensive troubleshooting guide, we will address the most common structural and cosmetic failures of these keepsake boxes and provide professional-grade repair solutions to restore them to their original glory.
Troubleshooting 1: Repairing Brittle Hinges and Stripped MDF
The most frequent point of failure on any keepsake box with a heavy lid is the hinge mechanism. When a Willow Tree lid is opened past 90 degrees, the torque can snap the glue bond, bend the brass pin, or strip the screws directly out of the MDF core.
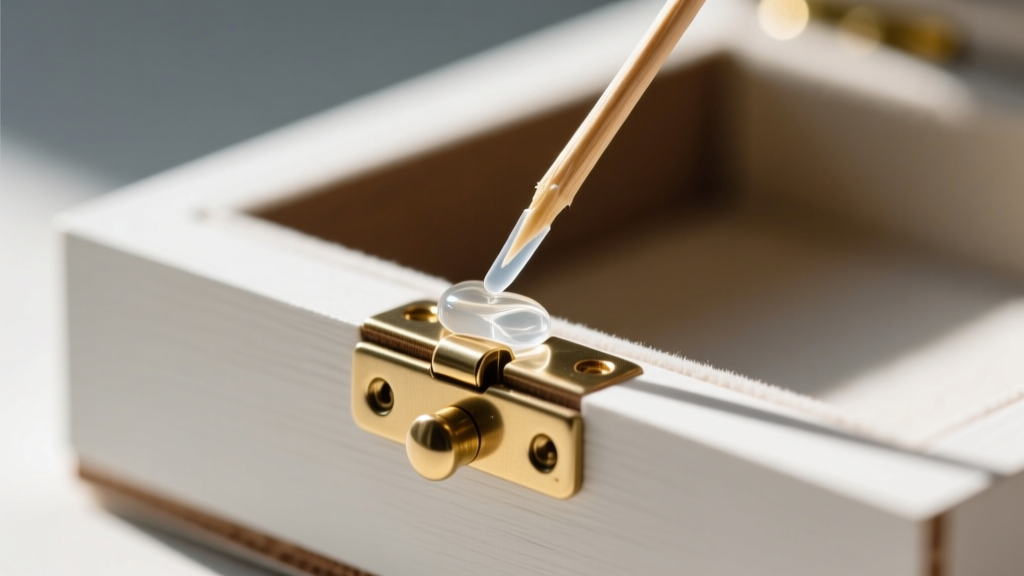
Step-by-Step Hinge Reinforcement
Do not rely on standard cyanoacrylate (Super Glue) for this repair; it dries too brittle to withstand the repeated torque of a heavy resin lid. Instead, use a two-part clear epoxy and a structural filler.
- Remove the Hardware: Carefully unscrew the brass hinge from both the lid and the base. If the screws are stripped, gently pry the hinge up with a flathead screwdriver.
- Rebuild the MDF Core: If the screw holes are stripped and cratered, fill them with a two-part wood epoxy like J-B Weld Wood Restore. Alternatively, use the woodworker's trick: pack the hole with baking soda, then add a few drops of thin CA glue. This creates an instant, rock-hard acrylic-like plug.
- Drill New Pilot Holes: Once the filler is cured, use a 1/16-inch drill bit to create fresh pilot holes. This prevents the MDF from splitting when you reinsert the screws.
- Reattach with Epoxy: Apply a micro-drop of clear two-part epoxy to the back of the brass hinge plate before screwing it back in. This distributes the load across the entire surface area of the hinge, not just the screws.
Troubleshooting 2: Fixing Chipped Hand-Painted Finishes
The figurines atop these boxes are hand-painted with a very specific matte, chalky aesthetic. If your box has been knocked off a dresser, the resin may chip, revealing the raw, unpainted polyurethane underneath. Standard craft acrylics will dry too glossy and ruin the illusion of the original finish.
Color Matching and Matte Sealing Guide
To achieve a seamless repair, you must alter the sheen of your touch-up paints. According to conservation techniques outlined by experts at Wood Magazine, matching the sheen is just as critical as matching the hue.
| Willow Tree Theme | Base Acrylic Color | Matte Mixing Ratio | Application Technique |
|---|---|---|---|
| Classic Cream / Angel | Titanium White + Raw Umber | 1 part paint : 2 parts Matte Medium | Dry-brush with a soft sable brush |
| Earth Tones / Nature | Yellow Ochre + Burnt Sienna | 1 part paint : 2 parts Matte Medium | Stippling with a sponge dauber |
| Darker Accents / Bases | Payne's Gray + Raw Sienna | 1 part paint : 1 part Matte Medium | Fine detail brush for edge lines |
Always mix your acrylic paint with a professional matte medium (such as Liquitex Matte Medium) rather than water. Water breaks down the pigment binder and can leave a chalky, uneven residue. Once the paint is dry, seal the repaired area with a light mist of Krylon UV-Resistant Clear Matte Coating to protect it from sunlight and finger oils.
Troubleshooting 3: Upgrading the Interior for Anti-Tarnish Protection
Many owners are dismayed to find their sterling silver jewelry turning black after being stored in a keepsake box for just a few weeks. This is not a flaw in the silver, but a chemical reaction caused by the box's interior.
The Science of Flocked Lining Tarnish
The standard flocked (fuzzy) cardboard lining used in many decorative boxes is adhered using synthetic or animal-based glues. As these adhesives age and off-gas, they release volatile organic compounds (VOCs) and sulfur dioxide. When sulfur interacts with the copper alloy in 925 sterling silver, it forms silver sulfide—the black crust known as tarnish.
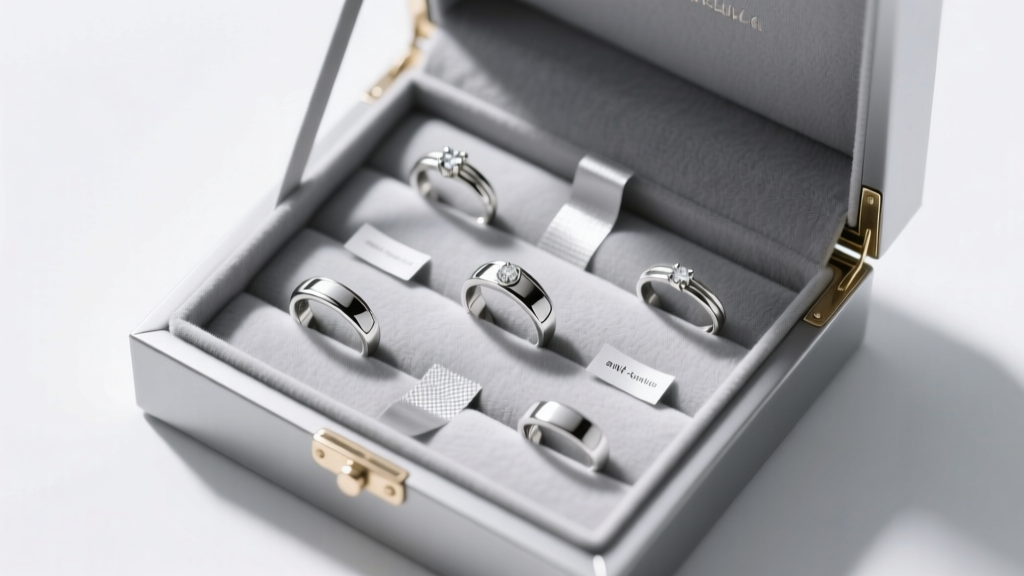
How to Retrofit Your Box for Silver Storage
If you intend to use your Willow Tree box for fine silver or copper-heavy jewelry, you must neutralize the interior environment.
- Seal the Wood: If you are comfortable removing the old flocking, peel it back and seal the bare MDF interior with two coats of water-based polyurethane. This creates an impermeable barrier that traps off-gassing sulfur compounds inside the wood.
- Install Archival Lining: Replace the fuzzy lining with Pacific Silvercloth. This specialized cotton fabric is embedded with microscopic silver particles that act as a sacrificial anode, absorbing tarnish-causing gases before they reach your jewelry.
- Use Anti-Tarnish Strips: If removing the lining is too destructive, simply place 3M Anti-Tarnish strips in the corners of the box. These copper-based strips absorb sulfur and typically last for 6 to 12 months in a semi-enclosed space.
Troubleshooting 4: Resolving Stuck Drawers and Warped Lids
Because MDF and resin react differently to ambient humidity, you may find that small pull-out drawers become stuck, or the main lid fails to sit flush against the base. MDF absorbs moisture from the air and swells, while the resin figurine remains completely unaffected, creating a structural imbalance.
Humidity Control and Lubrication
Never force a stuck drawer, as the thin MDF faceplate can easily snap off. Instead, follow these troubleshooting steps:
- Desiccate the Box: Place the entire jewelry box inside a large plastic bin with several silica gel packets for 48 hours. This will draw the excess moisture out of the MDF, causing it to shrink back to its original dimensions.
- Lubricate the Runners: Once the drawer is free, rub a standard white candle or paraffin wax along the wooden runner tracks. Avoid using liquid silicone sprays, as they can soak into the MDF and cause permanent swelling.
- Address Lid Warping: If the lid sits unevenly, check the brass hinges. Often, one hinge has been slightly bent by the weight of the resin figurine. Remove the hinges and gently tap them flat with a rubber mallet on an anvil or hard steel surface before reattaching.
When to Contact the Manufacturer
While most cosmetic and structural issues can be resolved at home with the right adhesives and sealants, severe structural failures—such as the resin figurine snapping cleanly off its mounting base—may require professional intervention. Demdaco offers customer support for manufacturing defects. If your box is relatively new and the resin has cracked under normal handling conditions, reach out to the retailer or the manufacturer directly with your proof of purchase and high-resolution photos of the damage before attempting a DIY epoxy repair, which will void any potential warranty.


