How to Inspect Diamond Cut Jewelry: A Step-by-Step Buyer Guide
Learn how to inspect diamond cut jewelry with our step-by-step guide. Master light return, read grading reports, and choose the perfect sparkle.

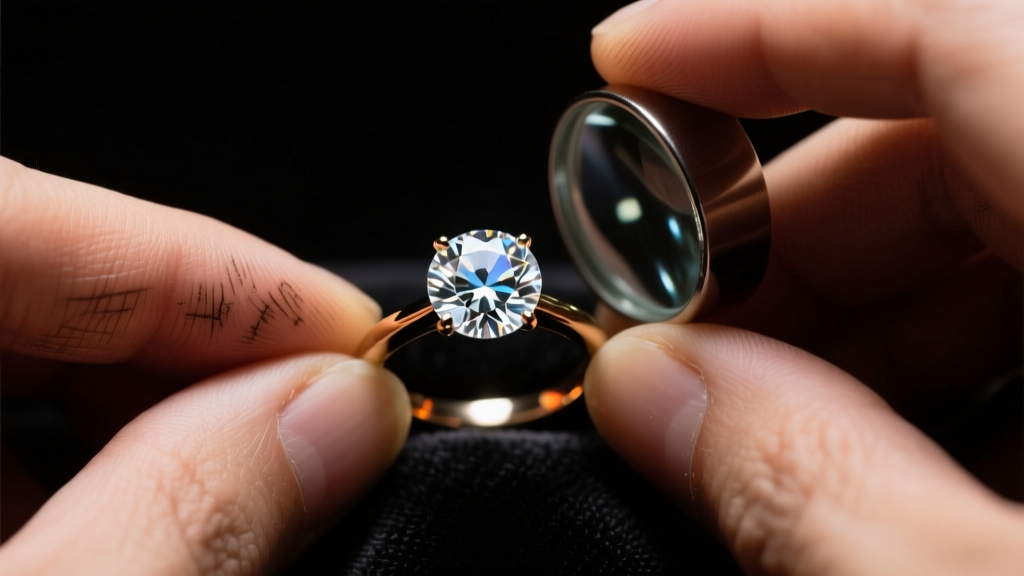
The Critical Importance of Cut in Diamond Jewelry
When shopping for fine jewelry, buyers often fixate on carat weight and clarity, mistakenly believing that a flawless, heavy stone guarantees maximum sparkle. However, gemologists universally agree that the cut is the single most important of the 4Cs. The cut dictates how effectively a stone gathers light from its surroundings and reflects it back to the observer’s eye. A poorly cut 2-carat diamond will look dull and lifeless, while an ideally cut 1-carat stone will outshine it completely.
This step-by-step guide will teach you how to evaluate diamond cut jewelry like a seasoned gemologist. Whether you are examining a natural earth-mined diamond, a lab-grown equivalent, or a high-end alternative like moissanite, mastering these evaluation steps ensures you never overpay for a stone with compromised light performance.
Step 1: Differentiate “Cut” from “Shape” and Metal Faceting
Before inspecting any stone, we must clarify a common industry terminology trap. In gemology, shape refers to the geometric outline of the stone (e.g., round, cushion, emerald, oval). Cut, however, refers to the precise mathematical proportions, symmetry, and polish of the facets that dictate light performance.
Buyer Beware: The “Diamond Cut” Metal Misconception
In retail, the phrase “diamond cut jewelry” is sometimes used to describe metal chains or bangles (like gold or silver) that have been faceted with specialized tools to catch the light and mimic the sparkle of a diamond. If you are shopping for a gemstone, ensure the product description refers to the gemstone’s cut grade, not just the faceting technique applied to the precious metal setting or chain.
Step 2: Decode the Grading Report Proportions
If you are purchasing a certified stone, the grading report from a top-tier laboratory like the Gemological Institute of America (GIA) or the International Gemological Institute (IGI) is your primary tool. Do not just look at the overall “Excellent” or “Ideal” cut grade; dig into the specific proportion metrics on the dossier.

For the most popular shape—the Round Brilliant—the interplay between the crown (top) and pavilion (bottom) angles is critical. If the pavilion is too deep, light leaks out of the bottom, creating a dark center (often called a “nailhead”). If it is too shallow, light escapes through the sides, resulting in a washed-out, glassy appearance.
Ideal Proportion Cheat Sheet: Round Brilliant
| Metric | Ideal Range (Super Ideal) | Acceptable Range (Excellent) | Red Flag (Avoid) |
|---|---|---|---|
| Table % | 54% - 57% | 52% - 60% | < 50% or > 63% |
| Depth % | 61.0% - 62.5% | 59.0% - 63.5% | < 58% or > 65% |
| Crown Angle | 34.0° - 35.0° | 32.5° - 36.0° | < 31° or > 37° |
| Pavilion Angle | 40.6° - 41.0° | 40.2° - 41.4° | < 39.8° or > 42.0° |
| Lower Half % | 75% - 80% | 70% - 85% | < 65% or > 90% |
Note: Fancy shapes (ovals, pears, cushions) do not receive an overall cut grade from the GIA. For these, you must rely heavily on visual inspection and ASET imaging (covered in Step 3) rather than strict numerical ranges.
Step 3: Perform Optical Symmetry Testing
Numbers on a page cannot tell the whole story. A stone can have perfect proportions on paper but suffer from poor optical symmetry due to misaligned facets during the polishing process. To truly inspect diamond cut jewelry in person or via high-definition vendor videos, you need optical tools.
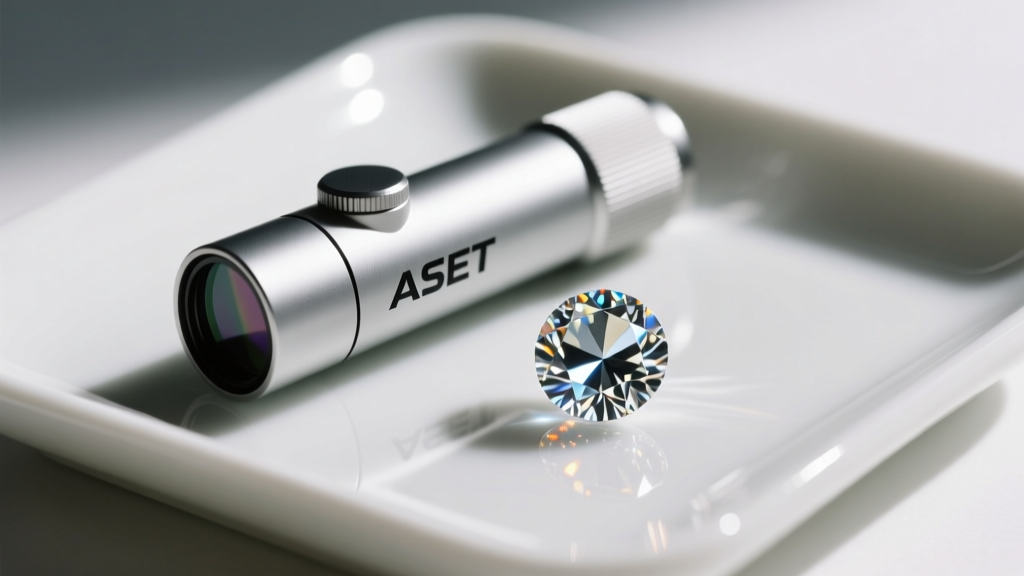
Using the ASET and Ideal-Scope
The Angular Spectrum Evaluation Tool (ASET) maps how a stone interacts with light from different angles. When looking through an ASET scope, you want to see a specific color map:
- Red: Represents bright, direct light return from overhead lighting. You want the vast majority of the stone to be vivid red.
- Green: Represents indirect, ambient light return from the surrounding room. This is good in moderation and adds contrast.
- Blue: Represents the physical obstruction of the observer’s head and body. In a perfectly symmetrical “Hearts and Arrows” diamond, the blue will form eight crisp, perfectly aligned arrow shafts.
- Black/White (Clear): Represents light leakage. If you see large patches of clear/white or black in the center or edges of the stone, light is escaping rather than reflecting to your eye. Walk away.
If you are buying online, always demand an ASET image from the vendor. Reputable dealers like Whiteflash or Brian Gavin provide these by default for their precision-cut inventory.
Step 4: Adjust Your Criteria for Alternatives (Lab-Grown & Moissanite)
The principles of light physics apply universally, but the grading landscape shifts when you move from natural diamonds to alternatives.
Lab-Grown Diamonds
Lab-grown diamonds possess the exact same chemical and optical properties as mined diamonds. Because they are grown in controlled environments (via CVD or HPHT methods), cutters are less constrained by the need to preserve rough carat weight. As a result, it is significantly easier and more affordable to find “Super Ideal” cut lab-grown diamonds that hit the exact center of the proportion chart above. Always insist on an IGI or GIA report for lab stones to verify the cut grade.
Moissanite
Moissanite has a higher refractive index (2.65) than diamond (2.42), meaning it naturally exhibits more “fire” (colorful dispersion). However, early moissanite cuts were often too shallow, leading to a “disco ball” effect that lacked the crisp scintillation of a diamond. Today, premium brands like Charles & Colvard cut their moissanite to exact diamond-ideal proportions to mimic the balanced brilliance of a natural stone. When inspecting moissanite jewelry, look for their “Forever One” or equivalent premium lines, which guarantee precise facet alignment and eliminate the murky, crushed-ice look found in cheap, mass-market alternatives.
Step 5: The In-Person Visual Checklist
If you are inspecting diamond cut jewelry in a brick-and-mortar store, put the loupe down for a moment and use your naked eye under various lighting conditions. Follow this final checklist:
- The Spotlight Test: View the stone under direct, focused jewelry store spotlights. (Warning: Stores use intense halogen or LED spotlights specifically designed to make even poorly cut stones look good).
- The Diffused Light Test: Move away from the spotlights and look at the stone under soft, diffused overhead lighting (like office fluorescent panels). A well-cut stone will still flash brightly; a poorly cut stone will look flat and gray.
- The Shadow Test: Cup your hand slightly over the stone to block direct overhead light. Observe the scintillation (the pattern of flashing light and dark areas) as you tilt the stone. You want a balanced, kaleidoscopic pattern, not large, dead, glassy zones.
Final Thoughts on Maximizing Your Investment
Evaluating the cut of your jewelry is not about chasing a meaningless label; it is about understanding the geometry of light. By cross-referencing laboratory proportion data with optical symmetry imaging and real-world visual testing, you insulate yourself against marketing gimmicks. Whether you are investing in a rare natural diamond, a sustainable lab-grown stone, or a brilliant moissanite alternative, prioritizing precision cut guarantees that your jewelry will captivate the eye for decades to come.

