How to Safely Clean and Restore Sapphire Jewelry at Home
Learn how to safely clean, polish, and store your sapphire jewelry with this step-by-step guide. Protect your gems from damage and restore brilliance.

Understanding Sapphire Durability and Gemstone Treatments
Before you mix any cleaning solutions, it is vital to understand the physical properties of your specific stone. Sapphire, a variety of the mineral corundum, ranks at a formidable 9 on the Mohs scale of hardness. This makes it exceptionally resistant to scratching, second only to diamonds. However, hardness is not the same as toughness. Sapphires can still chip, fracture, or cleave if struck at the wrong angle against a hard surface.
Furthermore, the cleaning method you choose must be dictated by the gemstone's treatment history. According to the Gemological Institute of America (GIA), the vast majority of sapphires on the market are heat-treated to improve color and clarity. Heat treatment is permanent and generally stable under normal cleaning conditions. However, some lower-grade sapphires undergo fracture filling or lattice diffusion. Fracture-filled sapphires, which are infused with lead glass or flux to mask visible cracks, are highly vulnerable to even mild acids and ultrasonic vibrations. Cleaning a fracture-filled stone with the wrong method can cause the filler to dissolve or the stone to shatter entirely.
Assembling Your Safe Cleaning Toolkit
Forget harsh commercial jewelry dips or abrasive polishing pastes. To safely clean sapphire jewelry at home, you need a gentle, pH-neutral approach that lifts body oils, lotion residue, and environmental dust without attacking the metal setting or the stone's polish.
- Mild Dish Soap: Use a basic, lotion-free dishwashing liquid (like original Dawn). Avoid soaps with added moisturizers, citrus extracts, or harsh degreasers, which can leave a filmy residue on the gemstone's pavilion.
- Distilled or Filtered Water: Tap water contains minerals like calcium and magnesium that can leave hard water spots on your sapphire, dulling its optical brilliance.
- Extra-Soft Baby Toothbrush: The bristles must be incredibly soft to prevent micro-scratching on softer metal settings like 18k gold or silver, and to avoid snagging delicate prongs.
- Lint-Free Microfiber Cloth: Essential for the final drying and polishing stage to prevent water spots.
- Wooden Toothpick: Useful for gently dislodging stubborn grime from the gallery or culet area without bending metal prongs.
Step-by-Step Guide to Cleaning Sapphire Jewelry
Step 1: The Pre-Soak Inspection
Never submerge jewelry without checking the setting first. Hold your sapphire piece under a bright light and use a wooden toothpick to gently tap the prongs. If you feel any movement, or if the stone rattles slightly, skip the soak and take it to a jeweler immediately. Soaking a loose stone can allow water and soap to penetrate the gap, potentially degrading the setting further or causing the stone to slip out and wash down the drain.
Step 2: The Gentle Soap Bath
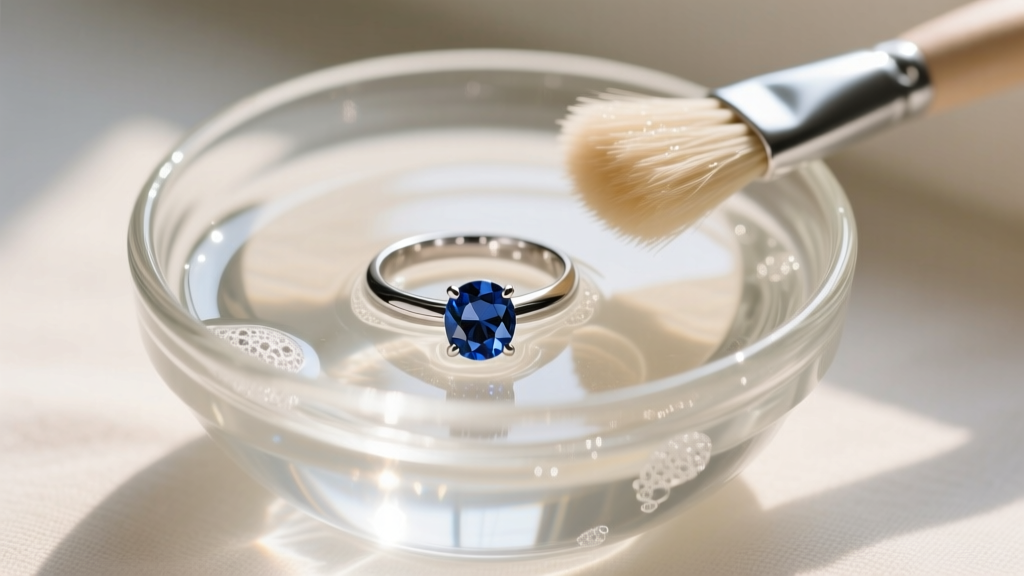
Fill a small glass or ceramic bowl with lukewarm distilled water. Add three to four drops of your mild dish soap and agitate the water to create suds. Place your sapphire jewelry into the bowl and let it soak for exactly 15 to 20 minutes. This dwell time allows the surfactants in the soap to break down the hydrophobic oils and skin cells that accumulate on the underside of the stone, which is the primary culprit behind a dull, lifeless appearance.
Step 3: Soft Brushing and Rinsing
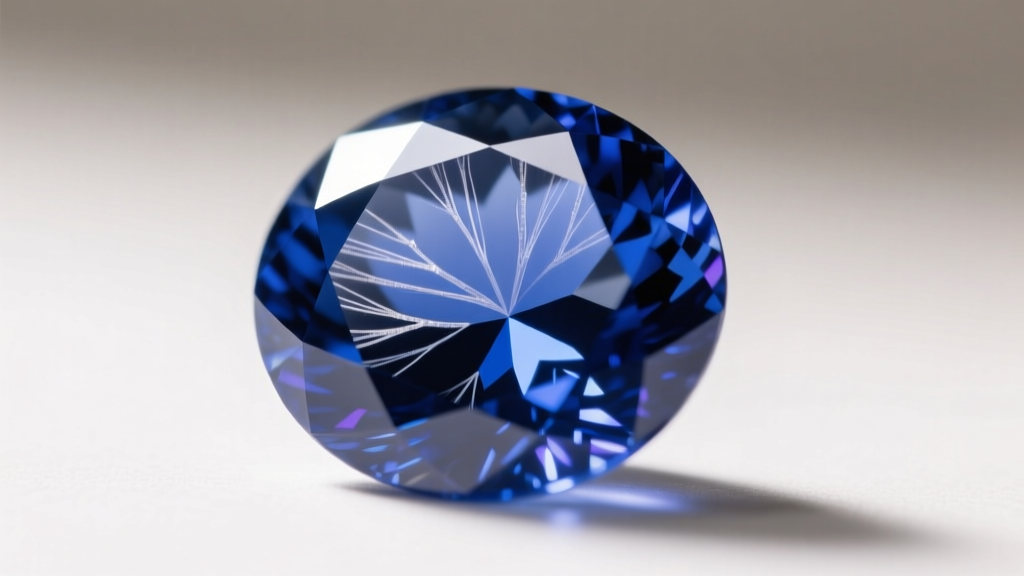 Remove the piece from the soapy water. Using your extra-soft baby toothbrush, gently brush the sapphire using small, circular motions. Pay special attention to the pavilion (the bottom facets) and the culet, where grease accumulates most heavily. Do not use heavy pressure; let the bristles do the work. If debris is wedged between the prong and the girdle, carefully use the wooden toothpick to lift it out. Once brushed, rinse the jewelry thoroughly under a gentle stream of lukewarm distilled water. Always ensure the sink drain is securely plugged before rinsing.
Step 4: Drying and Final Polish
Pat the jewelry dry with your lint-free microfiber cloth. Avoid air-drying, as evaporation will leave mineral deposits and water spots. Gently buff the metal setting to restore its shine, and use a dry corner of the cloth to wipe the sapphire's table facet until it is completely streak-free.
Crucial Warnings: Heat, Ultrasonics, and Fracture-Filled Stones
While untreated and standard heat-treated sapphires are generally safe in ultrasonic cleaners, the risk is rarely worth the reward for home users. Ultrasonic cleaners work through cavitation—creating microscopic vacuum bubbles that implode with immense force. If your sapphire contains natural liquid inclusions, healed fractures, or rutile silk (as seen in many Ceylon or Burmese stones), these shockwaves can cause internal stress fractures, effectively splitting the stone from the inside out.
Refer to the table below to match your sapphire's treatment type with the correct cleaning protocol, based on guidelines from the GIA Gem Care and Cleaning database.
| Sapphire Treatment Type | Warm Soapy Water | Ultrasonic Cleaner | Steam Cleaner |
|---|---|---|---|
| Untreated / Natural | Safe | Usually Safe (Check inclusions first) | Usually Safe |
| Heat Treated | Safe | Usually Safe | Safe |
| Fracture Filled (Flux/Glass) | Safe (Gentle only) | Dangerous - Avoid | Dangerous - Avoid |
| Lattice Diffused (Beryllium) | Safe | Usually Safe | Safe |
| Dyed or Oiled | Safe (No soaking) | Dangerous - Avoid | Dangerous - Avoid |
Long-Term Storage and Wear Prevention
Proper storage is just as critical as proper cleaning. Because sapphire is a 9 on the Mohs scale, it is harder than almost every other gemstone and metal in your collection. If you toss a sapphire ring into a communal jewelry dish, it will easily scratch your emeralds, rubies, pearls, and even the polished surface of your gold and platinum bands.
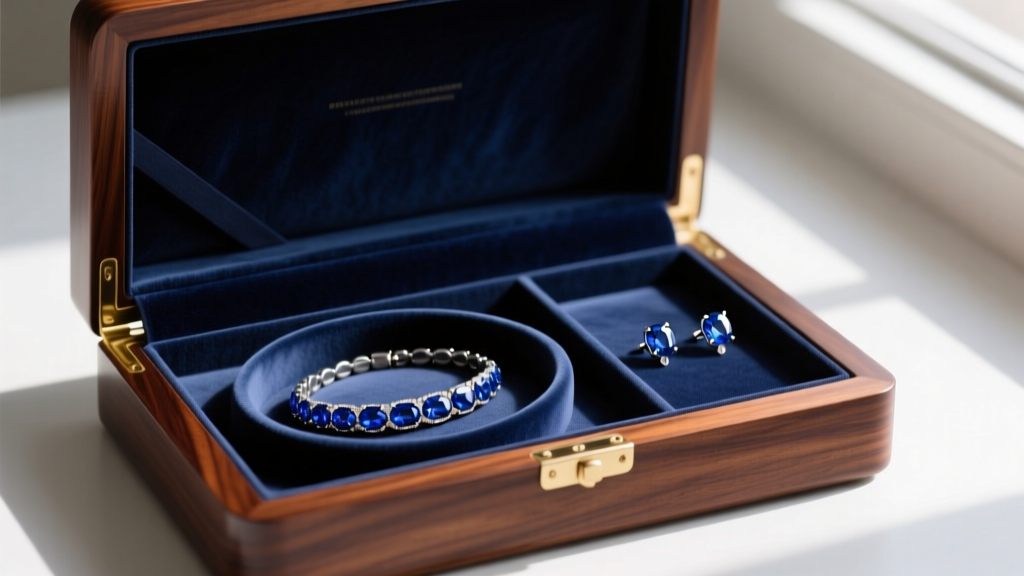 Conversely, diamonds (Mohs 10) will scratch your sapphires. Therefore, every piece of sapphire jewelry must be stored individually. Use a fabric-lined jewelry box with separate, dedicated compartments. If you are traveling, wrap each piece individually in acid-free tissue paper or place them in separate soft flannel pouches. For silver settings, include an anti-tarnish silica strip in the storage compartment to prevent the silver from oxidizing and blackening over time.
When to See a Professional Gemologist
Home cleaning is excellent for routine maintenance, but it cannot replace professional care. You should take your sapphire jewelry to a certified gemologist or bench jeweler at least once a year. A professional will use a microscope to inspect the prongs for metal fatigue, check the gallery wire for structural weaknesses, and assess the stone for any new surface abrasions or chips.
Pro Tip: If your sapphire appears cloudy or milky even after a thorough home cleaning, the issue is likely not dirt. It may be a sign of internal structural damage, a degraded fracture filling, or a buildup of hard water minerals that require professional polishing and ultrasonic extraction by a trained jeweler.
By following this meticulous, step-by-step protocol, you ensure that your sapphire jewelry maintains its optical brilliance, structural integrity, and heirloom value for generations to come. For further reading on corundum varieties and their specific care requirements, consult the extensive archives at Lotus Gemology, a premier authority on ruby and sapphire identification.