DIY Shell Jewelry: Crafting With Organic Gemstones & Crystals
Learn how to craft stunning DIY shell jewelry. This beginner guide covers organic gemstone prep, wire wrapping, and pairing shells with crystals.

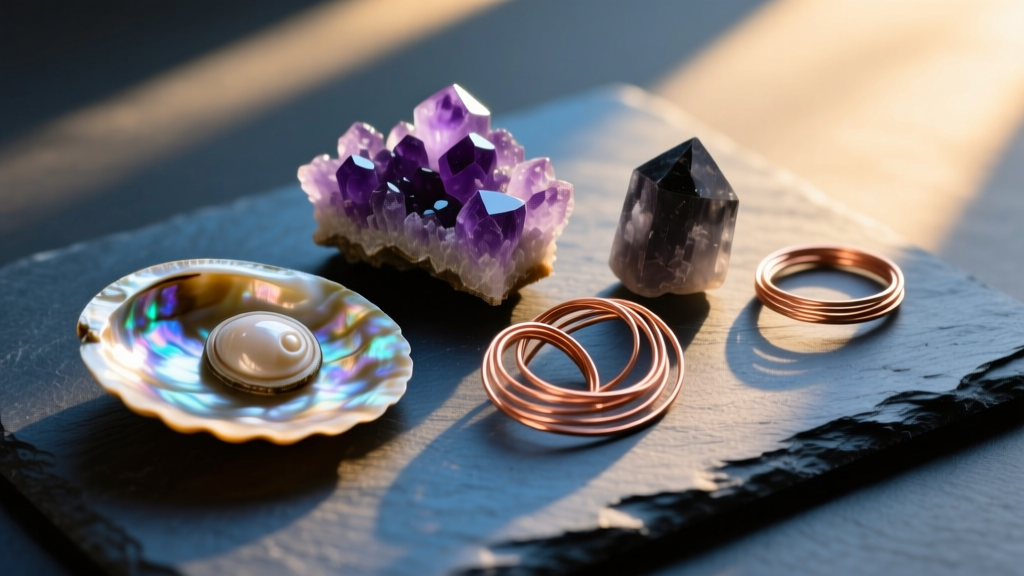
Understanding Shells as Organic Gemstones
When most people think of gemstones, they picture faceted silicates like sapphires, emeralds, or quartz crystals. However, in the gemological world, shells are classified as organic gemstones. Unlike minerals formed through geological heat and pressure, organic gems are created by living organisms. According to the Gemological Institute of America (GIA), organic gem materials include pearls, coral, amber, jet, and shells. For the DIY jewelry maker, shells offer a unique, sustainable, and deeply textured medium that bridges the gap between natural earthiness and elegant lapidary art.
The Mineralogy of Nacre and Calcium Carbonate
To work with shells effectively, you must understand their physical properties. Shells are primarily composed of calcium carbonate, usually in the form of aragonite or calcite. As noted by mineralogical databases like Mindat.org, aragonite has a Mohs hardness of 3.5 to 4.0. This makes shells significantly softer than traditional crystals (quartz is a 7). This relative softness means shells are easy to carve and shape, but they are highly susceptible to scratching, thermal shock, and chemical degradation. The iridescent inner layer of many shells, known as nacre or mother-of-pearl, is a composite material consisting of microscopic aragonite platelets layered with organic biopolymers. This structure is what gives abalone and paua shells their breathtaking flash, but it also requires specific handling techniques to preserve.
Essential Tools and Materials for Beginners
Starting your DIY shell jewelry journey requires a specialized toolkit that bridges basic wire wrapping and light lapidary work. Because shells are fragile and produce hazardous dust when cut, safety and precision are paramount.
- Wire Selection: For wrapping shells without drilling, use 20-gauge half-hard sterling silver or copper wire for structural frames, and 24-gauge or 28-gauge dead-soft wire for weaving and securing. Dead-soft wire is crucial because it requires less force to bend, reducing the risk of cracking the shell against the metal.
- Drilling Equipment: Never use standard steel twist bits on shells; they will shatter the calcium carbonate. Invest in 1.0mm or 1.5mm diamond-tipped core drill bits. These grind through the material rather than cutting it, preserving the structural integrity of the nacre.
- Rotary Tool: A variable-speed flex shaft or Dremel is required. You must be able to dial the speed down to under 5,000 RPM. High speeds generate friction heat, which will burn the organic biopolymers in the shell and cause micro-fractures.
- Safety Gear: An N95 or P100 respirator mask is non-negotiable. Inhaling calcium carbonate and shell dust can cause severe respiratory irritation. Safety goggles and nitrile gloves are also required.
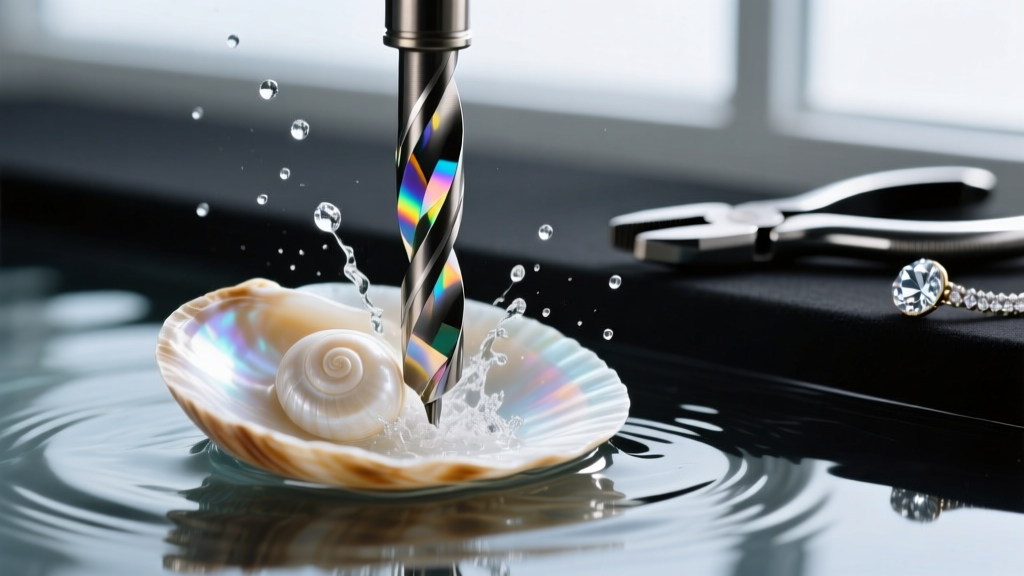
Step-by-Step: Wet Drilling Shells Safely
Drilling is the most intimidating step in creating DIY shell jewelry, but the 'wet drilling' method virtually eliminates the risk of blowouts and thermal cracking.
- Prepare the Water Bath: Fill a shallow glass or plastic tray with about half an inch of water. Place a small piece of scrap wood (a sacrificial block) at the bottom. The wood prevents the drill bit from dulling against the glass or metal tray once it exits the shell.
- Submerge the Shell: Place your shell in the water. The water acts as a coolant and a dust suppressant, trapping the hazardous particulate matter before it can become airborne.
- Mark Your Spot: Use a fine-tip waterproof marker or a piece of masking tape with a pencil dot to mark the drilling location. Avoid drilling too close to the edges; stay at least 3mm from the rim to prevent edge blowouts.
- Drill at Low Speed: Set your rotary tool to 3,000 - 5,000 RPM. Hold the tool perfectly perpendicular to the shell. Apply zero downward pressure; let the diamond grit do the work. Pulse the drill in 3-second intervals to allow the water to cool the bit.
- The Flip Technique: When you see the tip of the drill bit just breaking through the inner layer of the shell, stop. Flip the shell over and drill from the opposite side to meet the hole. This guarantees a clean exit hole with zero chipping on the beautiful nacre interior.
Pairing Shells with Traditional Crystals
One of the most exciting aspects of DIY shell jewelry is combining organic gemstones with traditional silicate crystals. This creates a striking visual contrast and blends different metaphysical energies. When designing your pieces, consider both the Mohs hardness and the color theory of your pairings.
| Shell Type | Best Crystal Pairing | Aesthetic Contrast | Metaphysical Synergy |
|---|---|---|---|
| Abalone (Paua) | Raw Amethyst | Iridescent greens/blues vs. deep violet | Emotional balance and intuition enhancement |
| Mother of Pearl | Moonstone | Pearly white luster vs. ethereal blue adularescence | Feminine energy, new beginnings, and emotional healing |
| Cowrie Shell | Citrine or Tiger's Eye | Warm ivory vs. golden yellow/brown bands | Manifestation, protection, and grounding wealth |
| Conch Shell | Rose Quartz | Peach/pink gradients vs. translucent pale pink | Unconditional love, heart chakra activation, and peace |
When wire-wrapping these combinations, use the shell as the primary focal point and the crystal as an accent bead or dangling charm. Because shells are softer (Mohs 3.5) than crystals like quartz (Mohs 7), ensure they are separated by a small wire loop or bead so the harder crystal does not scratch the shell's surface during wear.
Sealing and Caring for Your Shell Creations
Unlike quartz or beryl, organic gemstones are porous and highly reactive to acids. Human sweat has a pH between 4.0 and 6.0, which is acidic enough to slowly dissolve the calcium carbonate in shells, leaving them dull and chalky over time. To protect your DIY shell jewelry, sealing is highly recommended.
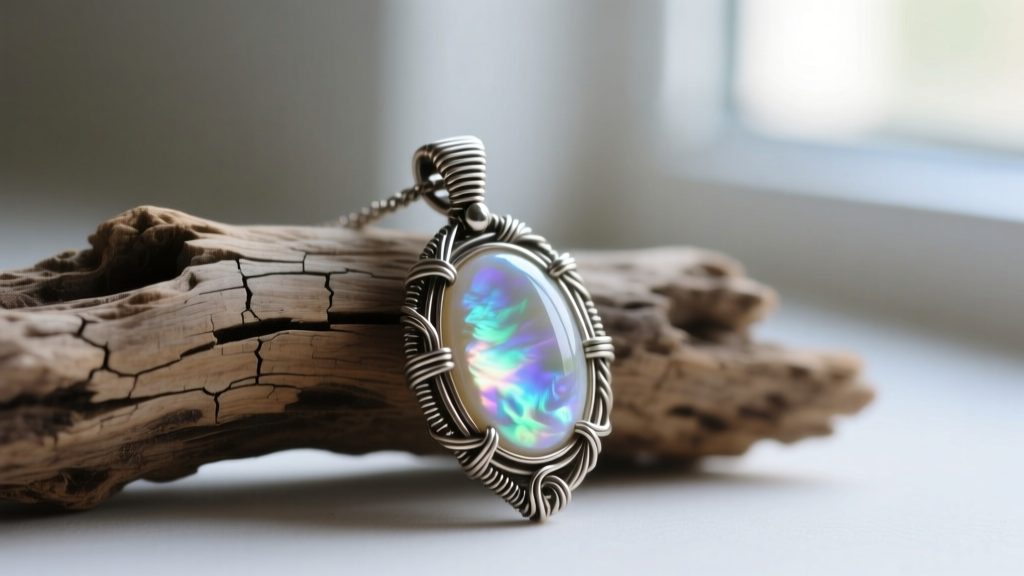
Choosing the Right Sealant
For a natural, low-gloss finish that preserves the tactile feel of the shell, use Renaissance Wax. Apply a thin layer with a microfiber cloth, let it dry for 10 minutes, and buff it gently. This micro-crystalline wax creates a moisture barrier that protects against acidic sweat and environmental pollutants. For high-wear items like rings or bracelets, a thin coat of UV-curing jewelry resin provides a durable, glass-like shell. However, avoid standard polyurethane varnishes, as they can yellow over time and obscure the delicate iridescence of abalone and mother-of-pearl.
Troubleshooting Common DIY Shell Mistakes
Even experienced jewelers encounter issues when working with organic materials. Here is how to troubleshoot the most common beginner mistakes:
- Problem: The shell cracked while wire wrapping.
Solution: You likely used half-hard or full-hard wire, which requires too much torque to bend. Switch to dead-soft wire. Additionally, ensure you are not using the shell as an anvil; support the wire bends with your chain-nose pliers away from the shell's surface. - Problem: The drill hole is jagged and chipped.
Solution: This is a classic 'blowout' caused by pushing the drill bit entirely through from one side. Always use the flip technique mentioned above. If the hole is already chipped, use a 1.5mm diamond bit to gently bevel and smooth the inner edges of the hole. - Problem: The shell lost its shine after a few wears.
Solution: The calcium carbonate has been etched by skin acids or lotions. You can restore the luster by gently polishing the shell with a damp cloth and a tiny amount of baking soda paste, followed by a thorough rinse and a fresh application of Renaissance Wax. Never use ultrasonic cleaners or harsh chemical dips on organic gemstones.
By respecting the unique geological and organic properties of shells, you can elevate your DIY jewelry from simple beach crafts to high-quality, wearable art that honors both the ocean and the earth.


