How to Use a Silver Cleaner for Jewelry Safely & Effectively
Learn how to choose and use the right silver cleaner for jewelry. Step-by-step guides for 925 sterling, plated, and gemstone-set pieces.

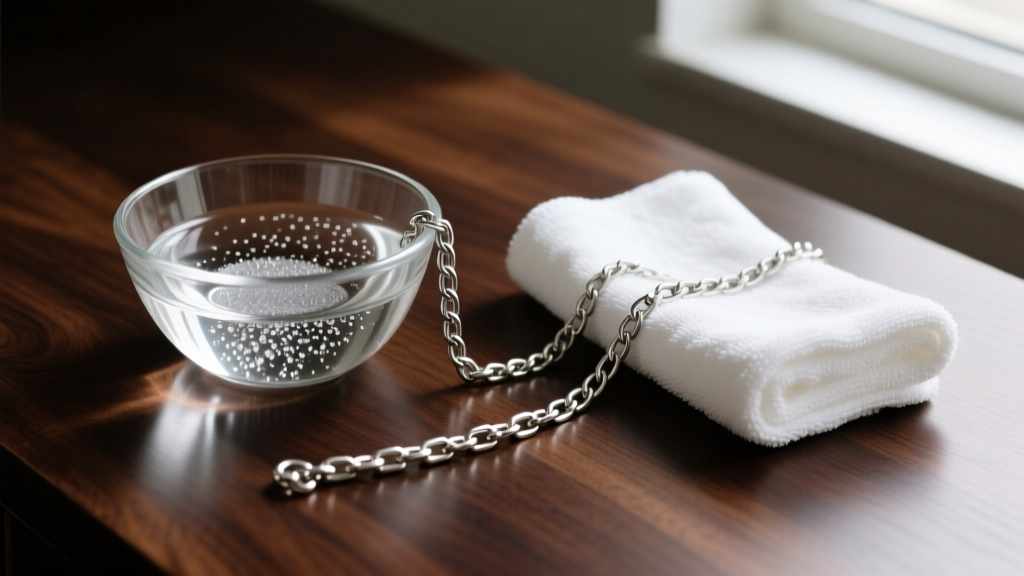
Silver jewelry is a timeless staple, but its greatest enemy is an inevitable chemical reaction. When silver is exposed to sulfur compounds in the air, cosmetics, and even our own sweat, it forms silver sulfide—the dark, dull layer we know as tarnish. While reaching for a commercial silver cleaner for jewelry might seem like the quickest fix, using the wrong chemical solution or technique can permanently strip plating, etch sterling alloys, or fracture delicate gemstones.
This comprehensive, step-by-step guide will teach you how to identify your silver type, select the appropriate cleaning chemistry, and safely restore your jewelry's original luster without causing microscopic damage.
Identify Your Silver Type Before Cleaning
Before applying any silver cleaner for jewelry, you must determine the exact metallurgical composition of your piece. The cleaning method that works brilliantly for a solid silver chain will ruin a silver-plated necklace.
- Fine Silver (999): Composed of 99.9% pure silver. It is highly resistant to tarnish but extremely soft. Avoid abrasive polishes that can scratch the surface.
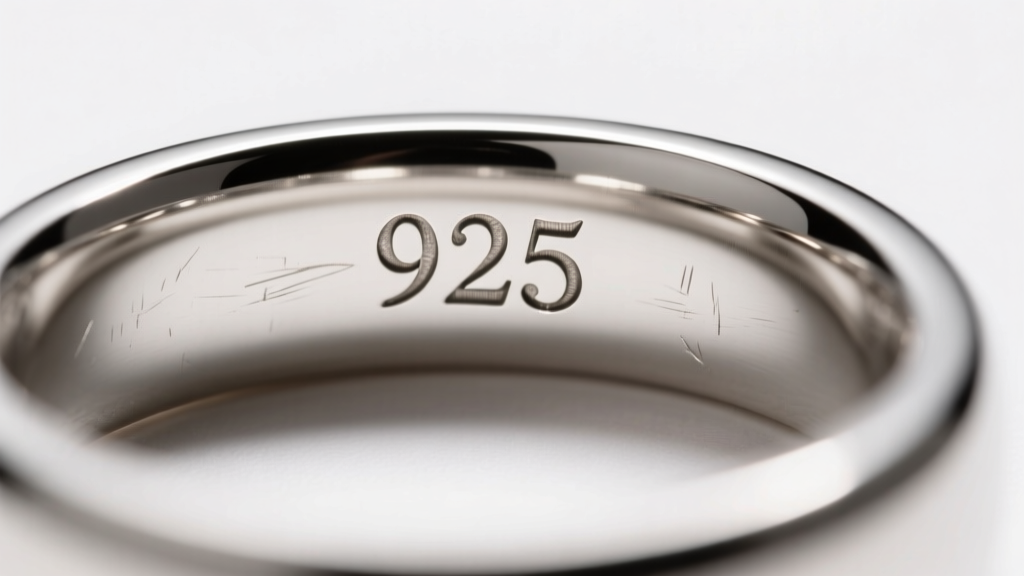
- Sterling Silver (925): An alloy of 92.5% silver and 7.5% copper. The copper provides durability but is the primary culprit behind heavy tarnishing. Most liquid dips are formulated specifically for the copper-silver bond in 925 alloys.
- Silver-Plated: A base metal (usually brass or copper) coated with a microscopic layer of silver. Aggressive rubbing or prolonged soaking in acidic dips will strip the plating entirely, exposing the base metal.
- Oxidized Silver: Intentionally treated with liver of sulfur to create dark, antiqued crevices. Standard liquid silver cleaners will strip this deliberate patina in seconds, ruining the designer's intended contrast.
Choosing the Right Silver Cleaner for Jewelry
Not all cleaners are created equal. The market offers four primary categories of silver cleaning solutions, each with distinct chemical mechanisms and risk profiles. Below is a decision matrix to help you match the cleaner to your specific jewelry type.
| Cleaner Type | Active Mechanism | Best For | Avoid Using On |
|---|---|---|---|
| Liquid Dips (Thiourea) | Chemical dissolution of silver sulfide | Heavy tarnish on 925 sterling chains | Plated jewelry, oxidized finishes, porous gems |
| Polishing Cloths (Jeweler's Rouge) | Mild micro-abrasion and chemical polishing | Light tarnish, daily maintenance, plated items | Deep crevices, high-polish mirror finishes |
| Electrolytic Bath | Ion transfer (reverses oxidation) | Solid silver flatware, intricate 925 filigree | Any jewelry with glued or porous gemstones |
| Ultrasonic Cleaners | High-frequency cavitation bubbles | Diamond and sapphire set in solid silver | Opals, pearls, emeralds, turquoise, plated items |
Step-by-Step: Using a Liquid Silver Cleaner for Jewelry
Liquid dips rely on thiourea, a toxic but highly effective chemical that bonds with silver sulfide and pulls it off the metal. While fast, improper use leads to 'flash-etching'—a permanent, cloudy white discoloration caused by the acid attacking the copper in the sterling alloy.
Expert Warning: Never leave sterling silver in a thiourea-based liquid dip for more than 10 seconds. The chemical reaction is immediate; prolonged exposure will permanently ruin the metal's crystalline surface structure.
The Safe Application Method
- Prep the Workspace: Work in a well-ventilated area. Thiourea releases mild sulfur gases. Wear nitrile gloves to protect your skin and prevent transferring oils to the clean silver.
- The Quick Dip: Using a plastic or wooden skewer (never metal tongs, which can cause a galvanic reaction), submerge the 925 sterling jewelry into the liquid dip for exactly 5 to 10 seconds.
- Agitate Gently: Swish the piece gently to ensure the solution reaches intricate links and jump rings.
- Immediate Neutralization: Remove the jewelry and immediately plunge it into a bowl of warm water mixed with a drop of mild, phosphate-free dish soap to halt the acidic reaction.
- Dry Thoroughly: Pat dry with a lint-free microfiber cloth. Use a hairdryer on the 'cool' setting to blow water out of hidden crevices; trapped moisture will cause immediate re-tarnishing.
Step-by-Step: The Electrolytic Bath (Chemical-Free Alternative)
If you prefer to avoid harsh commercial chemicals, the electrolytic bath is a scientifically proven method to reverse tarnish without removing any base silver. This method uses a galvanic reaction to convert silver sulfide back into pure silver.
Materials Required
- A glass or ceramic baking dish (never use a metal sink or metal bowl)
- Heavy-duty aluminum foil
- Baking soda (sodium bicarbonate) and non-iodized salt
- Boiling water
The Execution Steps
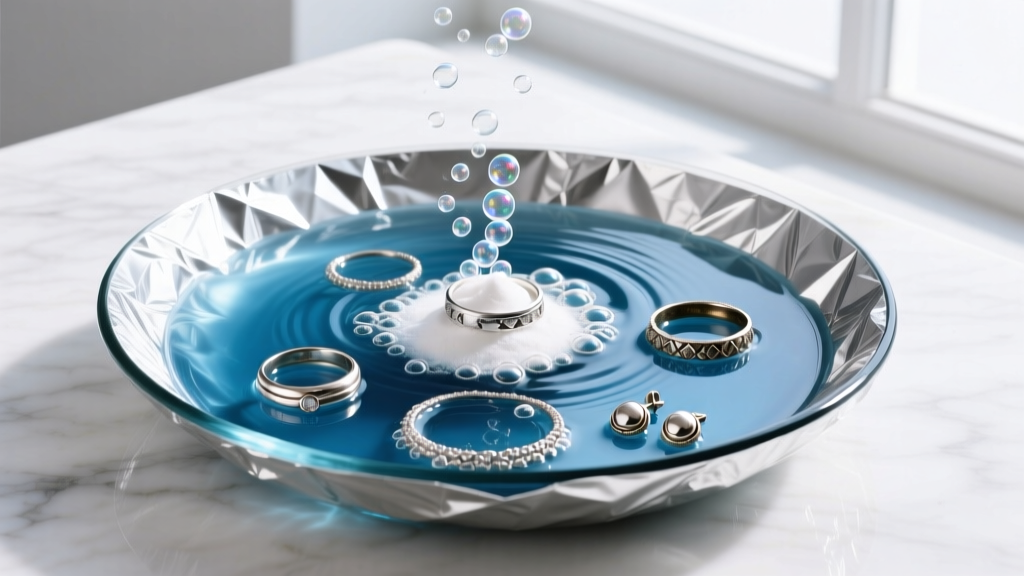
- Line the Dish: Cover the inside of the glass dish with aluminum foil, shiny side facing up. Ensure the foil is pressed into the corners.
- Add the Catalysts: Sprinkle 1 tablespoon of baking soda and 1 tablespoon of non-iodized salt evenly over the foil.
- Activate with Heat: Pour boiling water into the dish. The mixture will fizz aggressively as the sodium bicarbonate dissolves and creates an electrolytic solution.
- Submerge the Silver: Place your solid silver jewelry into the water. Critical Rule: The silver must physically touch the aluminum foil to complete the electrical circuit. You will instantly smell a rotten egg odor—this is the sulfur leaving the silver and bonding to the aluminum.
- Monitor and Remove: Leave the piece in the bath for 2 to 5 minutes. Once the tarnish has vanished, remove it with wooden tongs, rinse in cool distilled water, and buff dry.
Crucial Gemstone Safety Protocols
The most common jewelry disasters occur when a silver cleaner for jewelry destroys the stones set within the metal. According to the Gemological Institute of America (GIA), porous and organic gemstones require entirely different care regimens.
- Never Dip: Turquoise, lapis lazuli, malachite, opals, and pearls are highly porous. Liquid silver dips will seep into the stone's microscopic fractures, causing permanent discoloration, structural weakening, and dissolution of the pearl's nacre.
- Avoid Ultrasonics: The high-frequency vibrations of ultrasonic cleaners can shatter emeralds (which are heavily fractured and oil-treated) and loosen the adhesive used in glued cabochon settings.
- The Safe Approach: For jewelry featuring these delicate stones, use a dry, untreated jeweler's polishing cloth. Carefully rub only the exposed silver, avoiding direct friction on the gemstone's surface or the prongs holding it.
Post-Cleaning Care and Tarnish Prevention
Once your silver is stripped of its tarnish layer, the bare metal is highly reactive. Proper storage is essential to delay the inevitable return of silver sulfide. The Smithsonian Museum Conservation Institute recommends controlling the micro-climate where silver is stored.
Advanced Storage Techniques
- Anti-Tarnish Strips: Invest in 3M anti-tarnish strips. These contain copper-based polymers that act as a sacrificial anode, absorbing airborne sulfur compounds before they reach your jewelry. Replace them every 6 months.
- Pacific Silvercloth: Store high-value 925 sterling pieces in Pacific Silvercloth bags. This specialized fabric is embedded with microscopic silver particles that capture and neutralize tarnish-causing gases.
- Desiccant Packs: Moisture accelerates the oxidation process. Toss a few silica gel packets into your jewelry box or safe to maintain a low-humidity environment, ideally below 40% relative humidity.
- Chalk Trick: For a budget-friendly desiccant, place a piece of standard blackboard chalk in your jewelry drawer. The chalk is highly porous and will absorb ambient moisture effectively.
By understanding the chemistry of your specific silver alloy and matching it with the correct cleaning methodology, you can safely maintain your jewelry's brilliance for generations. Always prioritize gentle, targeted cleaning over aggressive, one-size-fits-all chemical dips.


