How to Anchor a Body Chain Necklace to Dermal Piercings
Learn how to safely anchor a body chain necklace to dermal and surface piercings. Step-by-step guide on connectors, gauge sizes, and tension control.


Integrating a body chain necklace into your existing body modifications is one of the most striking ways to elevate your aesthetic in 2026. Unlike traditional necklaces that rely solely on the circumference of your neck, a piercing-integrated body chain necklace utilizes dermal anchors, surface barbells, or micro-dermals as structural anchor points. This creates a harness-like effect that drapes beautifully across the clavicle, sternum, or shoulders. However, attaching a continuous metal chain directly to a healed fistula introduces complex biomechanical risks, including tension migration, snagging, and tissue tearing.
This comprehensive, step-by-step guide will teach you how to safely anchor a body chain necklace to your piercings. We will cover the exact hardware requirements, tension-mapping techniques, and fail-safe mechanisms necessary to protect your skin and your investment. Whether you are working with a professional piercer or modifying a harness at home, understanding the physics of body jewelry is non-negotiable.
The Biomechanics of Piercing-Integrated Chains
When you wear a standard body chain necklace, the weight is distributed evenly across your shoulders and back. When you clip that same chain to a dermal anchor on your collarbone, the physics change dramatically. The dermal anchor—a small titanium plate seated beneath the dermis—must now withstand lateral pull, kinetic shock from walking, and the sheer weight of the metal chain.
If the chain is too heavy or lacks flexibility, the constant micro-tugging will trigger an immune response. Your body will recognize the persistent lateral tension as trauma, leading to the gradual rejection and migration of the dermal anchor. According to the Association of Professional Piercers (APP), improper jewelry weight and persistent irritation are leading causes of surface piercing failure. Therefore, the goal of anchoring a body chain necklace is not just about aesthetics; it is about engineering a system that absorbs shock and eliminates direct lateral pull on the fistula.
Step 1: Selecting the Right Base Piercings and Hardware
Before you purchase or modify a body chain necklace, you must evaluate your existing piercings. Not all piercings can support the weight of a chain. Fresh piercings (under 12 months old) should never be used as anchor points. Only fully matured, stable dermals and surface piercings are eligible.
Hardware Compatibility Table
| Piercing Type | Minimum Healing Time | Required Top Style | Weight Capacity |
|---|---|---|---|
| Microdermal (Single-point) | 12-18 Months | Threaded top with integrated loop | Low (Max 15g chain) |
| Surface Barbell | 12-24 Months | Threaded ends with jump-ring loops | Medium (Max 12g chain) |
| Transdermal (Rare) | N/A (Specialized) | Plate with D-ring attachment | High (Custom harness) |
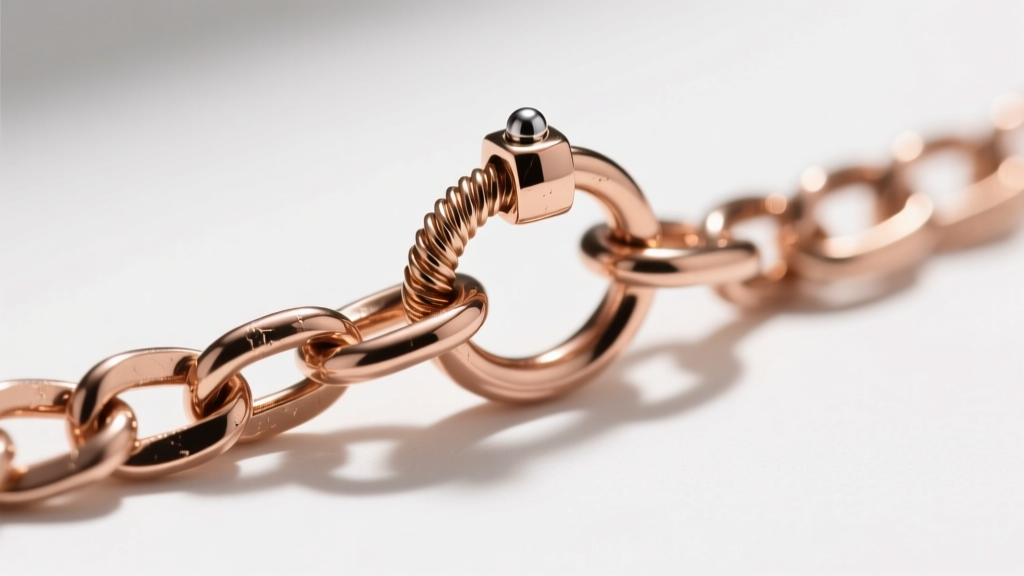
For the base hardware, you must use implant-grade titanium (ASTM F136). Avoid surgical steel or mystery metals for the anchor tops, as the constant friction from the chain's jump rings can degrade lower-quality alloys, introducing nickel into the tissue. Brands like NeoMetal and BVLA offer specialized dermal tops featuring built-in loops or D-rings specifically designed for harness and chain attachments. Expect to pay between $35 and $85 per specialized anchor top.
Step 2: Sourcing the Body Chain Necklace and Fail-Safes
The physical chain you choose for your body chain necklace dictates the success of the setup. You must balance visual delicacy with structural integrity. Heavy cable chains or thick Cuban links are entirely unsuitable for dermal anchors; they possess too much mass and generate dangerous momentum if you move quickly.
Choosing the Right Chain Profile
- Rolo Chains: Excellent for harnesses. The uniform, rounded links distribute weight evenly and resist kinking.
- Snake Chains: Visually stunning and fluid, but highly prone to kinking and trapping body hair. Use only for short, low-tension clavicle spans.
- Box Chains: Avoid these. The sharp, geometric edges of box links can easily catch on the dermal top's threading, slowly unscrewing it over time.
The most critical component of your body chain necklace is the fail-safe mechanism. If your chain snags on a door handle or a tight sweater, the kinetic energy must break the chain before it rips the dermal anchor out of your skin. To achieve this, never use heavy-duty welded jump rings to connect the chain to the dermal top. Instead, use a standard 16-gauge (1.2mm) or 18-gauge (1.0mm) seamless jump ring that is merely pressed shut, or integrate a small, medical-grade silicone O-ring between the chain and the dermal loop. The silicone O-ring acts as a shock absorber and will snap under extreme duress, saving your piercing from catastrophic trauma.
Step 3: The Attachment Protocol (Step-by-Step)
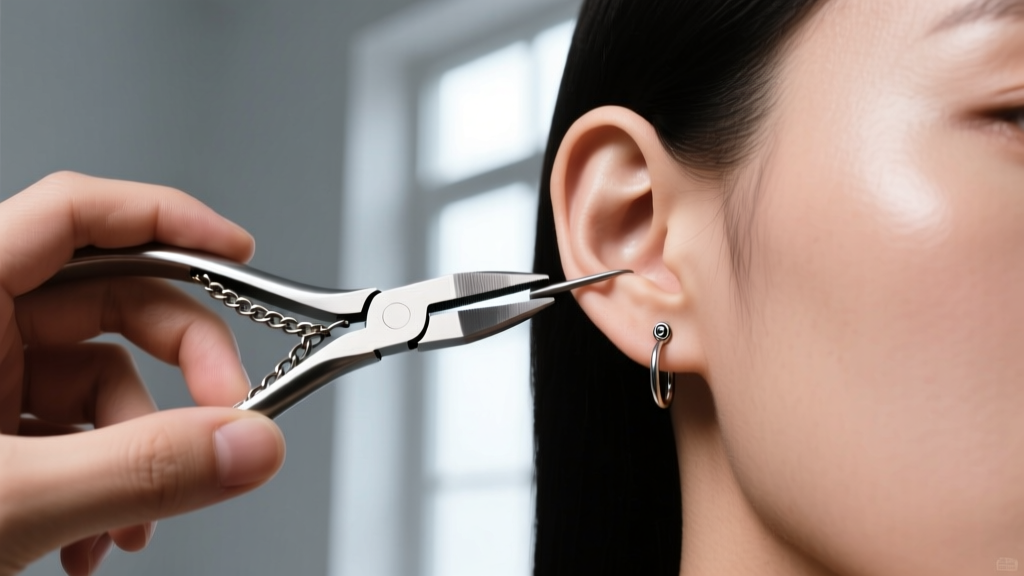
Attaching your body chain necklace requires precision tools and a sterile environment. Do not attempt this with your fingers or standard household pliers, which can mar the metal and harbor bacteria.
- Prep Your Tools: You will need two pairs of high-quality, smooth-jaw chain-nose pliers (brands like Wubbers are ideal to prevent scratching the metal), sterile saline spray, and non-woven gauze.
- Map the Tension: Before cutting any chain, drape the body chain necklace across your body. Have a friend pin the chain at the exact points where it will meet the dermal loops. Ensure there is at least 1 to 1.5 inches of slack. The chain should rest on the skin without pulling it taut when you stand in a neutral posture.
- Prepare the Jump Ring: Take your 16-gauge titanium jump ring. Using the two pairs of pliers, twist the ring open laterally (side-to-side). Never pull the ends apart outward, as this warps the perfect circle and weakens the metal's memory.
- Thread and Secure: Slide the open jump ring through the loop of the dermal top and the end link of your body chain necklace. Twist the jump ring closed laterally until you hear and feel a distinct 'click' or 'snap' as the ends meet perfectly flush. Run your fingernail over the seam; if it catches, the ring is not closed properly and will eventually snag and open.
- Repeat and Balance: Attach the opposite side. Step back and observe the drape. If one dermal appears red or indented, the chain is too tight and must be adjusted immediately.
Step 4: Aftercare, Cleaning, and Tension Maintenance
Maintaining a body chain necklace that is permanently or semi-permanently attached to your piercings requires a modified hygiene routine. The chain will trap sweat, dead skin cells, and sebum against the fistula, creating a breeding ground for irritation bumps and localized dermatitis.
According to the APP's official aftercare guidelines, keeping the piercing site free of debris is paramount. You cannot simply submerge the area in a bowl of saline if a long chain is attached. Instead, soak sterile, non-woven gauze in sterile 0.9% sodium chloride solution and wrap it around the dermal top and the connecting jump rings for 3 to 5 minutes daily. This softens any crusties caught in the chain links. Gently brush the jump ring seam with a clean, soft-bristled interdental brush to dislodge microscopic debris.
Expert Warning: Never sleep with a long, unclasped body chain necklace attached to your dermals. The risk of the chain wrapping around your neck or catching on the bedsheets during REM sleep is exceptionally high. If your chain is not a custom-fitted, closed-loop harness, unclip it from the dermal tops before going to bed, or use a secure clasp to bind the loose ends to your body.
Monitoring for Rejection
Even with perfect tension mapping, the addition of a body chain necklace changes the baseline environment of your piercing. Inspect the anchor points weekly. If you notice the skin over the dermal plate becoming translucent, if the jewelry sits more shallowly than before, or if you experience persistent redness radiating from the fistula, remove the chain immediately. These are the earliest clinical signs of migration. Reverting to a standard, lightweight gemstone top and giving the tissue a 30-day rest period can sometimes halt the rejection process, but once a dermal begins to reject, it must eventually be removed by a professional to prevent severe scarring.
By respecting the biomechanics of your skin and utilizing fail-safe hardware, your body chain necklace can remain a breathtaking, secure extension of your personal style for years to come.


