How to Sterilize Piercing Jewelry: Safe Home Methods
Learn how to sterilize piercing jewelry safely at home. Discover autoclave alternatives, boiling methods, and material-specific troubleshooting tips.

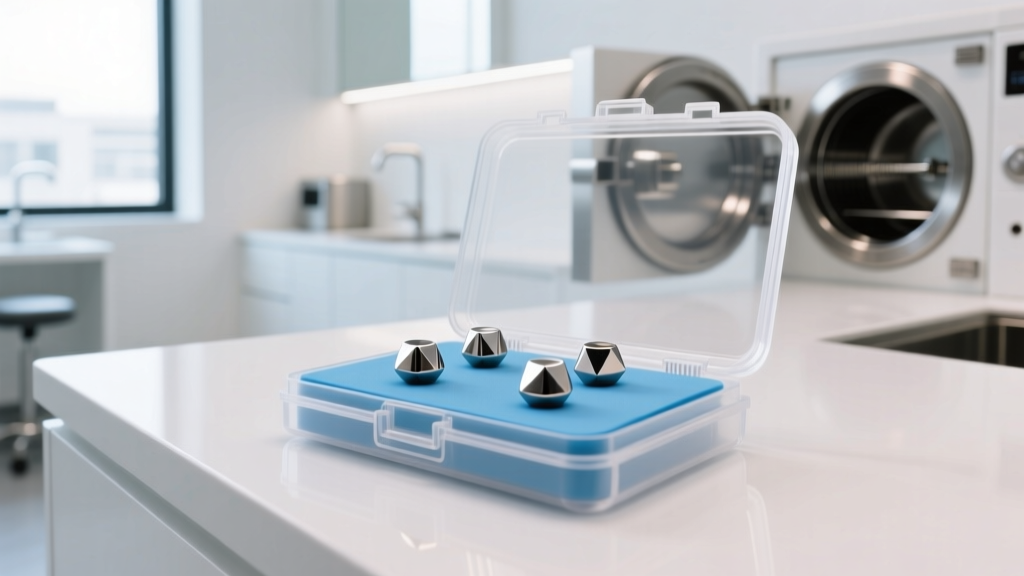
When a piercing becomes irritated, or when you are preparing to swap out an old piece of body jewelry for a new one, proper hygiene is non-negotiable. While professional piercing studios use medical-grade autoclaves to achieve true sterilization, most enthusiasts and collectors are left wondering how to sterilize piercing jewelry safely within the confines of their own homes. The reality is that achieving surgical-level sterility outside of a clinical environment is nearly impossible, but you can achieve high-level disinfection that effectively eliminates the vast majority of pathogens, bacteria, and fungi responsible for piercing infections.
This comprehensive troubleshooting guide breaks down the metallurgy of body jewelry, the limitations of home sterilization, and step-by-step protocols for safely decontaminating your collection without ruining expensive implants or delicate organics.
The Crucial Difference: Cleaning vs. Sterilizing
Before applying heat or chemicals to your jewelry, it is vital to understand the scientific distinction between cleaning, disinfecting, and sterilizing. According to the Centers for Disease Control and Prevention (CDC), sterilization is a process that completely destroys all microbial life, including highly resilient bacterial endospores. This requires pressurized steam at 121°C (250°F) for a minimum of 15 to 20 minutes—conditions only an autoclave can provide.
Home methods like boiling or chemical soaking achieve high-level disinfection. This kills all vegetative bacteria, mycobacteria, and most viruses, but may leave some bacterial spores intact. For a fully healed piercing, high-level disinfection is generally sufficient for swapping jewelry. However, for a fresh, unhealed fistula, you should only use jewelry pre-sterilized in an autoclave by a reputable manufacturer.
The Mandatory Pre-Cleaning Step: Ultrasonic Cavitation
You cannot sterilize or disinfect jewelry that is coated in sebum, dead skin cells, or dried lymph. Organic matter creates a physical shield that protects bacteria from heat and chemicals. Before any sterilization attempt, clean the jewelry using an ultrasonic cleaner filled with warm water and a few drops of mild, fragrance-free dish soap. The microscopic cavitation bubbles will blast debris out of gemstone prongs, ball threads, and hinge mechanisms. Rinse thoroughly with distilled water before proceeding to heat or chemical methods.
Material-Specific Sterilization Limits
Not all body jewelry can withstand the temperatures or chemicals required for thorough disinfection. Applying the wrong method will warp organics, melt acrylics, and degrade the passive oxide layer on implant-grade metals. The Association of Professional Piercers (APP) strongly recommends specific material grades for initial piercings, and these same grades dictate your home care limits.
| Material Grade | Boiling Water (100°C) | Chemical Soak (Madacide) | Troubleshooting Notes |
|---|---|---|---|
| Implant-Grade Titanium (ASTM F136) | Safe | Safe | Highly resistant to corrosion; ideal for all home methods. |
| 316LVM Surgical Steel | Safe | Safe | Avoid chloride-based chemicals which can cause micro-pitting. |
| Niobium | Safe | Safe | Anodized colors may shift slightly under prolonged high heat. |
| Solid 14k/18k Gold | Safe | Use Caution | Harsh chemicals can strip alloyed metals; boiling is preferred. |
| Acrylic / Bioplast | Unsafe (Melts) | Safe (Mild) | Never boil. Use lukewarm water and mild soap only. |
| Wood / Bone / Horn | Unsafe (Warps) | Unsafe | Porous. Wipe with jojoba oil; never submerge in liquid. |
Step-by-Step: The Boiling Water Method
For heat-safe metals like titanium, niobium, and surgical steel, boiling is the most effective home method for high-level disinfection. Water boils at 100°C (212°F) at sea level, which is sufficient to destroy common piercing pathogens like Staphylococcus aureus and Pseudomonas aeruginosa.
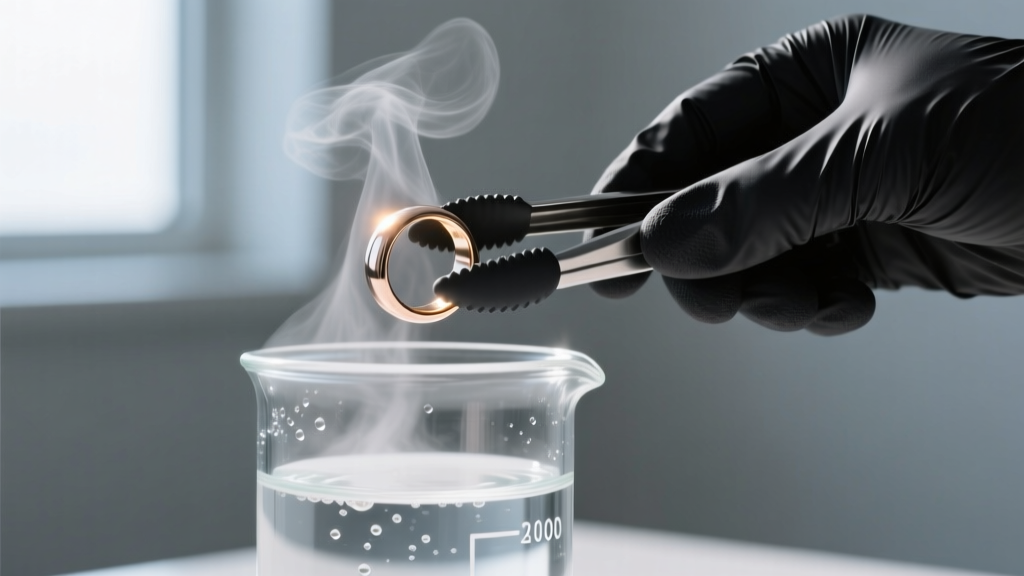
- Prepare the Vessel: Use a dedicated glass beaker or a small stainless steel pot that is not used for food preparation. This prevents cross-contamination from foodborne pathogens.
- Use Distilled Water: Never use tap water. Tap water contains minerals like calcium and magnesium that will bake onto your jewelry, leaving a cloudy, white, chalky residue that is difficult to remove. Fill the vessel with enough distilled water to submerge the jewelry completely.
- Achieve a Rolling Boil: Bring the water to a vigorous, rolling boil on a stovetop or hot plate. Do not start your timer when the water is merely simmering.
- Submerge and Time: Carefully lower the jewelry into the boiling water using silicone-tipped tongs (metal tongs can scratch polished surfaces). Set a timer for 15 minutes.
- Air Dry on a Sterile Field: Remove the jewelry and place it on a piece of sterile, non-woven medical gauze. Do not use paper towels or cotton pads, as they leave microscopic lint fibers behind that can irritate a fresh fistula. Allow it to air dry completely before insertion.
Chemical Disinfection: When Heat Fails
If you are working with heat-sensitive materials like solid gold with delicate gemstone settings (where thermal shock can crack the stone), or if you simply lack a stovetop setup, chemical disinfection is your secondary option. However, you must use professional-grade high-level disinfectants, not rubbing alcohol or hydrogen peroxide, which evaporate too quickly and fail to penetrate biofilms.
Using Madacide or Barbicide Safely
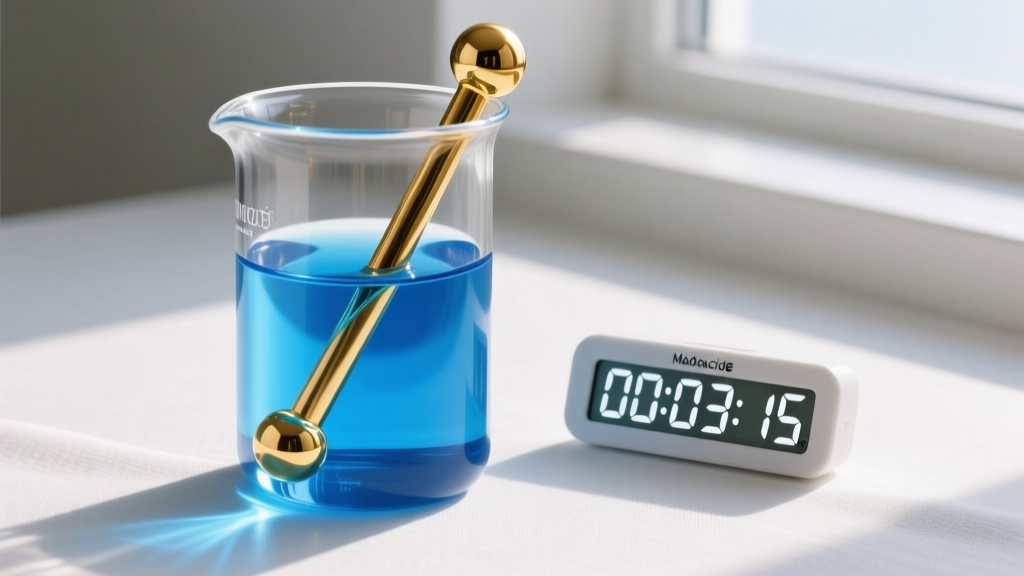
Madacide and Barbicide are quaternary ammonium compounds used in medical and tattoo environments. To use them effectively without causing chemical burns to your piercing tract, precision is required.
- Dilution Ratio: Mix the concentrate exactly according to the manufacturer's instructions (usually 1:32 or 1 ounce of Madacide to 32 ounces of cold water). A stronger solution will not kill bacteria faster; it will only leave a toxic residue.
- Submersion Time: Submerge the pre-cleaned jewelry completely for exactly 10 to 15 minutes. Leaving metal in quaternary ammonium for hours can lead to oxidative discoloration.
- The Critical Rinse: This is where most people fail. After the chemical soak, you must rinse the jewelry thoroughly with sterile saline solution (0.9% sodium chloride) or distilled water. Inserting jewelry coated in Madacide into a piercing will cause severe contact dermatitis and chemical burns inside the fistula.
Troubleshooting Common Sterilization Failures
Even with meticulous technique, things can go wrong. Here is how to troubleshoot the most common issues encountered during home jewelry decontamination.
- Problem: Jewelry smells like a swimming pool after chemical soaking.
Solution: You did not rinse the jewelry adequately. Quaternary ammonium compounds cling to microscopic scratches in the metal. Soak the jewelry in a bowl of sterile saline for 5 minutes, then rinse under a steady stream of distilled water. - Problem: Titanium or steel jewelry has white, chalky spots after boiling.
Solution: You used tap or filtered water instead of distilled water. The spots are mineral deposits. Soak the jewelry in pure white vinegar for 5 minutes to dissolve the calcium, then rinse with distilled water and re-boil using distilled water. - Problem: O-rings on circular barbells or retainers melted or warped.
Solution: Standard rubber O-rings degrade rapidly under high heat and chemical exposure. Always remove rubber O-rings before boiling or chemical soaking. Replace them with Viton or silicone O-rings, which offer vastly superior heat and chemical resistance. - Problem: Gemstones fell out during boiling.
Solution: Thermal expansion caused the metal prongs to loosen, or the water pressure dislodged a weak setting. Never boil prong-set jewelry. Use the chemical soak method instead, and have a professional piercer tighten the prongs with a gem-setting tool.
When to Throw It Away: Recognizing Compromised Jewelry
Sterilization and disinfection protocols assume the jewelry surface is intact. When jewelry becomes physically compromised, it becomes a biological hazard that no amount of boiling or chemical soaking can salvage.
Scratched Acrylic and Bioplast: Polymers are highly porous at a microscopic level. If your acrylic taper or bioplast retainer has visible scratches, it has developed micro-fissures that harbor bacterial biofilms. Chemicals cannot penetrate these fissures effectively. Discard scratched polymers immediately.
Pitted Surgical Steel: If you notice tiny black or rust-colored dots on your 316L steel jewelry, the passive chromium oxide layer has been breached, leading to pitting corrosion. These pits are breeding grounds for Staphylococcus. Pitted steel cannot be safely sterilized at home and will cause metal hypersensitivity reactions in the piercing tract. Throw it away and upgrade to ASTM F136 implant-grade titanium.
Stripped Threads: If the ball on your barbell requires excessive force to screw on, or if it constantly loosens, the internal or external threads are stripped. Stripped threads create microscopic gaps where dead skin and bacteria accumulate, completely shielded from your sterilization efforts. Retire the piece.
"The integrity of the jewelry surface is just as important as the sterilization method. A scratched piece of jewelry is a permanent vector for infection, regardless of how long you boil it."
Mastering how to sterilize piercing jewelry at home requires a blend of material science, strict adherence to protocols, and the discipline to throw away compromised pieces. By understanding the limits of boiling and chemical disinfection, you can maintain a safe, hygienic collection that keeps your piercings healthy, thriving, and beautifully adorned for years to come.


