Beginner Guide to Ear Conch Piercing Jewelry: Styles & Healing
Discover the ultimate beginner guide to ear conch piercing jewelry. Learn about sizing, implant-grade materials, and healing tips for a bump-free piercing.

The Conch Piercing: Anatomy and Placement
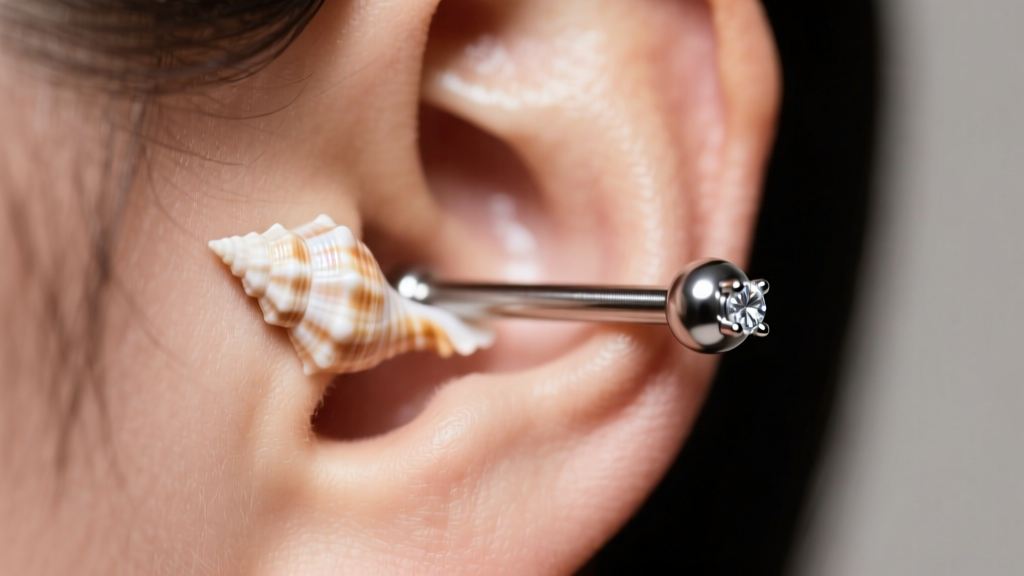
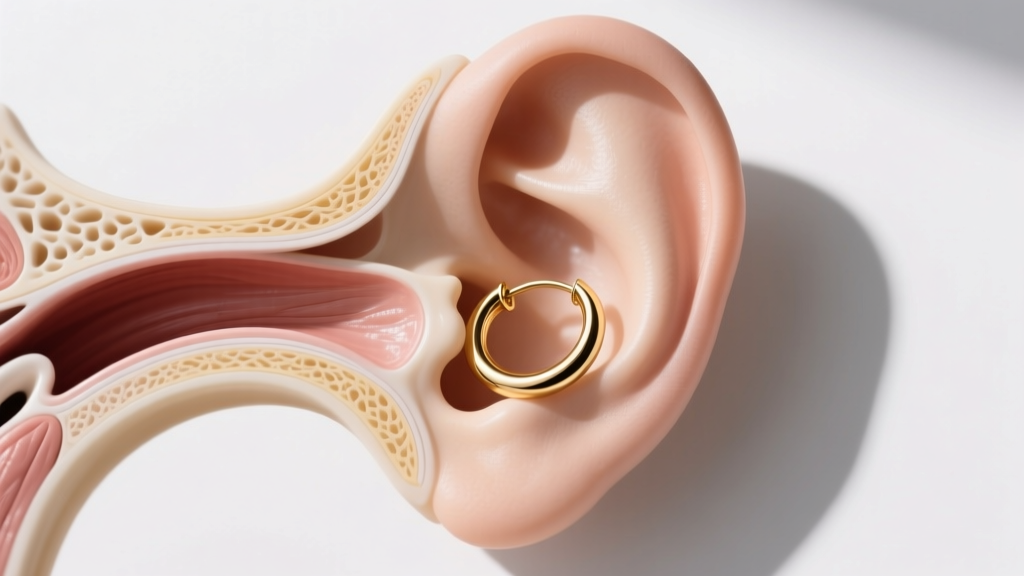
The conch piercing gets its name from the conch shell due to the ear's natural, cup-like cartilage formation. When shopping for ear conch piercing jewelry, understanding your specific anatomy is the first step toward a successful healing journey. The conch is generally divided into two distinct zones: the inner conch and the outer conch. The inner conch is the deep, hollowed-out bowl of cartilage directly adjacent to the ear canal. This area provides a broad, flat canvas that is ideal for larger decorative studs or hoops that wrap around the helix ridge. The outer conch sits higher up, on the flatter ridge of cartilage just beneath the helix fold. Because of the tighter spatial constraints in the outer conch, jewelry choices here often lean toward smaller studs or snug-fitting clicker rings.
Cartilage is avascular, meaning it lacks a direct blood supply and relies on surrounding tissues for nutrients. This biological reality dictates that cartilage piercings heal slowly—typically taking 6 to 12 months to fully mature. Choosing the correct initial jewelry is not just an aesthetic decision; it is a medical necessity to prevent chronic irritation, embedding, and hypertrophic scarring.
Initial Ear Conch Piercing Jewelry: The Flat Back Labret
For a fresh conch piercing, the undisputed gold standard is the flat back labret stud. This specific style features a straight post with a flat, disc-like backing that sits flush against the inside of the ear. According to the Association of Professional Piercers (APP), flat back labrets minimize movement, which is the primary enemy of cartilage healing. Every time a piece of jewelry rotates or shifts, it tears the fragile fistula (the tube of healing tissue), resetting your healing clock and introducing bacteria.
Why Hoops Are a Beginner Mistake
Many beginners walk into a studio requesting a hoop for their initial conch piercing. Professional piercers will almost universally advise against this. Rings and hoops naturally curve, which forces the piercing channel to heal at an angle. Furthermore, hoops are highly susceptible to snagging on hair, towels, and pillows. This constant micro-trauma frequently leads to irritation bumps—small, localized swellings of hypertrophic tissue that form when the body attempts to over-protect a traumatized piercing site. Stick to a flat back labret for the initial healing phase, and save the hoops for your healed upgrade.
Sizing Specifications: Gauge, Length, and Diameter
Precision in sizing is critical. A post that is too long will catch on objects and cause leverage trauma, while a post that is too short will embed into the swelling cartilage, potentially requiring surgical removal. Below is the standard sizing framework utilized by reputable piercers in 2026.
| Jewelry Type | Ideal Placement | Standard Gauge | Initial Size (Swelling) | Healed Size (Downsized) |
|---|---|---|---|---|
| Flat Back Labret | Inner Conch | 16g (1.2mm) or 14g (1.6mm) | 5/16" (8mm) or 3/8" (10mm) | 1/4" (6mm) or 5/16" (8mm) |
| Flat Back Labret | Outer Conch | 16g (1.2mm) | 1/4" (6mm) or 5/16" (8mm) | 3/16" (5mm) or 1/4" (6mm) |
| Hinged Segment Ring | Outer Conch (Healed Only) | 16g (1.2mm) | N/A | 3/8" (10mm) to 1/2" (12mm) |
| Captive Bead Ring | Inner Conch (Healed Only) | 14g (1.6mm) | N/A | 7/16" (11mm) to 1/2" (12mm) |
Material Grades: Navigating the Metal Maze
The metal touching your open wound dictates how your immune system responds. The Cleveland Clinic notes that contact dermatitis and nickel allergies are leading causes of piercing complications. Therefore, material selection requires strict scrutiny.
The Gold Standard: Implant-Grade Titanium
For initial jewelry, you must demand implant-grade titanium (ASTM F-136). This specific alloy is entirely nickel-free, highly polished, and biocompatible, meaning the human body does not recognize it as a foreign threat. Brands like NeoMetal, Anatometal, and Industrial Strength are industry leaders that machine their titanium to these exact medical specifications. Avoid the vague term "surgical steel" or "316L stainless steel," as these contain up to 14% nickel, which can leach into the piercing channel and trigger severe allergic reactions and delayed healing.
What About Solid Gold?
14k or 18k solid gold is also an excellent, safe choice for initial and healed ear conch piercing jewelry, provided it is alloyed specifically for body jewelry (nickel-free and palladium-based). However, gold is significantly more expensive and slightly softer than titanium, making it more prone to micro-scratches that can harbor bacteria if not polished to a mirror finish by the manufacturer.
The Downsizing Timeline: Crucial for Bump Prevention
When you are first pierced, your piercer will insert a longer post (usually 5/16" or 3/8") to accommodate the inevitable swelling that peaks around days 3 through 7. However, leaving this long post in indefinitely is a recipe for disaster. Once the swelling subsides—typically between weeks 4 and 8—you must return to your piercer for a "downsize."
"Failing to downsize your flat back labret is the number one cause of irritation bumps in conch piercings. The excess post acts as a lever; every time you brush your hair or sleep, it pulls the jewelry at an angle, tearing the healing fistula."
During a downsize appointment, your piercer will swap the post for a shorter one (usually 1/4" or 3/16") that fits snugly against the tissue. This eliminates the lever effect, allowing the piercing channel to straighten out and heal flush against the cartilage.
Upgrading to Healed Ear Conch Piercing Jewelry
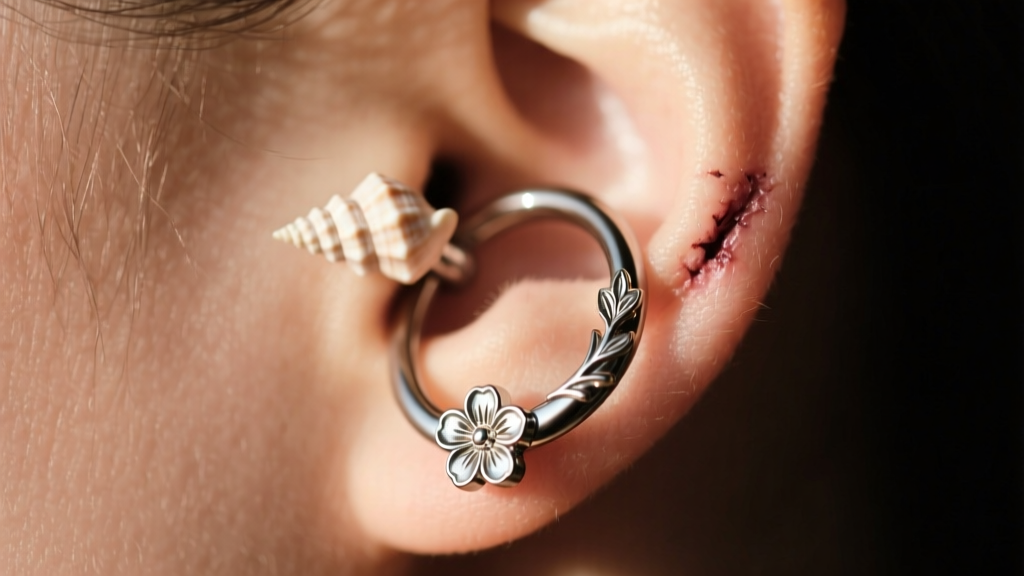
Once your piercer confirms the fistula is fully matured (usually after 9 to 12 months), the aesthetic possibilities expand dramatically. The outer conch is a prime location for hinged segment rings or clickers, which snap securely into place and offer intricate, decorative designs that wrap around the ear's ridge. The inner conch can accommodate larger captive bead rings (CBRs) or seamless rings that hug the ear's anatomy.
Threadless vs. Internally Threaded Ends
When upgrading your labret tops, you will encounter two primary mechanisms: threadless (press-fit) and internally threaded. Threadless jewelry, pioneered by NeoMetal, uses a tiny pin that bends slightly to create tension inside the hollow post. This is highly secure and allows for seamless, gap-free decorative ends. Internally threaded jewelry features screw threads on the decorative end that twist into the hollow post. Both are exceptionally safe and APP-approved, but you must absolutely avoid externally threaded jewelry, where the sharp screw threads are on the post itself, forcing them to tear through the delicate fistula during insertion.
Troubleshooting Common Conch Issues
Even with perfect ear conch piercing jewelry, cartilage can be temperamental. Here is how to handle common roadblocks:
- Irritation Bumps: If a bump appears near the jewelry exit, do not apply tea tree oil or aspirin pastes—these will cause chemical burns. Instead, evaluate your jewelry length, stop sleeping on the ear, and switch to sterile 0.9% sodium chloride wound wash.
- Embedding: If the flat back disc begins to sink into the skin, this is an urgent medical issue. The swelling has outpaced the post length. Visit a professional piercer immediately to have a longer post installed.
- Sleeping Trauma: The conch is notoriously difficult to sleep on. Invest in a U-shaped travel pillow and sleep with your ear nestled in the center hole to eliminate nocturnal pressure and friction.
By prioritizing implant-grade materials, adhering to strict sizing protocols, and exercising patience during the 12-month healing window, your conch piercing will mature into a stunning, lifelong addition to your ear curation.