How to Clean Helix Piercing Jewelry Without Irritation
Learn how to clean helix piercing jewelry safely. Discover material-specific maintenance tips for titanium and gold to prevent irritation bumps.

When it comes to cartilage modifications, the hardware you wear is only half the battle. The way you maintain that hardware dictates whether your piercing thrives or devolves into a cycle of irritation bumps and delayed healing. Cleaning helix piercing jewelry requires a nuanced understanding of both metallurgy and human biology. Unlike the highly vascularized earlobe, the upper cartilage of the ear relies on perichondrium for its blood supply, making it exceptionally unforgiving of harsh chemicals, mechanical trauma, and improper hygiene.
In this comprehensive guide, we break down the exact protocols for maintaining your helix hardware, from the initial 0.9% saline soaks of the healing phase to the ultrasonic deep-cleaning required for fully healed fistulas. Whether you are rocking an ASTM F-136 titanium flat-back labret or a seamless 14k gold hoop, these evidence-based maintenance strategies will protect your investment and your anatomy.
The Biology of Cartilage and Jewelry Interaction
To understand why specific cleaning methods are required, we must first look at the tissue environment. Cartilage is avascular, meaning it lacks direct blood vessels. Nutrients and immune cells must diffuse through the perichondrium (the connective tissue membrane covering the cartilage). When you introduce harsh cleaning agents like hydrogen peroxide or rubbing alcohol to your helix piercing jewelry, you are not just killing bacteria; you are inducing cytotoxicity in the fibroblasts responsible for generating your new fistula (the skin tube lining the piercing channel).
Furthermore, the micro-movements of poorly maintained jewelry can introduce biofilm—a slimy matrix of bacteria and cellular debris—into the channel. If the jewelry itself is porous or scratched from improper cleaning, it becomes a permanent reservoir for this biofilm, leading to chronic perichondritis or localized contact dermatitis.
Material-Specific Cleaning Protocols
Not all implant-grade metals react the same way to cleaning agents. The composition of your helix piercing jewelry dictates the chemicals you can safely use without degrading the metal's passivation layer (the microscopic oxide shield that prevents corrosion and nickel leaching).
| Material | Standard / Grade | Safe Cleaning Agents | Ultrasonic Safe? | Steam Safe? |
|---|---|---|---|---|
| Implant Titanium | ASTM F-136 / F-1295 | Sterile Saline, Mild Dish Soap | Yes | Yes |
| Niobium | 99.9% Pure (Unalloyed) | Sterile Saline, Mild Dish Soap | Yes | Yes |
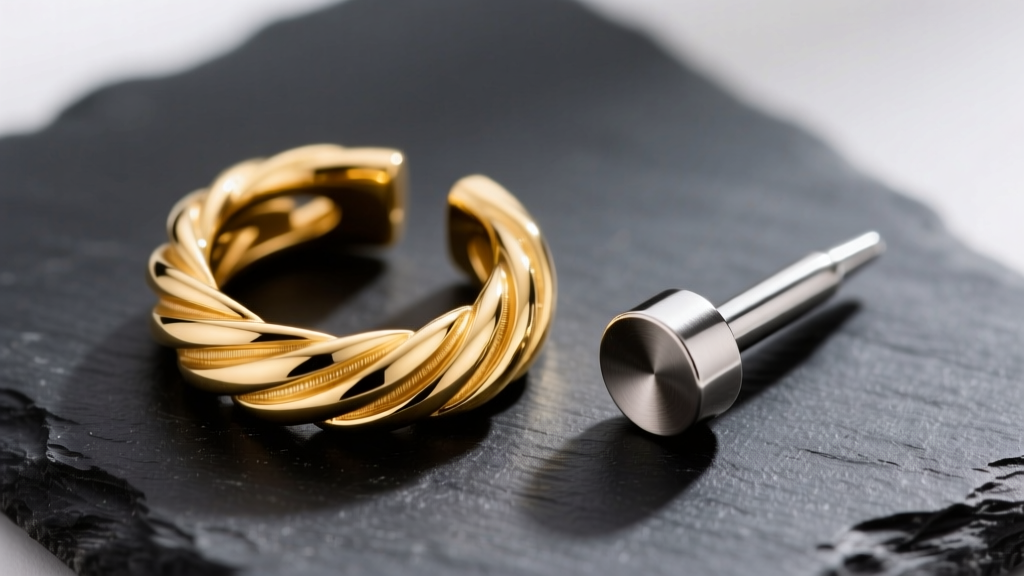
| 14k / 18k Gold | Nickel-Free Alloy | Mild Soap, Specific Jewelry Baths | Caution (Gemstones) | No (Softens metal) |
| Surgical Steel | ASTM F-138 | Sterile Saline Only | No (Risk of pitting) | No |
According to the Association of Professional Piercers (APP), implant-grade titanium remains the gold standard for initial piercings due to its highly stable passivation layer. However, if you are wearing 14k or 18k gold helix jewelry, you must avoid any cleaners containing chlorine or ammonia, as these will permanently strip the alloy's luster and weaken the structural integrity of delicate components like clicker hinges or threadless pins.
Phase 1: The Healing Stage (Months 1 to 9)
During the initial healing phase, your primary goal is not to 'sterilize' the jewelry, but rather to gently flush away dried lymph, dead cells, and environmental debris without disrupting the fragile epithelial cells migrating through the fistula.
The LITHED Method and Saline Flushes
The industry-standard approach to healing aftercare is often summarized by the acronym LITHED: Leave It The Hell Alone, Except When Cleaning. For the first 6 to 9 months, your cleaning routine should be strictly limited to the following:
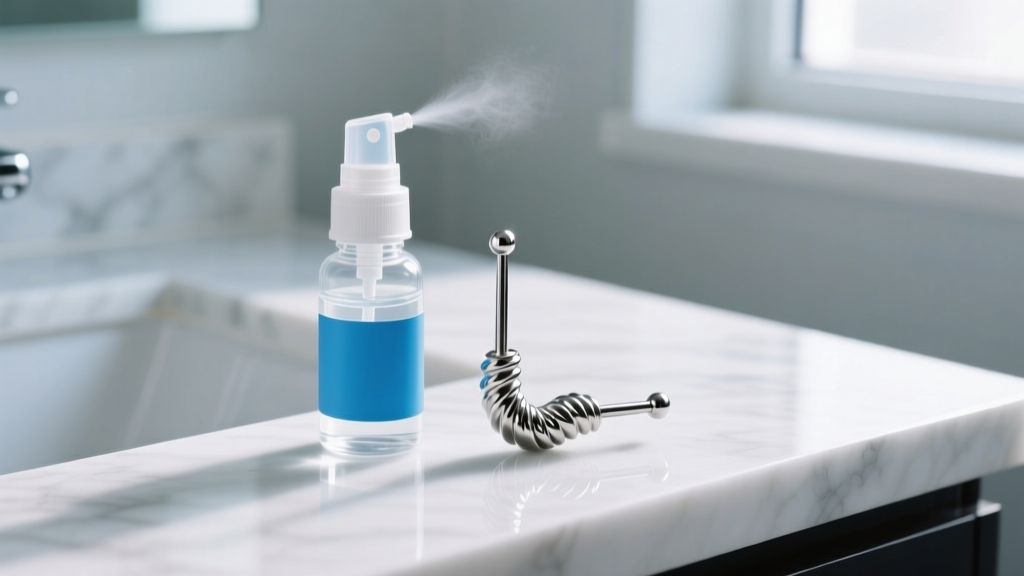
- Sterile Saline Spray (0.9% Sodium Chloride): Apply a generous mist directly to the front and back of the helix jewelry twice daily. Ensure the product contains zero additives—no benzalkonium chloride, no aloe, and no essential oils.
- The Emersion Technique: If lymph buildup is heavy, soak a sterile non-woven gauze pad in warm saline and hold it against the piercing for 3 to 5 minutes. This softens the crusties, allowing them to be gently wiped away without pulling on the jewelry post.
- Drying: Moisture trapped behind a flat-back disc breeds maceration (softening and breaking down of the skin). Always dry the area using a hairdryer on the 'cool' setting or by gently patting with non-woven gauze. Avoid cotton balls or Q-tips, which shed microscopic fibers that can wrap around the jewelry post and embed in the healing wound.
Phase 2: The Healed Stage (Month 9 and Beyond)
Once your helix piercing is fully healed, the fistula is robust, and the jewelry can be removed for deep cleaning. Over time, sebum, dead skin cells, and hair products accumulate in the crevices of internally threaded ends, clicker hinges, and gemstone settings, often resulting in a foul odor commonly referred to as 'ear cheese'.
Ultrasonic Cleaning for Intricate Jewelry
For healed helix piercing jewelry featuring intricate designs, pavé gem settings, or internal threading, an ultrasonic cleaner is a game-changer. These devices use high-frequency sound waves (typically 40kHz to 45kHz) to create microscopic cavitation bubbles in a liquid solution, which implode and blast debris out of microscopic crevices that a toothbrush simply cannot reach.
- Fill the ultrasonic tank with distilled water and a single drop of mild, fragrance-free dish soap (such as original Dawn).
- Place your titanium or niobium jewelry in the provided basket, ensuring it is fully submerged.
- Run a single 3-minute cycle. Do not exceed this time, as prolonged cavitation can dull high-polish finishes.
- Rinse thoroughly under warm distilled water to remove any soap residue.
- Dry completely with a microfiber cloth before reinserting or storing.
Expert Warning: Never place jewelry with porous gemstones (like opals, pearls, or turquoise) or soft stones (like amber) in an ultrasonic cleaner. The vibrations will fracture the stones. For these, stick to gentle hand-washing with a soft-bristled baby toothbrush and mild soap.
Fatal Maintenance Mistakes That Cause Irritation Bumps
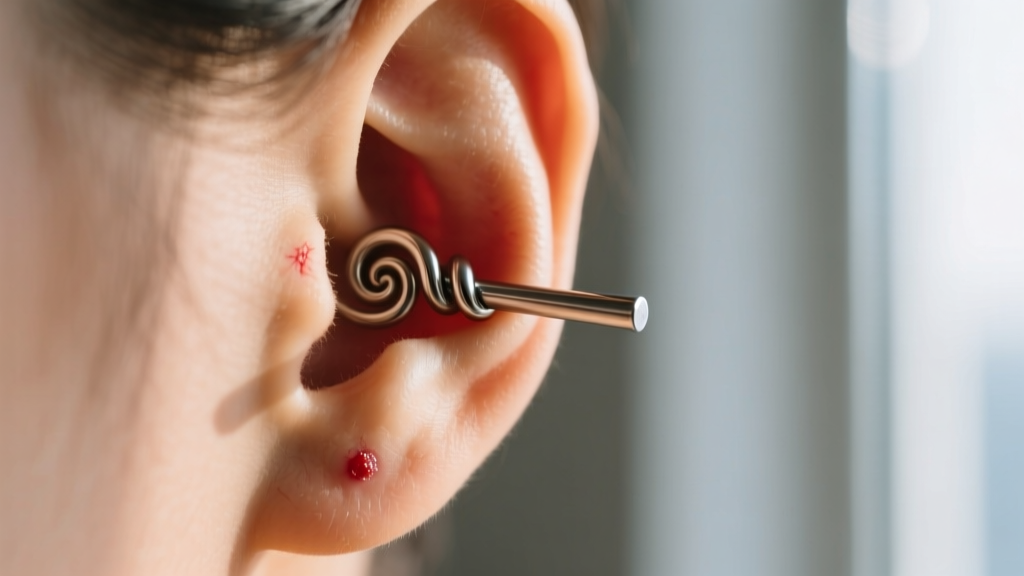
Irritation bumps (hypertrophic scarring or localized granulomas) on the helix are rarely caused by true bacterial infections. Instead, they are almost always the result of mechanical or chemical trauma exacerbated by improper jewelry maintenance.
1. The Tea Tree Oil Trap
A pervasive internet myth suggests applying tea tree oil to helix piercing jewelry to 'dry out' a bump. Tea tree oil is a highly concentrated, caustic essential oil. Applying it undiluted causes chemical burns on the delicate fistula tissue, triggering an aggressive inflammatory response that actually makes the bump larger and more painful. If you must use it for its antimicrobial properties on a fully healed piercing, it must be diluted to less than 1% in a carrier oil, but sterile saline remains vastly superior.
2. Over-Cleaning and the Acid Mantle
Cleaning your helix more than twice a day strips the skin's natural acid mantle—a slightly acidic film (pH 4.5 to 5.5) that acts as a barrier against pathogens. Stripping this mantle with excessive saline or soap leaves the tissue alkaline, dry, and highly susceptible to environmental irritants and subsequent bump formation.
3. Sleeping on Unmaintained Hardware
Failing to clean your jewelry before bed allows daytime pollutants and hair products to be pressed into the piercing channel for 8 hours. Furthermore, sleeping directly on a helix stud creates pressure necrosis. The sustained compression cuts off capillary blood flow to the perichondrium, leading to tissue death, angle migration, and severe irritation bumps. Invest in a memory foam travel pillow and sleep with your ear in the center hole to eliminate pressure entirely.
Hardware Maintenance: Threadless and Internally Threaded Systems
Modern, high-quality helix piercing jewelry typically utilizes either threadless (press-fit) or internally threaded mechanisms to ensure the post remains smooth and untraumatizing during insertion. Both require specific maintenance to prevent the jewelry from falling out unexpectedly.
Maintaining Threadless (Press-Fit) Tension
Threadless jewelry relies on the tension of a slightly bent pin to stay secure inside the hollow post. Over time, and through repeated cleaning or swapping, this pin can straighten out, leading to a loose fit. To maintain your threadless helix studs:
- Insert the pin about halfway into the shaft.
- Apply a very gentle bend to the pin (about a 10 to 15-degree angle).
- Push the end into the shaft fully. You should feel distinct, firm resistance. If it slides in too easily, remove the end and increase the bend slightly.
Checking Internally Threaded Connections
For internally threaded hoops or barbells, the threads are located inside the post or hoop, while the decorative end has a smooth pin. During cleaning, always check the tightness of the connection. Body heat and natural ear movements can slowly unscrew the ends over time. Use clean, dry nitrile gloves to grip the jewelry and gently tighten the end clockwise. The rubber grip provides the necessary torque without slipping and scratching the precious metal.
When to Downsize: The Most Overlooked Maintenance Step
Cleaning routines will fail if your jewelry geometry is incorrect. When a helix is initially pierced, the jeweler will insert a longer post (typically 8mm or 10mm) to accommodate the inevitable swelling that peaks around days 3 to 5. However, leaving this long post in after the swelling subsides is a primary catalyst for irritation.
Excess post length allows the jewelry to tilt, move, and snag on hair and clothing. This constant mechanical agitation prevents the fistula from maturing. According to guidelines supported by dermatological and professional piercing communities, such as those referenced by the Mayo Clinic's piercing care overviews, managing physical trauma to the site is paramount for healing. You must return to your piercer for a downsize between weeks 3 and 6. The post will be swapped to a 6mm, 5mm, or even 4mm length, ensuring the flat back sits flush against the posterior cartilage, eliminating the leverage that causes angle shifts and bumps.
Final Thoughts on Hardware Longevity
Treating your helix piercing jewelry with the respect it deserves bridges the gap between a frustrating, bump-prone experience and a lifetime of seamless wear. By matching your cleaning chemistry to your metal grade, utilizing ultrasonic technology for deep-cleaning healed pieces, and strictly avoiding caustic home remedies, you protect both the structural integrity of your jewelry and the delicate biology of your cartilage. Consistency, gentleness, and an understanding of your body's unique healing timeline are the ultimate tools in your maintenance arsenal.