How to Adjust Paddle Back Clip On Earrings for All-Day Comfort
Learn how to adjust paddle back clip on earrings for pain-free wear. Our step-by-step guide covers tension tuning, padding, and placement.

The Renaissance of Non-Pierced Jewelry
As non-pierced jewelry continues its massive resurgence in 2026, collectors and new wearers alike are rediscovering the elegance of vintage and modern clip-ons. Among the various mechanisms available, paddle back clip on earrings remain the gold standard for securing heavier dangles and statement pieces. Unlike traditional screw-backs that dig into the earlobe with a single pressure point, paddle backs utilize a wide, flat surface area to distribute weight and tension evenly.
However, a common complaint among wearers is earlobe fatigue or pinching after a few hours of use. This pain is rarely an inherent flaw of the paddle back design; rather, it is usually the result of improper tension calibration, degraded padding, or incorrect placement on the ear. In this comprehensive guide, we will walk you through the exact metallurgical and anatomical steps required to adjust your paddle back clip on earrings for flawless, all-day comfort.
The Anatomy of a Paddle Back Mechanism
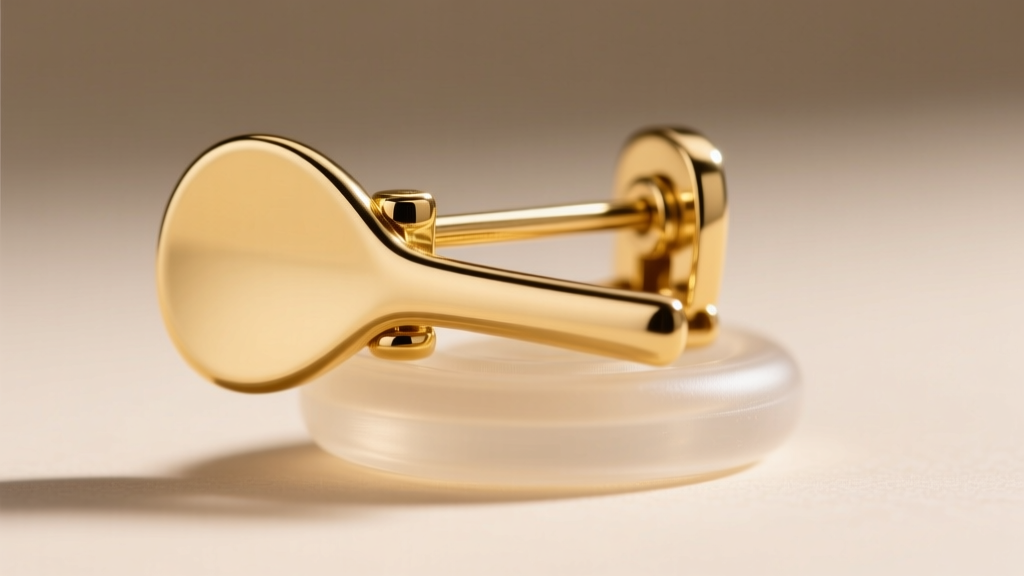
Before applying tools to your jewelry, you must understand the engineering behind the clasp. A standard paddle back mechanism consists of three primary components:
- The Hinge Pin: The central axis that allows the tension band to open and close. This is the most fragile part of the assembly and should never be bent.
- The Tension Band (Omega Wire): The curved metal arm that provides the clamping force. High-quality vintage pieces (like those from Napier or Trifari) often use beryllium copper or spring steel for this band due to their superior resistance to metal fatigue, whereas cheaper modern replicas use easily warped brass.
- The Paddle Pad: The flat, widened terminal end of the tension band, typically measuring between 8mm and 12mm in width. This is the surface that makes contact with the posterior of your earlobe.
The Science of Earlobe Pain: Ischemia and Pressure
Why do clip-ons hurt? The medical term for the throbbing pain you feel after wearing tight earrings is ischemia—a restriction in blood supply to the tissues. The earlobe is primarily composed of adipose (fat) tissue and a dense network of capillaries, with no cartilage. When a paddle back is clamped too tightly, it compresses these capillaries against the front finding of the earring, starving the tissue of oxygen. Conversely, if the tension is too loose, the earring will slip, causing the wearer to constantly squeeze the clips tighter, accelerating metal fatigue and eventual breakage.
Step-by-Step Guide: Adjusting Your Paddle Backs
Step 1: Gather the Proper Bench Tools
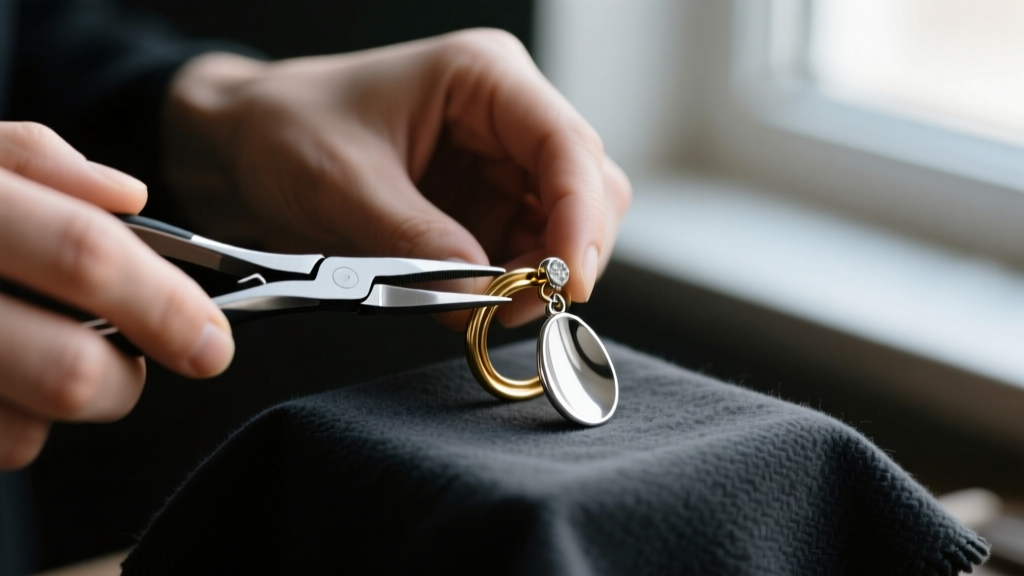
Never use standard steel jewelry pliers on your clip-ons, as they will strip the gold or rhodium plating and leave permanent gouges in the base metal. According to Stuller's bench tools guide, using nylon-jaw pliers is mandatory for adjusting tension bands without marring the finish. You will need:
- Flat-nose nylon-jaw pliers
- 91% isopropyl alcohol and cotton swabs
- 6mm to 8mm self-adhesive silicone earring cushions
- A microfiber cloth
Step 2: Clean and Assess the Baseline Tension
Before making any adjustments, clean the paddle pad and the front finding with isopropyl alcohol to remove sebum and skin oils, which can cause slipping and mask the true tension of the clip. Open the clip fully and let it snap shut. Listen to the sound: a sharp, high-pitched 'snap' indicates excessive tension, while a dull 'click' suggests the band has lost its spring memory.
Step 3: The 'Push-Pull' Tension Adjustment
To decrease tension (if the earring pinches), wrap the earring in the microfiber cloth. Grip the middle curve of the tension band with your nylon pliers—never grip near the hinge or the paddle itself. Gently pull the band outward by 1 to 2 millimeters. Test the clip. If it is still too tight, repeat in 1mm increments.
To increase tension (if the earring slips), use your thumbs to gently press the middle curve of the band inward toward the front finding. Pro Tip: If the metal refuses to hold its shape, the tension band is likely made of soft brass and has suffered from metal fatigue. In this case, the band must be replaced by a professional jeweler, which typically costs between $35 and $60 per pair.
Step 4: Upgrade the Paddle Pad
Many vintage paddle backs feature hard metal or degraded plastic pads. Apply a 6mm self-adhesive silicone cushion directly to the center of the paddle. Silicone increases the coefficient of friction, allowing you to reduce the mechanical clamping force by up to 40% while maintaining a secure grip. This single modification is the most effective way to prevent ischemia.
Clip-On Mechanism Comparison
Understanding how paddle backs compare to other non-pierced mechanisms helps set realistic expectations for wear time and weight capacity.
| Mechanism Type | Contact Area | Avg. Max Wear Time | Best Application |
|---|---|---|---|
| Paddle Back | 8-12mm flat pad | 6-8 hours | Heavy dangles, vintage statement pieces |
| Screw-Back | 3-5mm point | 2-4 hours | Lightweight studs, pearls |
| Spring Clip | 4-6mm curved | 3-5 hours | Medium hoops, button earrings |
| Magnetic | 5-8mm disc | 1-3 hours | Ultra-lightweight minimalist studs |
Proper Placement Technique for Maximum Wear Time
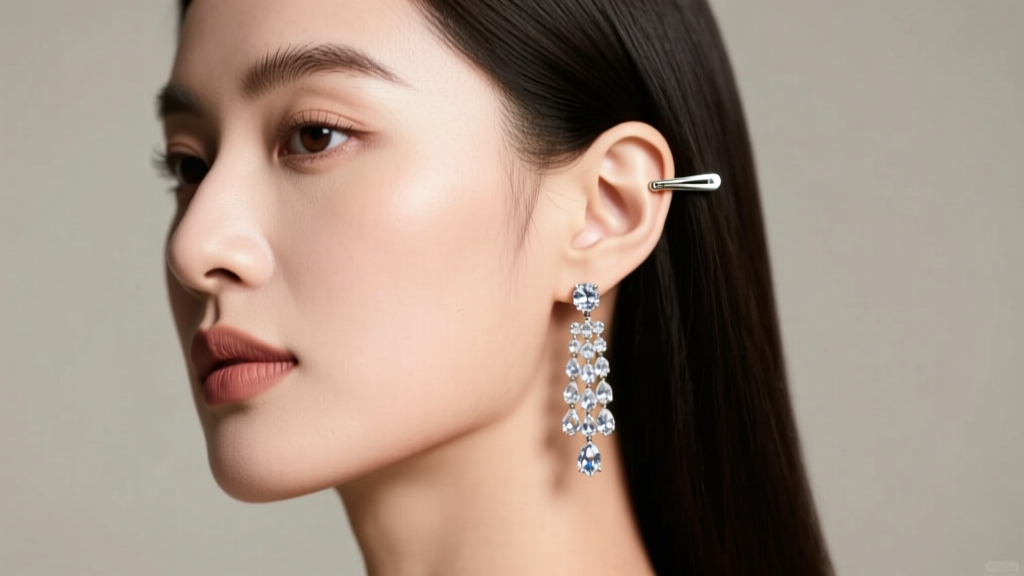
Even a perfectly calibrated paddle back will cause pain if placed incorrectly on the ear. The earlobe is not uniform in thickness. The lower edge is paper-thin, while the upper-center (just below the facial attachment point) contains the densest concentration of adipose tissue.
The Golden Triangle Placement Method:
- Locate the thickest, fleshiest part of your earlobe, usually forming an inverted triangle just beneath the piercing zone.
- Slide the front finding over this apex, ensuring the paddle pad rests flat against the back of this specific sweet spot.
- Avoid clipping the extreme outer edges of the earlobe, where the tissue tapers off and the clip will naturally slide downward, pulling on the skin.
Troubleshooting Common Fit Issues
The Earring Slips Off When Talking or Laughing
Jaw movement shifts the skin of the lower face and earlobe. If your paddle backs slip during conversation, the tension band is likely too wide. Use the nylon pliers to pinch the band inward by 1mm. Additionally, ensure your skin is completely free of heavy moisturizers or foundation, which act as lubricants. Wipe the earlobe with a mild astringent before wearing.
Itching and Contact Dermatitis
If you experience itching specifically where the paddle touches the skin, you may be reacting to nickel or copper leaching through worn plating. As noted in GIA's research on jewelry metal allergies, prolonged skin contact with base metals can trigger severe contact dermatitis. The immediate fix is to coat the paddle pad and the front post with a layer of clear, flexible jewelry guard polish or apply a medical-grade hydrocolloid patch cut to size. For a permanent solution, have a jeweler re-plate the contact points in hypoallergenic rhodium or 18k yellow gold.
Final Thoughts on Non-Pierced Jewelry Comfort
Paddle back clip on earrings are a marvel of mid-century jewelry engineering, designed to bridge the gap between secure wear and aesthetic elegance. By taking ten minutes to properly clean, adjust the tension band with the correct nylon tools, and apply modern silicone padding, you can transform a painful vintage find into a comfortable, everyday staple. Treat the mechanism with care, respect the anatomy of your earlobe, and enjoy the freedom of non-pierced statement jewelry without the compromise.