A Step-by-Step Guide to Assembling Jewelry Findings Earrings
Learn how to select, match, and assemble jewelry findings earrings. This step-by-step guide covers gauges, metals, and secure closure techniques.

The Foundation of Fine Jewelry: Understanding Earring Findings
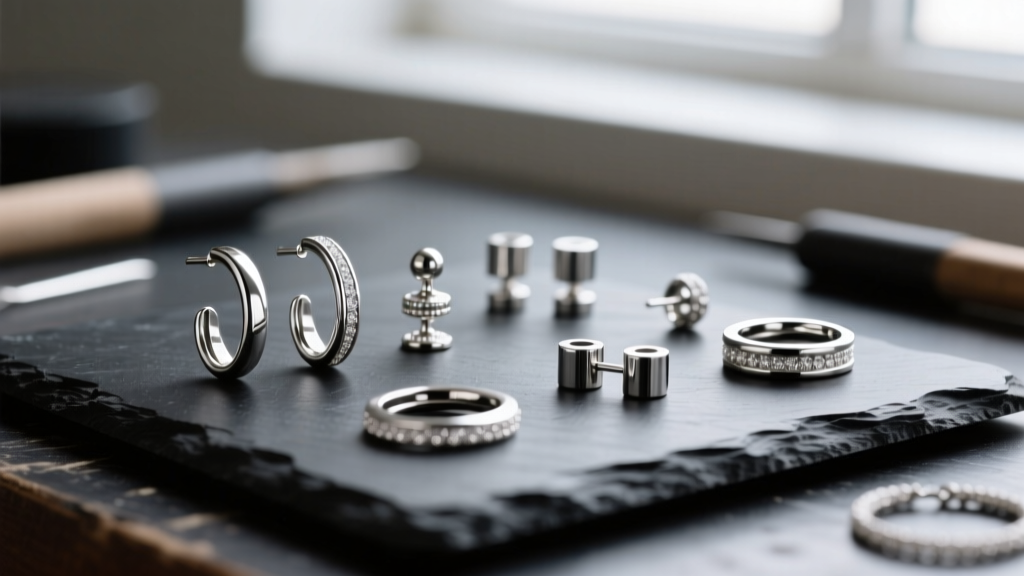
When designing or repairing custom jewelry, the structural integrity of your piece relies entirely on its findings. Jewelry findings earrings are the unsung heroes of the accessory world—they are the posts, clutches, ear wires, and leverbacks that connect your artistic vision to the wearer’s anatomy. Selecting the wrong finding can lead to lost gemstones, allergic reactions, or uncomfortable wear. This comprehensive, step-by-step guide will walk you through the precise metallurgy, gauge sizing, and mechanical assembly required to master earring findings in 2026.
Step 1: Matching Metal Grades and Allergy Compliance
The first step in sourcing jewelry findings earrings is understanding metallurgical grades. The ear is highly vascular and susceptible to contact dermatitis, making metal purity non-negotiable. According to the ASTM International standards, you must differentiate between commercial-grade and implant-grade metals.
Titanium: F67 vs. F136
Not all titanium is created equal. Commercially pure titanium (ASTM F67) is acceptable for standard lobe piercings, but for fresh piercings or cartilage, you must use ASTM F136 implant-grade titanium (Ti6Al4V ELI). F136 contains aluminum and vanadium for superior tensile strength and is polished to a mirror finish to prevent bacterial harboring. When sourcing, always request a mill certificate from your supplier to verify the F136 grade.
Gold and Steel Alloys
For gold findings, 14k and 18k are standard, but you must ensure they are nickel-free, especially to comply with the EU REACH nickel directive. White gold is particularly risky, as it is often alloyed with nickel for whiteness; always opt for palladium-alloyed white gold findings. If using stainless steel, 316L surgical steel is the minimum requirement, containing low carbon and high molybdenum for corrosion resistance. Avoid 304 stainless steel entirely for body jewelry, as it lacks the necessary corrosion inhibitors for long-term skin contact.
Step 2: Selecting the Correct Wire Gauge and Post Length
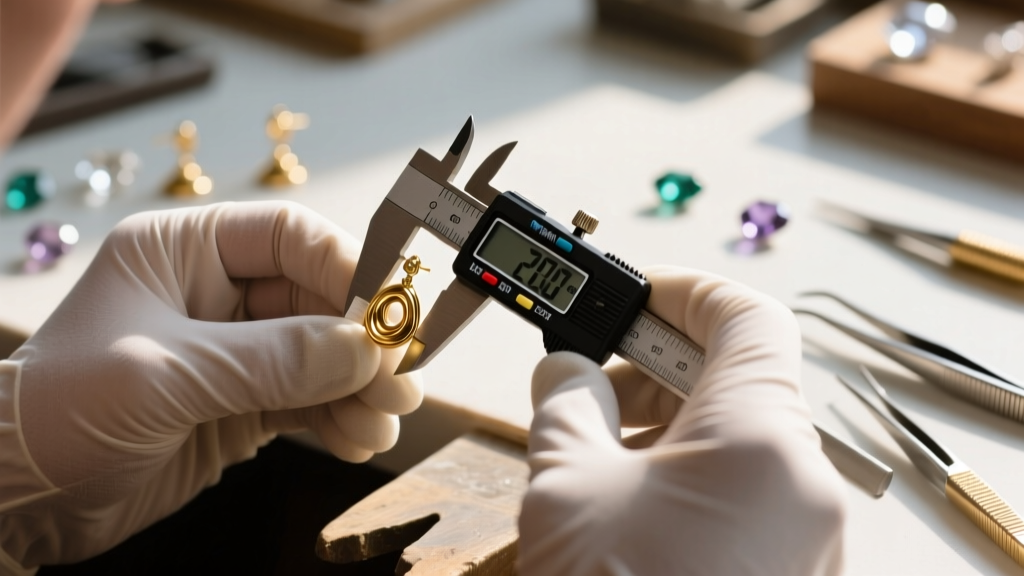
The thickness (gauge) and length of an earring post dictate both the comfort and the security of the finding. Standard earring posts are typically 20-gauge, but understanding the nuances of wire sizing is critical for custom designs. As noted by jewelry manufacturing experts at Rio Grande, matching the post gauge to the clutch tension is vital to prevent the earring from slipping off.
| AWG Gauge | Metric (mm) | Best Use Case | Clutch Compatibility |
|---|---|---|---|
| 22 Gauge | 0.64 mm | Delicate, lightweight studs (under 3 grams) | Standard friction backs, silicone O-rings |
| 20 Gauge | 0.81 mm | Standard diamond/gemstone studs (3-8 grams) | Standard butterfly clutches, La Pousette |
| 18 Gauge | 1.02 mm | Heavy statement studs, cartilage flats | Screw backs, heavy-duty friction clutches |
| 16 Gauge | 1.29 mm | Threadless or internally threaded body jewelry | Threadless push-pins, threaded ball ends |
Calculating Post Length
Standard lobe posts are 8mm to 9mm in length. However, if you are designing for thicker lobes, helix cartilage, or conch piercings, you must step up to 10mm or 12mm posts. A post that is too short will compress the tissue, causing necrosis or embedding, while a post that is too long will catch on hair and clothing, creating a lever-action effect that bends the wire.
Step 3: Assembling Friction Backs vs. Mechanical Closures
Once the post is selected, the backing mechanism must be matched to the weight and value of the earring. The failure rate of earring loss is directly tied to clutch tension degradation over time.
Standard Friction (Butterfly) Clutches
These rely on the tension of the metal scrolls gripping the post's groove. Over 6 to 12 months of wear, the metal fatigues, and the tension drops. To mitigate this, always use clutches with a dual-scroll design and a minimum weight of 0.3 grams to ensure adequate spring tension. Advise your clients to replace friction backs annually.
La Pousette (Locking) Clutches
For high-value diamond studs, the La Pousette clutch is the industry gold standard. It utilizes a spring-loaded internal mechanism with two tiny side tabs that lock securely into the post groove. Unlike friction backs, La Pousette clutches do not suffer from metal fatigue in the same way, providing a mechanical lock that requires intentional pinching to release. They are more expensive (often $15–$30 per pair in 14k gold) but drastically reduce the risk of losing a multi-thousand-dollar center stone.
Screw Backs
Screw backs feature a threaded post and a threaded nut. While highly secure, they require precise manufacturing. The threads must be cleanly cut (usually 0.8mm or 0.9mm pitch) to prevent cross-threading, which can permanently ruin the post. They are ideal for children's jewelry or active adults who frequently lose friction backs.
Step 4: Attaching Ear Wires and Leverbacks for Dangles
When designing dangle or drop earrings, the connection point between the finding and the decorative element is the most common point of structural failure. This is where jump ring sizing and wire hardness come into play.
Jump Ring Aspect Ratio (AR)
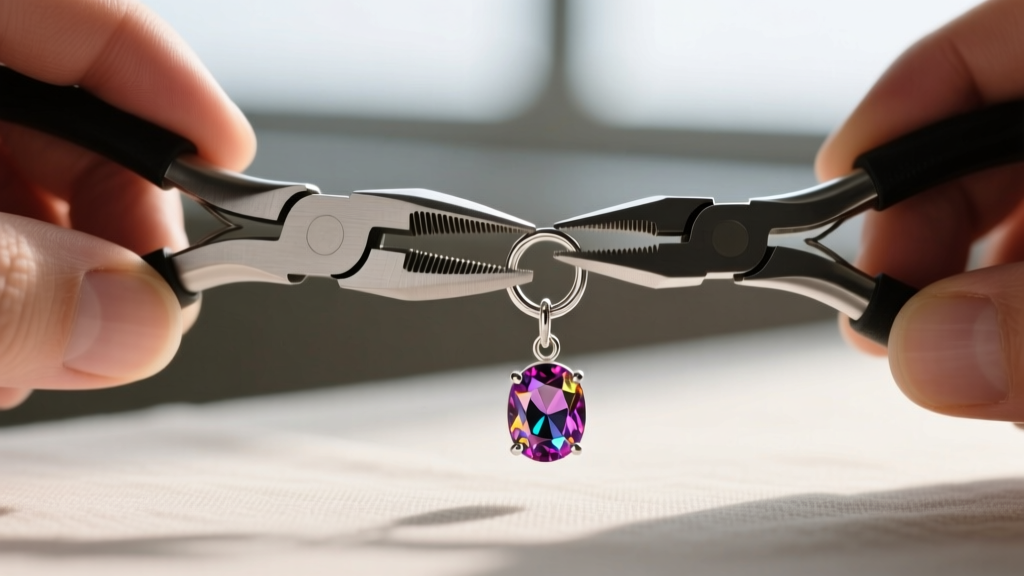
Never solder a dangle directly to an ear wire; always use a jump ring to allow for kinetic movement. The strength of a jump ring is determined by its Aspect Ratio (AR), which is the inner diameter (ID) divided by the wire thickness. According to chainmaille and jewelry engineering principles documented by Halstead Bead, an AR between 3.5 and 4.5 provides the optimal balance of strength and mobility. For example, a 4.0mm ID jump ring made from 20-gauge (0.81mm) wire has an AR of 4.9, which is slightly loose but excellent for dangles. If the AR is too low (under 3.0), the ring will be too stiff and transfer stress directly to the ear wire, causing it to warp.
Wire Hardness Selection
When fabricating your own ear wires or leverbacks, the temper (hardness) of the wire is critical. Always use half-hard or spring-hard wire for ear wires. Dead-soft wire will bend out of shape the first time the wearer takes the earring off. After forming half-hard wire into a fishhook shape, you must work-harden it slightly using a rawhide mallet on a steel bench block, or tumble it in stainless steel shot for 45 minutes to relieve internal stresses and set the memory of the curve.
Troubleshooting Common Finding Failures
Even with premium jewelry findings earrings, assembly errors can lead to customer complaints. Here is how to troubleshoot the most common issues:
- Post Bending: If a 20-gauge post bends during insertion, the clutch hole is likely misaligned or clogged with debris. Clean the clutch with an ultrasonic cleaner and check the internal scroll alignment under a 10x loupe.
- Leverback Gaping: If a leverback does not close flush, the tension arm has been over-extended. Use smooth-jawed pliers to gently squeeze the base of the lever mechanism, restoring the spring tension. Never pull the lever itself, as this will snap the hinge pin.
- Jump Ring Pull-Apart: If a dangle separates from the ear wire, the jump ring was likely pulled open laterally instead of twisted open. Always use two pairs of flat-nose pliers to twist the jump ring open and closed in a twisting motion to maintain the perfect circular geometry.
Conclusion
Mastering the assembly of jewelry findings earrings requires a blend of metallurgical knowledge, precision measurement, and mechanical understanding. By selecting implant-grade metals, calculating the correct gauge and post lengths, and utilizing proper jump ring aspect ratios, you elevate your jewelry from fragile crafts to enduring, professional-grade heirlooms. Take the time to source high-quality findings and test your tension mechanisms—your clients' ears (and their gemstones) will thank you.


