How to Authenticate and Restore Vintage Coral Earrings
Learn how to authenticate, safely clean, and restore vintage coral earrings. Expert steps for identifying dyed bamboo coral and repairing antique findings.

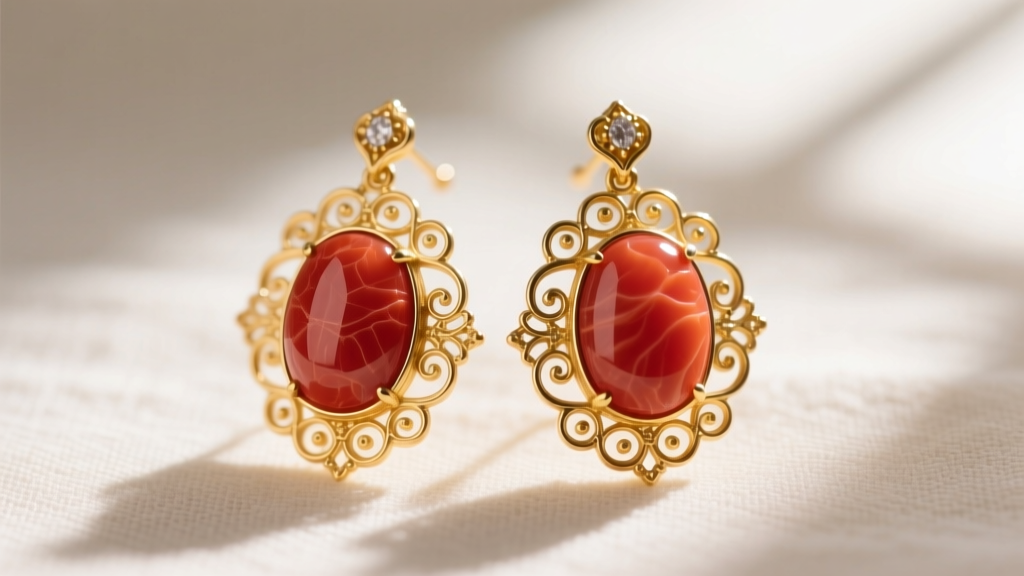
The secondary market for antique and vintage jewelry has seen a massive resurgence, with organic gemstones leading the charge. Among the most coveted pieces are vintage coral earrings, prized for their rich, warm hues and intricate historical carvings. However, coral is a porous, calcium carbonate-based organic material with a Mohs hardness of just 3.5 to 4.0. This makes it incredibly fragile, highly susceptible to chemical damage, and a frequent target for synthetic imitations and dye treatments.
Whether you have inherited a pair of Art Deco coral drops or purchased Victorian screw-backs from an estate sale, restoring them requires specialized gemological knowledge and careful bench techniques. This comprehensive guide will walk you through the exact steps to authenticate, clean, and professionally restore vintage coral earrings without compromising their structural integrity or historical value.
Understanding Coral Varieties in Vintage Jewelry
Before attempting any restoration, you must identify the specific type of coral you are working with. The value, porosity, and treatment history vary drastically between species. According to the Gemological Institute of America (GIA), the most common corals found in vintage jewelry include:
- Mediterranean Red Coral (Corallium rubrum): The gold standard for vintage pieces. It features a naturally deep red to ox-blood color with a fine, dense structure that takes a high polish.
- Midway and Misu Coral: Often pale pink or white with natural red veining. Frequently dyed in the mid-20th century to mimic Mediterranean red.
- Bamboo Coral: Naturally gray or white with a distinct segmented structure. It is almost universally dyed red and sold as a cheaper alternative to precious coral.
- Sponge Coral: Highly porous and brittle, usually stabilized with resin or epoxy before being cut into cabochons.
Step 1: Non-Destructive Authentication Tests
The market is flooded with dyed howlite, stained bone, and early plastics like Bakelite or celluloid masquerading as coral. To authenticate your vintage coral earrings, follow this triage protocol:
The 10x Loupe Inspection
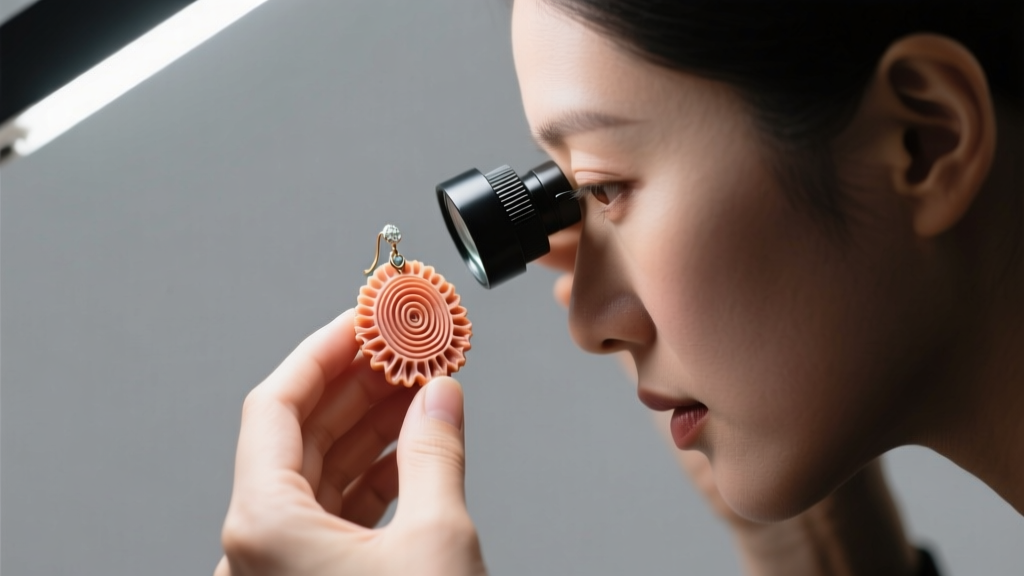
Examine the surface under a 10x triplet loupe with bright, directional LED lighting. Genuine precious coral will exhibit subtle, concentric growth rings or longitudinal striations, much like the grain in wood. Dyed bamboo coral will show a distinct 'network' or web-like pattern where the dye has pooled in the natural porous channels of the skeleton. Glass and plastic imitations will lack these natural structural anomalies, often showing swirl marks from molding or gas bubbles.
The Acetone Swab Test
To detect superficial dyes, dip a cotton swab in pure acetone (nail polish remover) and gently rub an inconspicuous area, such as the back of the cabochon or the edge of a carving. If the swab picks up a pink or red tint, the coral has been artificially dyed. While the Federal Trade Commission (FTC) requires disclosure of dye treatments in modern retail, vintage pieces were rarely sold with such transparency.
Material Comparison Matrix
| Material | Mohs Hardness | Reaction to Acetone | Loupe Characteristics |
|---|---|---|---|
| Mediterranean Coral | 3.5 - 4.0 | No color transfer | Fine growth rings, uniform color |
| Dyed Bamboo Coral | 3.0 - 3.5 | Pink/Red transfer | Web-like dye pooling, segmented grain |
| Dyed Howlite | 3.5 | Blue/Red transfer | Grayish matrix veins, no growth rings |
| Celluloid (Plastic) | 2.0 - 2.5 | Surface dissolves/sticky | Mold swirls, lacks natural inclusions |
Step 2: Safe Cleaning Protocols for Porous Organics
The most common mistake collectors make is using commercial jewelry dips, ultrasonic cleaners, or steamers on vintage coral earrings. Coral is primarily composed of calcium carbonate, which reacts violently with acids and can be shattered by the high-frequency vibrations of an ultrasonic bath. Furthermore, the intense heat of a steam cleaner can cause the natural moisture within the coral to expand, leading to catastrophic surface crazing and cracking.
The Distilled Water Method
- Prepare the Solution: Mix a few drops of pH-neutral, phosphate-free dish soap (like Dawn) into a bowl of lukewarm distilled water. Tap water contains chlorine and trace minerals that can leave a dulling film on porous organics.
- Surface Agitation: Dip a baby-soft toothbrush or a microfiber detailing swab into the solution. Gently agitate the surface of the coral, paying special attention to the crevices of carved cameos or floral motifs where decades of skin oils and cosmetic buildup accumulate.
- Rinse Quickly: Briefly rinse the earrings under a gentle stream of distilled water. Do not submerge the earrings for prolonged periods, especially if the coral is set with organic glues or shellac, which were common in Victorian and Edwardian jewelry.
- Dry Immediately: Pat the coral dry with a lint-free microfiber cloth and allow it to air dry completely in a low-humidity environment before storing.
Step 3: Restoring and Converting Earring Findings
Many vintage coral earrings from the 1920s to 1950s feature screw-back or clip-on findings. Not only are these uncomfortable for modern wearers, but the thick, threaded posts (often 16-gauge or 18-gauge) can easily tear modern, un-stretched earlobe piercings. Converting these to modern friction posts or leverbacks requires advanced bench skills to avoid thermal shock.
The Danger of Traditional Soldering
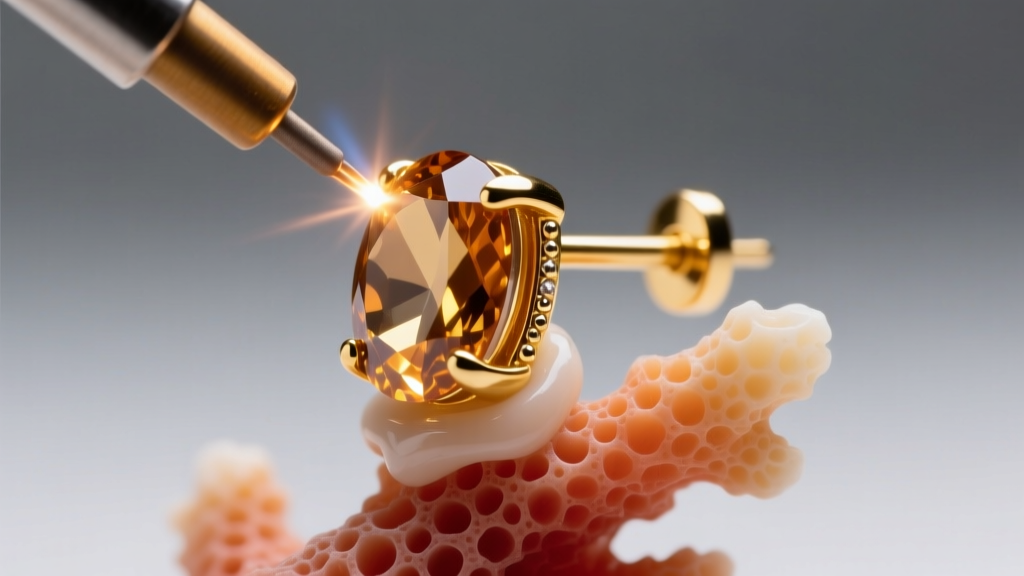
Never use a traditional butane or oxy-acetylene torch to remove or solder findings on coral earrings. Coral is highly sensitive to thermal shock. The heat will rapidly travel up the metal setting cup, causing the calcium carbonate matrix to scorch, turn white, or fracture entirely. Even if the coral is removed from the setting, the heat required to unseat the bezel or prongs can damage historical enameling on the goldwork.
Laser Welding for Finding Conversion
The only safe method for converting vintage coral earring findings is laser welding. A laser welder uses highly focused pulses of light to melt metal in a fraction of a second, generating virtually no ambient heat transfer to the surrounding gemstone.
- Prep the Finding: Use flush cutters to snip the vintage screw-back post as close to the base plate as possible. File the remaining nub flat.
- Apply Thermal Paste: Even with a laser, it is best practice to coat the coral cabochon in a specialized gem-setting thermal protection paste to absorb any stray reflections.
- Weld the New Post: Position a modern 20-gauge (0.81mm) or 19-gauge (0.91mm) 14k gold or titanium friction post against the base plate. Use the laser to pulse-weld the base of the post to the finding. Titanium is highly recommended for the new post if the wearer has metal sensitivities, as vintage gold alloys often contain nickel or copper that can cause contact dermatitis.
- Add Friction Nuts: Pair the new posts with secure silicone or double-notched 14k gold friction nuts to prevent the lightweight coral drops from slipping out of the ear.
Step 4: Long-Term Storage and Preventative Care
Coral is an organic gem that requires a delicate balance of moisture. If stored in an overly dry environment, such as a safety deposit box with desiccant packets, vintage coral can dehydrate, leading to micro-fractures and a chalky, dull appearance.
- Avoid Acids: Skin pH, perfumes, hairsprays, and lotions are highly acidic and will slowly etch the polished surface of the coral, leaving permanent white, cloudy spots. Always put your vintage coral earrings on after applying cosmetics and fragrances.
- Proper Storage: Store the earrings in a soft, unbleached cotton pouch or a lined jewelry box. Keep them away from harder gemstones like diamonds, sapphires, or quartz, which will easily scratch the coral's 3.5 Mohs surface upon contact.
- Rehydration: If the coral begins to look dry or chalky over the years, you can gently rub a microscopic amount of pure, unrefined jojoba oil or mineral oil onto the surface using a soft cloth. Let it sit for an hour, then buff away the excess. This restores the optical luster and provides a temporary barrier against environmental acids.
By adhering to these strict gemological protocols, you can preserve the historical integrity and vibrant beauty of vintage coral earrings for generations to come. Whether you are a collector, a bench jeweler, or an enthusiast, respecting the organic fragility of coral is the key to successful restoration.