Master a Beaded Fringe Earrings Pattern Free of Structural Flaws
Master structural integrity with our beaded fringe earrings pattern free of common flaws. Learn thread tensions, bead grades, and wire gauges.

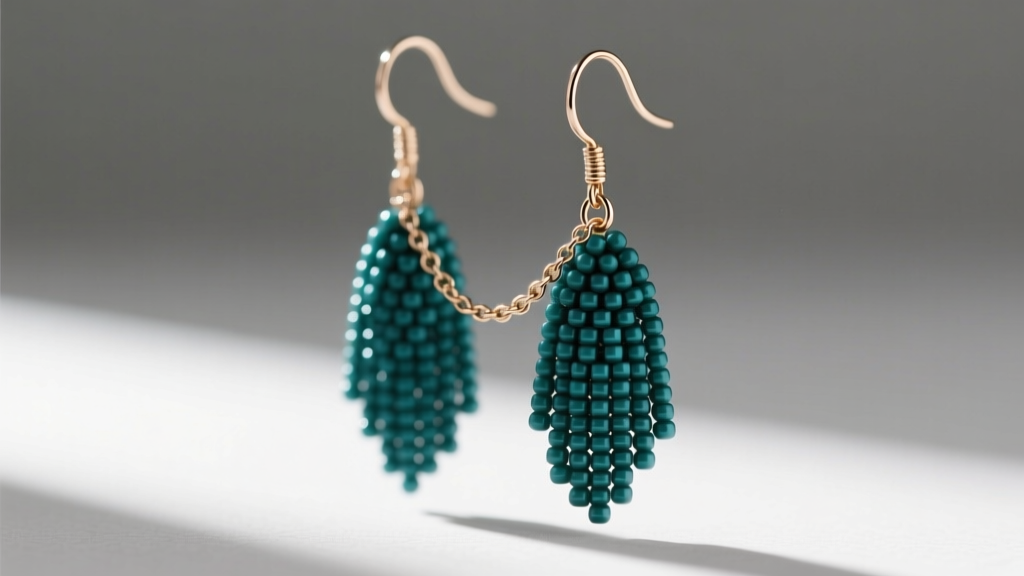
When searching for a beaded fringe earrings pattern free of structural compromises, most crafters are met with superficial tutorials that ignore the physics of gravity, thread creep, and ear lobe stress. As we move through 2026, the shift towards sustainable, heavy-wear artisan jewelry demands a more rigorous approach to bead weaving. A beautiful fringe earring is not just about color theory; it is an exercise in structural engineering. This expert deep dive bypasses the fluff, providing a technical blueprint for constructing beaded fringe earrings that maintain their drape, resist tangling, and protect the wearer's ear lobe from hardware fatigue.
The Anatomy of a Flawless Fringe Earring
The architecture of a fringe earring relies on three distinct load-bearing zones: the anchor base, the suspension strands, and the terminal hardware. Failure in any one zone compromises the entire piece. The anchor base must distribute the kinetic energy of the swinging fringe across a wide enough surface area to prevent the beadwork from warping or pulling away from the ear wire. The suspension strands require precise mathematical grading to ensure a fluid, liquid-like drape, while the terminal hardware must possess the correct yield strength to support the total gram weight of the beads and thread.
Bead Selection and Weight Distribution
Not all seed beads are created equal. The geometry of the bead dictates how the fringe will hang and how the thread will pass through the holes. Cylindrical beads offer a stiff, uniform drape, while round or drop beads create a fluid, heavy swing. Below is a technical comparison of the most common beads used in high-end fringe patterns.
| Bead Type | Size / Grade | Hole Diameter | Drape Quality | Weight per Strand (3 in) |
|---|---|---|---|---|
| Miyuki Delica | 11/0 (Cylindrical) | 0.8 mm | Structured, Medium | ~1.2 grams |
| Toho Treasure | 11/0 (Cylindrical) | 0.8 mm | Structured, Medium | ~1.1 grams |
| Czech Fire Polish | 3mm (Round Faceted) | 0.9 mm | Fluid, Heavy | ~2.8 grams |
| Miyuki Bugle | 3mm (Tubular) | 0.8 mm | Sharp, Stiff | ~1.5 grams |
| Czech Glass Drops | 3x4mm (Teardrop) | 0.8 mm | Highly Fluid, Heavy | ~3.5 grams |
According to the manufacturing specifications from Miyuki Beads, the tight tolerance of Delica beads (within 0.02mm) ensures that a multi-strand fringe will hang perfectly level, whereas cheaper, irregular round seed beads will cause the fringe to look jagged and uneven at the terminal ends.
Thread and Tension: The Hidden Framework
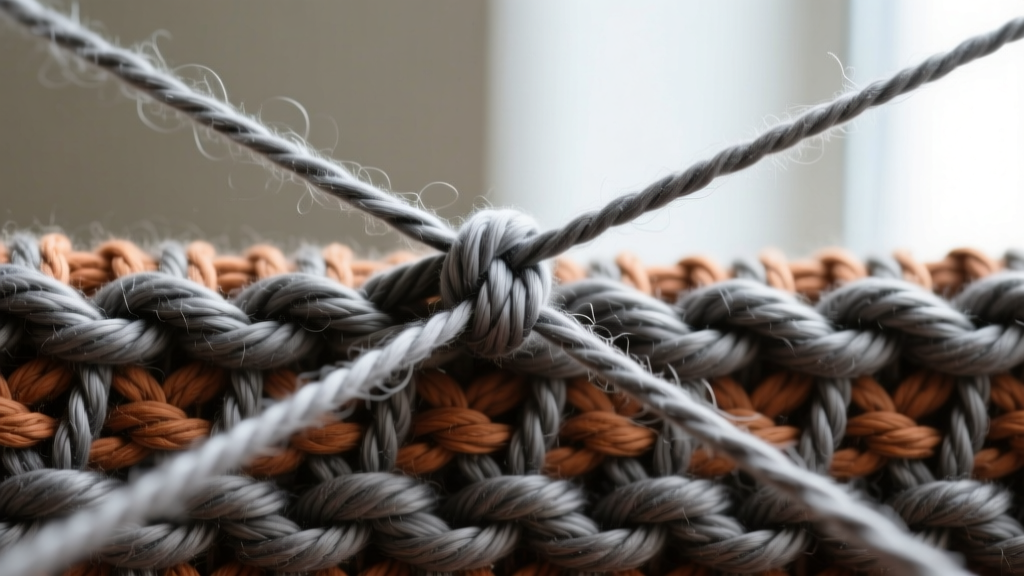
The most common point of failure in beaded fringe is thread stretch, technically known as 'creep.' When a beader uses traditional nylon threads like Nymo D, the weight of the glass beads slowly stretches the nylon over time. This results in sagging fringe, exposed thread gaps between beads, and eventual snapping at the anchor points.
UHMWPE vs. Braided Polyethylene
To eliminate creep, expert beaders utilize Ultra-High-Molecular-Weight Polyethylene (UHMWPE) or thermally fused multifilament threads. Fireline 6lb test (0.005 inch / 0.12mm) is a braided gel-spun polyethylene that offers zero stretch and high abrasion resistance. Alternatively, WildFire 0.006 inch (0.15mm) features a thermoplastic coating that allows it to be tensioned tightly and heat-sealed at the anchor knots. For a heavy fringe earring incorporating Czech glass drops, WildFire is the superior choice due to its thicker core, which prevents the sharp edges of glass beads from slicing the thread during wear.
The Master Blueprint: Calculating the Fringe Drop
A professional beaded fringe earrings pattern free from visual imbalances requires a calculated gradient. A flat, uniform fringe looks rigid and blocks the movement of the ear. Instead, we use a parabolic drop sequence. Below is the exact mathematical progression for a 7-strand V-drop fringe, built upon a 21-bead wide peyote stitch base.
- Strand 1 (Outer Left): 32 beads + 3-bead picot turnaround
- Strand 2: 40 beads + 3-bead picot turnaround
- Strand 3: 48 beads + 3-bead picot turnaround
- Strand 4 (Center Drop): 56 beads + 3-bead picot turnaround
- Strand 5: 48 beads + 3-bead picot turnaround
- Strand 6: 40 beads + 3-bead picot turnaround
- Strand 7 (Outer Right): 32 beads + 3-bead picot turnaround
Critical Technical Note: Never use a single bead for the turnaround at the bottom of a fringe strand. The thread will pull through the hole, or the sharp edge of a bugle bead will sever the thread. Always use a 3-bead picot loop (using 15/0 seed beads) to create a smooth, rounded bearing surface for the thread to pivot around.
Ear Wire Metallurgy and Gauge Specifications
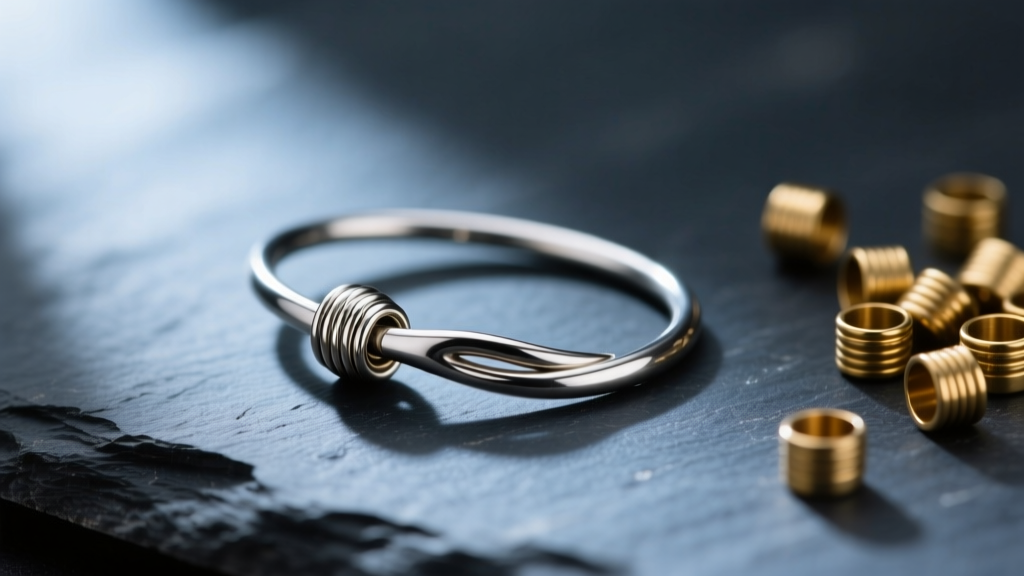
The structural integrity of your beadwork is irrelevant if the ear wire bends under the weight. Standard commercial ear wires are often stamped from 22-gauge (0.64mm) dead-soft wire, which is entirely unsuitable for fringe earrings that can easily exceed 12 grams per ear.
Wire Hardness and Gauge Selection
For any beaded fringe earring weighing between 8 and 15 grams, you must upgrade to a 20-gauge (0.81mm) half-hard wire. Half-hard wire has been work-hardened or heat-treated to increase its yield strength, meaning it will spring back to its original shape after being slightly pulled. Interweave's beading resources frequently highlight the importance of matching wire temper to the final jewelry weight. Niobium and 316L Surgical Steel are the optimal metals for this, as they offer high tensile strength while remaining hypoallergenic for sensitive ear lobes. The wrapped loop connecting the ear wire to the beadwork should be tightly coiled at least three times with 24-gauge binding wire to prevent the base from slipping and twisting out of alignment.
Troubleshooting Common Fringe Failures
'A master beader does not just follow a pattern; they anticipate the physics of the materials and adjust tension accordingly.'
Even with the correct materials, execution errors can ruin the drape. Here is a diagnostic guide for troubleshooting structural flaws:
- Base Warping (Cupping): If your peyote or brick stitch base curls inward, your thread tension is too tight. The thread is pulling the beads closer together than their natural resting geometry. Solution: Loosen your tension by 15% and use a beading mat to keep the work flat.
- Fringe Tangling: Strands that constantly knot together are usually caused by static electricity in dry environments or an incorrect ratio of bead weights. Solution: Introduce heavier metallic or glass beads at the terminal ends of each strand to act as plumb bobs, using gravity to keep the strands separated and hanging straight.
- Thread Abrasion at the Anchor: If threads snap near the ear wire loop, the metal edge is cutting the thread. Solution: Always pass the thread through a 2mm soldered jump ring or a smooth glass ring bead before anchoring it into the beadwork base.
By treating your jewelry design as a structural discipline rather than a simple craft, you elevate your work from fragile accessories to heirloom-quality art. This technical framework ensures that your next beaded fringe creation will swing flawlessly, maintaining its architectural beauty for years to come.


