Beginner Guide to Cartilage Piercing Cuff Earrings
Discover everything about cartilage piercing cuff earrings. Learn ear anatomy, safe metals, gauge sizes, and how to style pierced and non-pierced cuffs.

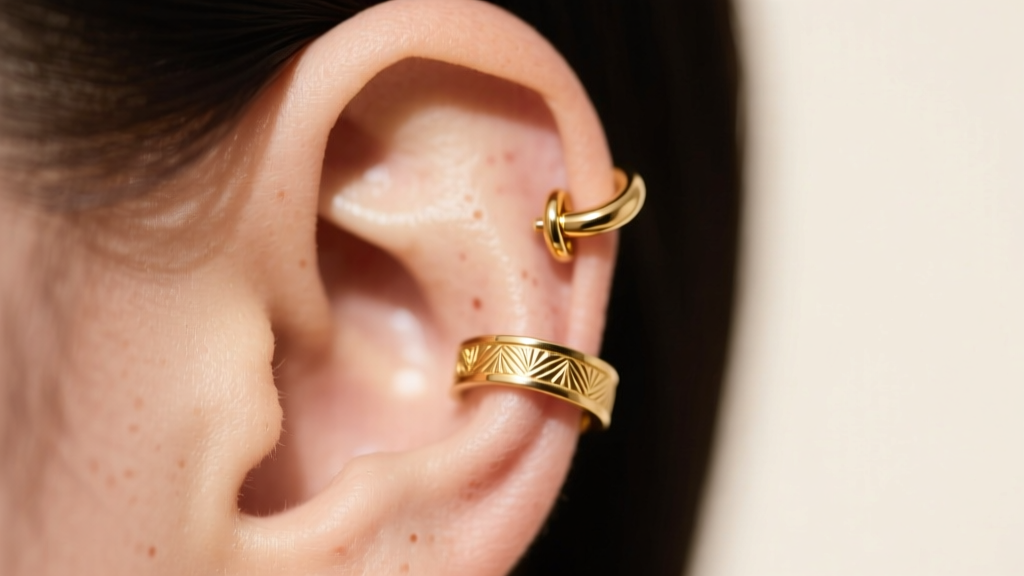
The Rise of the Cartilage Cuff: A Beginner's Overview
When exploring the world of advanced ear styling, cartilage piercing cuff earrings represent a fascinating hybrid between traditional body jewelry and structural accessories. For beginners, the terminology can be confusing. Are they for pierced ears? Do they require a needle? The truth is that the modern 'cartilage cuff' encompasses two distinct categories: chain-linked cuffs that require existing piercings, and tension-based cuffs that grip the ear's natural anatomy without any needles. Understanding the difference is the first step to mastering this edgy, sophisticated trend without compromising your ear health or comfort.
In this comprehensive guide, we will break down the exact anatomy required for these earrings, the specific metal grades you must look for to avoid cartilage bumps, and the precise wire gauges that separate high-quality jewelry from cheap, painful imitations.
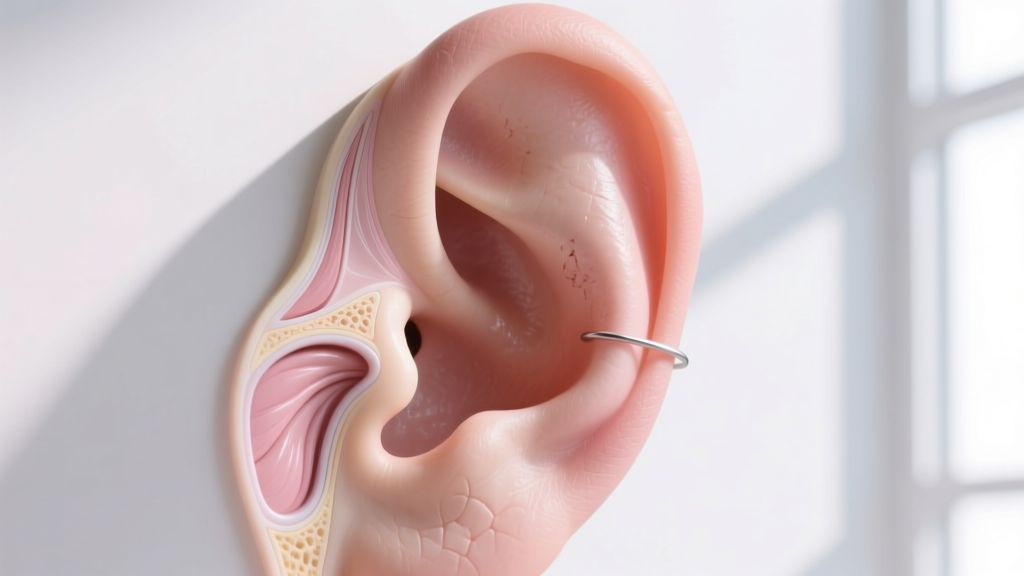
Ear Anatomy 101: Where Do Cuffs Actually Sit?
Not all cartilage is created equal. The outer ear is composed of complex ridges and bowls, and a cuff designed for one area will fail miserably in another. Before purchasing cartilage piercing cuff earrings, you must identify your target placement.
The Helix (Outer Rim)
The helix is the most common and forgiving placement for non-piercing tension cuffs. The outer rim provides a distinct, continuous ridge that allows a C-shaped wire to grip securely. The upper helix is thicker, while the mid-helix thins out, requiring adjustable tension.
The Conch (Inner Bowl)
Conch cuffs are rare in non-piercing formats because the inner bowl lacks a sharp edge to grip. However, 'conch chain cuffs' are incredibly popular. These feature a stud that sits in a pierced conch, connected by a delicate chain to a cuff that wraps over the helix rim, creating an illusion of a complex, multi-piercing setup.
The Tragus and Anti-Tragus
While mini-cuffs exist for the tragus, the cartilage here is exceptionally thick and rigid. Tension cuffs often fail to grip the tragus securely, leading to constant readjustment and eventual loss of the earring.
Pierced vs. Non-Piercing: Functional Differences
To choose the right cartilage piercing cuff earrings, you must weigh the functional pros and cons of pierced chain styles versus non-piercing tension styles. Below is a direct comparison to help you decide which suits your lifestyle.
| Feature | Pierced Chain Cuffs | Non-Piercing Tension Cuffs |
|---|---|---|
| Security | Maximum (anchored by 1-2 piercings) | Moderate (relies on physical tension) |
| Comfort | High (weight is distributed evenly) | Variable (can cause pressure points) |
| Sizing | Fixed (chain length dictates fit) | Adjustable (can be gently bent to fit) |
| Sleeping | Possible with flat-back studs | Not recommended (risk of bending) |
| Best For | Curated ear projects, daily wear | Temporary styling, unpierced ears |
Material Grades & Gauge Sizes: Avoiding Cartilage Bumps
The cartilage of the ear is avascular, meaning it lacks direct blood supply and heals notoriously slowly. Trapping low-quality metals against this delicate tissue is a primary cause of hypertrophic scarring (cartilage bumps) and contact dermatitis. When shopping for cartilage piercing cuff earrings, you must scrutinize both the material and the wire thickness.
The Only Safe Metals for Cartilage
- ASTM F136 Implant-Grade Titanium: The gold standard for body jewelry. It is entirely nickel-free, highly polished, and biocompatible. According to the Association of Professional Piercers (APP), this is the safest metal for prolonged skin contact.
- Solid 14k or 18k Gold (Nickel-Free): High-karat gold is excellent, but you must verify it is alloyed without nickel. Brands like BVLA (Body Vision Los Angeles) specialize in high-end, nickel-free gold jewelry that is safe for sensitive cartilage.
- Niobium: A highly reactive metal that is safely anodized to create vibrant colors without using toxic paints or platings.
Warning: Avoid 'surgical steel' or 'stainless steel' for tension cuffs. These alloys contain up to 10% nickel, which can leach into the skin under the pressure of a tension cuff, triggering severe allergic reactions.
Wire Gauge: The 'Cheese-Cutter' Effect
The gauge (thickness) of the wire is critical for non-piercing cuffs. Many cheap fashion cuffs use 20-gauge (0.8mm) or 22-gauge (0.6mm) wire. When clamped onto the helix, this thin wire acts like a cheese-cutter, restricting circulation and leaving deep, painful indentations in the cartilage rim.
Always look for cuffs crafted from 16-gauge (1.2mm) or 14-gauge (1.6mm) wire. This thickness provides enough surface area to distribute the clamping pressure evenly, ensuring you can wear the cuff for 8+ hours without pain or tissue damage.
Step-by-Step: How to Put On a Tension Cuff Without Pain
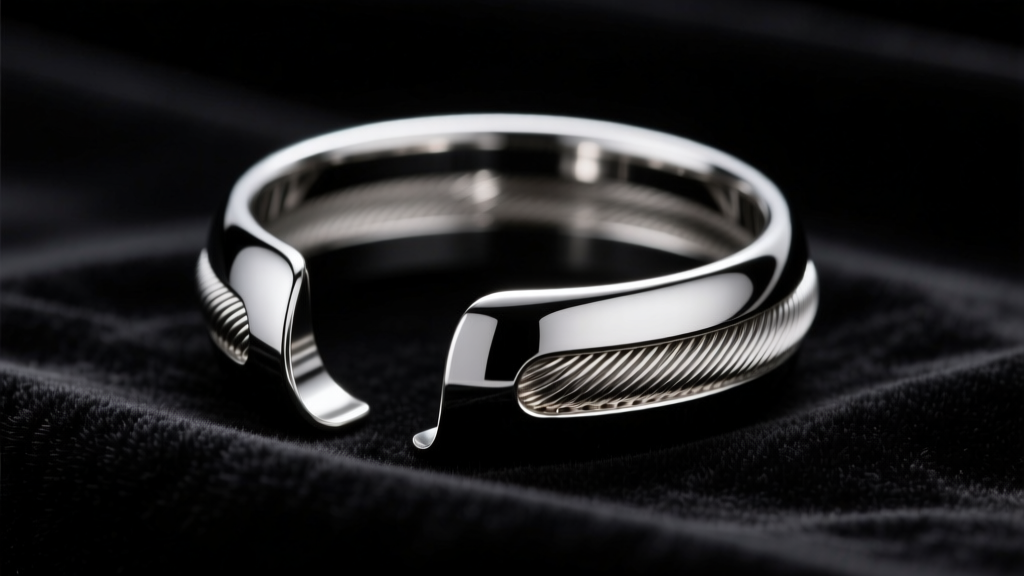
Applying a non-piercing cartilage cuff requires a bit of technique. Forcing it on can bend the metal out of shape or bruise the cartilage. Follow this professional method for a secure, painless fit:
- Warm the Metal: Hold the cuff in your palms for 30 seconds. Body heat makes metals like titanium and gold slightly more pliable and comfortable against cold skin.
- Locate the Thinnest Ridge: Feel your upper helix to find the narrowest point of the cartilage ridge. This is your entry point.
- Slide and Rotate: Do not pull the cuff open like a clamshell. Instead, slide the opening horizontally over the thinnest part of the rim, then rotate it downward into your desired position.
- Adjust the Tension: If it feels loose, gently squeeze the top and bottom of the 'C' shape together. If it pinches, gently pull the ends apart. Make micro-adjustments; over-bending causes metal fatigue.
Expert Insight: Never adjust a tension cuff while it is on your ear. Removing it, adjusting the gap, and reapplying it preserves the structural integrity of the metal and prevents accidental pinching of the delicate helix skin.
Troubleshooting: Why Your Cartilage Cuff Keeps Falling Off
If your cartilage piercing cuff earrings constantly slip off, the issue is rarely the earring itself, but rather a mismatch between the jewelry's curvature and your unique ear anatomy.
First, check the inner diameter of the cuff. Most standard cuffs have an inner diameter of 8mm to 10mm. If your helix ridge is particularly thick or protrudes sharply, an 8mm cuff will act like a spring, slowly pushing itself off your ear throughout the day. Seek out 'large helix' cuffs with a 12mm diameter.
Second, consider metal fatigue. If you have repeatedly bent the cuff to adjust it, the metal may have lost its 'memory' and spring-back tension. Once a tension cuff becomes too malleable, it is time to replace it, as it will no longer provide the necessary grip to stay secure during normal movement.
By understanding the precise mechanics, materials, and anatomy involved, you can confidently incorporate cartilage cuffs into your jewelry rotation, achieving a high-end, curated look with absolute comfort and safety.


