The Ultimate Beginner Guide to Building Your First Earring Stack
Learn how to build a balanced earring stack with our beginner guide. Discover gauge sizes, metal pairings, and lobe-to-helix placement rules.

Curating your ear is no longer just a trend reserved for high-fashion editorial shoots; it has become a mainstream form of self-expression. At the heart of this movement is the earring stack—a deliberate, artful arrangement of multiple piercings and jewelry pieces that work together to frame the face. However, walking into a piercing studio or browsing an online jewelry boutique without a plan is a recipe for overlapping metals, irritated piercing holes, and wasted money. Building a cohesive earring stack requires an understanding of anatomy, spatial geometry, and metallurgy. This beginner-friendly explainer will break down the exact science and art of creating your first flawless ear curation.
The Anatomy of an Earring Stack
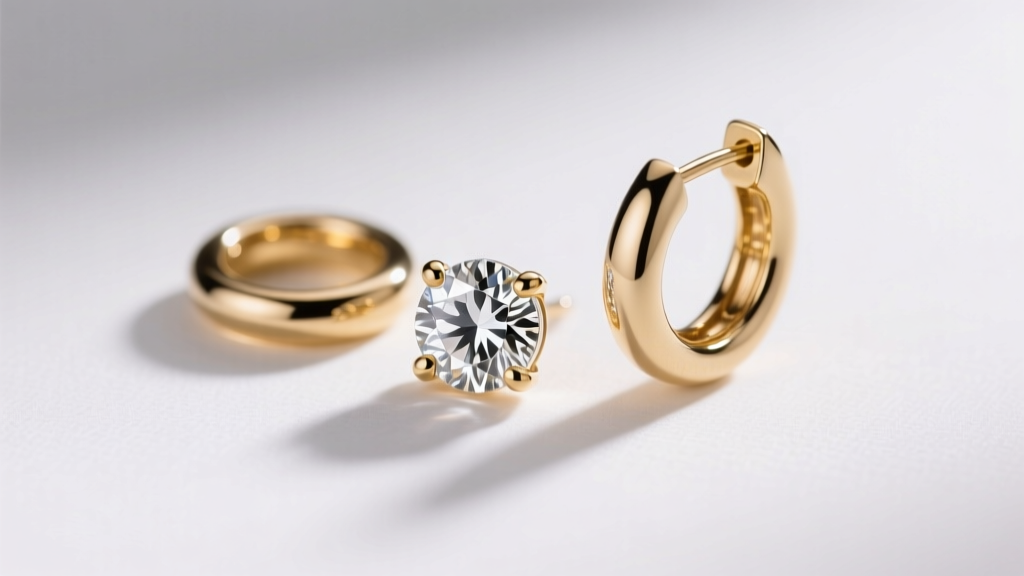
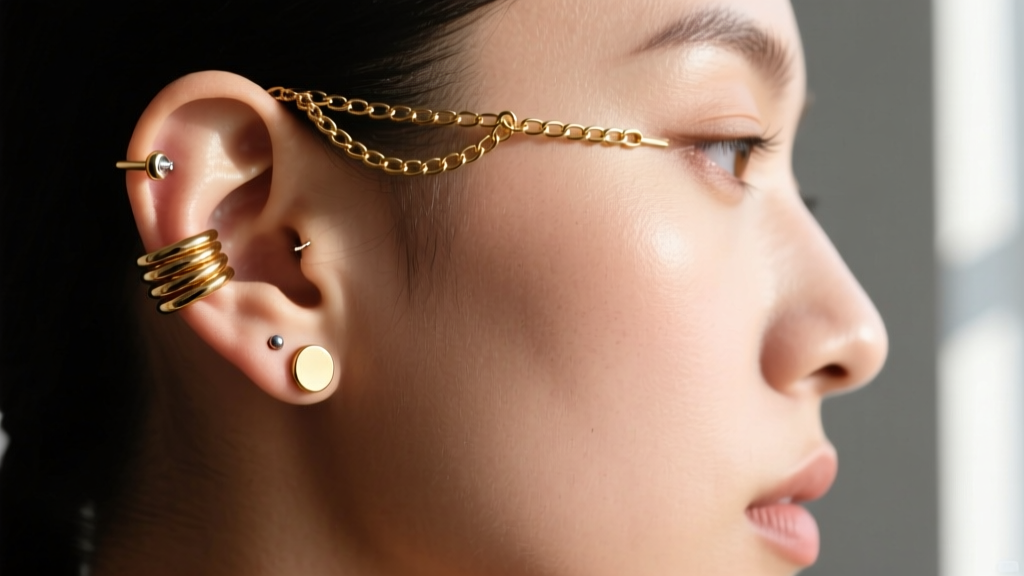
An earring stack is fundamentally different from simply wearing multiple earrings. A true stack relies on visual hierarchy, gradient sizing, and thematic cohesion. Whether you are working with a standard three-piercing lobe setup or venturing into a complex helix-to-conch cartilage arrangement, the goal is to guide the eye smoothly across the ear. The most successful stacks utilize a mix of silhouettes: combining the sharp focal point of a gemstone stud with the fluid movement of a hoop or huggie, and finishing with the subtle accent of an ear cuff or mini-barbell. Understanding how these shapes interact with your specific ear anatomy is the first step toward a professional-looking curation.
The Mathematics of Spacing and Gauge Sizes
The most common point of failure for beginners is ignoring the physical dimensions of the jewelry relative to the placement of the piercings. Standard earlobe piercings are typically done at 18-gauge (1.0mm) or 20-gauge (0.8mm), while cartilage piercings are usually 16-gauge (1.2mm). If your piercings are placed too close together, the jewelry heads will overlap, causing friction, trapping moisture, and inevitably leading to irritation bumps.
The 6-Millimeter Rule
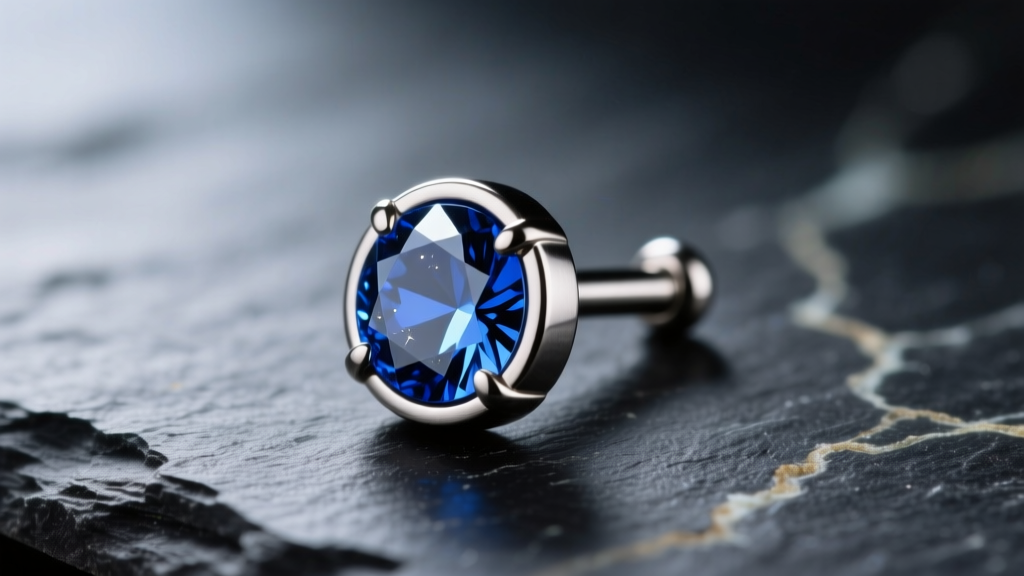
As a general rule, you need a minimum of 6 to 8 millimeters of space between the center points of adjacent piercings. If your lowest lobe piercing sits too high on the earlobe, or your second piercing sits too low, a 6mm stud and an 8mm hoop will physically collide. Before purchasing jewelry for an existing stack, use a digital caliper to measure the distance between your piercings. If your spacing is tight, you must opt for low-profile jewelry, such as 3mm or 4mm bezel-set studs, to maintain breathing room between the pieces.
Step-by-Step: The 3-Piece Lobe Blueprint
If you have three standard lobe piercings, you have the perfect canvas for a classic earring stack. The golden rule of lobe stacking is the 'Gradient Effect'—jewelry should generally decrease in size as it moves up the ear. Here is a proven framework for a balanced, everyday stack that works for almost any face shape.
| Piercing Position | Jewelry Style | Ideal Dimensions | Gauge Size | Estimated Price Range |
|---|---|---|---|---|
| Position 1 (Lowest) | Focal Stud or Small Hoop | 5mm - 7mm head / 10mm hoop | 18g or 20g | $80 - $250 |
| Position 2 (Middle) | Seamless Hoop or Huggie | 8mm - 10mm diameter | 18g or 20g | $60 - $180 |
| Position 3 (Highest) | Mini Stud or Ear Cuff | 2.5mm - 4mm head | 20g or 22g | $40 - $120 |
In this blueprint, Position 1 anchors the stack with a slightly larger, eye-catching piece. Position 2 introduces a circular element that hugs the earlobe, providing a bridge between the focal point and the upper ear. Position 3 finishes the look with a delicate, understated twinkle near the cartilage ridge. Brands like Maria Tash and BVLA specialize in these exact proportions, offering high-end threading and precision-set stones that make this gradient effect seamless.
Material Science: Avoiding Contact Dermatitis
When building an earring stack, you are introducing multiple foreign bodies into your skin simultaneously. This exponentially increases the risk of allergic reactions if you choose the wrong metals. Marketing terms like 'hypoallergenic' or 'surgical steel' are largely unregulated and often contain nickel, a primary culprit for contact dermatitis. According to the American Academy of Dermatology, nickel allergy is one of the most common causes of allergic contact dermatitis, affecting up to 36% of women.
The Only Metals You Should Wear
- ASTM F-136 Implant-Grade Titanium: The gold standard for fresh piercings and sensitive ears. It is completely nickel-free, lightweight, and highly polished to prevent bacterial adhesion. Brands like Anatometal are industry leaders in this space.
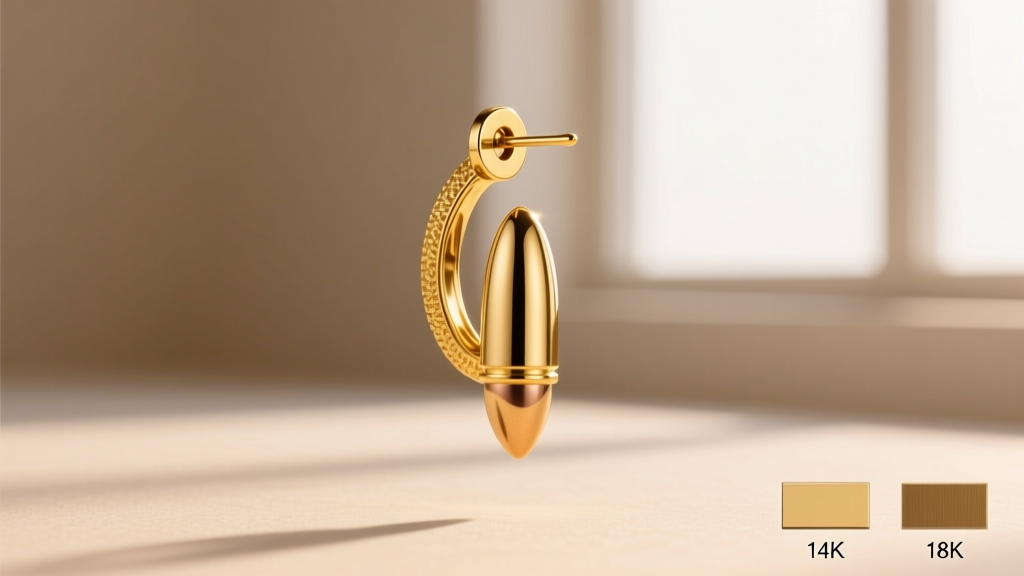
- 14k or 18k Solid Gold: Ensure it is solid, not plated. Yellow gold and rose gold are generally safe. If you prefer white gold, ensure it is alloyed with palladium rather than nickel.
- Niobium: A highly reactive metal that is anodized to create vibrant colors without the use of surface dyes or plating. Excellent for cartilage stacks.
Avoid gold vermeil, gold-plated brass, and sterling silver for your primary stack pieces. Sterling silver contains copper and can tarnish when exposed to the pH of your skin and daily moisturizers, leading to localized irritation and discoloration.
Common Beginner Mistakes (and How to Fix Them)
'The biggest mistake I see clients make is putting heavy, decorative butterfly-back earrings into a fresh or healing stack. The prongs dig into the neck, trap dead skin cells, and ruin the angle of the piercing channel. Flat-back labrets are non-negotiable for a healthy, comfortable ear curation.' — Certified Professional Piercer
As noted by experts affiliated with the Association of Professional Piercers (APP), the backing of your jewelry is just as critical as the front. Traditional butterfly backs create a dark, moist pocket against the back of the ear, which is a breeding ground for bacteria. When building your earring stack, transition to internally threaded or threadless flat-back labrets. These sit flush against the skin, allowing you to sleep comfortably on your side without the metal post stabbing your neck or disrupting the healing fistula.
Maintenance and Long-Term Care
A beautiful earring stack requires a disciplined maintenance routine. Because you are wearing multiple pieces, product buildup from shampoos, conditioners, and skincare serums will accumulate rapidly in the crevices of your jewelry. Once a week, gently clean your stack using a sterile 0.9% saline wound wash. Avoid harsh chemicals like rubbing alcohol or hydrogen peroxide, which will dry out the skin and degrade the polish on your gold or titanium pieces. If you wear hoops in your second or third piercings, be mindful of catching them on hairbrushes and high-collared clothing, as the downward pressure can stretch the piercing channel over time, causing the jewelry to sit at an awkward, drooping angle.
Building your first earring stack is an investment in both your aesthetic and your anatomy. By respecting the mathematics of spacing, insisting on implant-grade materials, and prioritizing flat-back closures, you will create a curated ear that is not only visually stunning but comfortable enough to wear 24/7.