The Ultimate Beginner's Guide to Choosing Your First Tunnel Earring
Discover everything you need to know about buying your first tunnel earring. Learn about gauge sizes, safe materials, and proper insertion techniques.

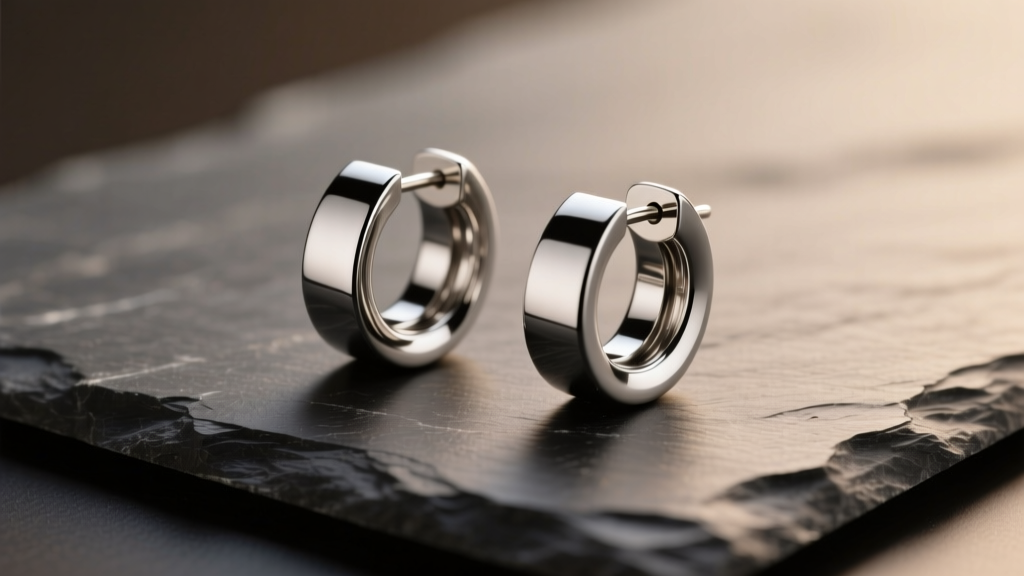
Stepping into the world of stretched earlobes is an exciting journey of self-expression, but it is also a process that demands patience, anatomical knowledge, and high-quality jewelry. If you have recently stretched your lobes or are preparing to make the jump from standard piercings, selecting the right jewelry is critical. A tunnel earring—often used interchangeably with the term 'plug' or 'eyelet'—is a staple in any modified collection. However, not all tunnels are created equal, and choosing the wrong material, size, or flare type can lead to painful blowouts, infections, and permanent tissue damage.
This comprehensive guide will walk you through the exact specifications, material grades, and mechanical nuances you need to know before purchasing your first tunnel earring. We are skipping the fluff and diving straight into the data and expert techniques recommended by professional piercers.
What Exactly Is a Tunnel Earring?
Before making a purchase, it is vital to understand the terminology. In the body modification community, jewelry for stretched lobes generally falls into two categories: plugs and tunnels.
- Plugs: Solid pieces of jewelry that fill the entire fistula (the piercing hole).
- Tunnels (Eyelets): Hollow, cylindrical pieces that allow you to see through the earlobe. They are often preferred for their lighter weight, making them ideal for larger gauges where solid jewelry might cause discomfort or downward migration due to gravity.
While tunnels are fantastic for healed stretches, they are never recommended for the actual stretching process. The hollow edge can catch on delicate, healing tissue, causing micro-tears. Always use a solid taper or a glass plug to stretch, and only insert a tunnel once the new size is fully settled and healed.
Decoding the Sizing Matrix: Gauges vs. Millimeters
One of the most confusing hurdles for beginners is the sizing system. Standard earrings use the gauge (g) system, where a higher number means a thinner wire. However, once you pass 0g, the industry shifts to inches and millimeters. Understanding this matrix is non-negotiable for preventing tissue trauma.
| Gauge / Size | Millimeters (mm) | Inches (Fraction) | Tissue Impact & Notes |
|---|---|---|---|
| 14g | 1.6mm | 1/16" | Standard earring post size. The starting point for stretching. |
| 12g | 2.0mm | 5/64" | First noticeable jump. Often heals very quickly. |
| 10g | 2.5mm | 3/32" | A common milestone; the hole begins to look visibly stretched. |
| 8g | 3.2mm | 1/8" | The jump from 10g to 8g is larger than previous steps. Proceed slowly. |
| 6g | 4.0mm | 5/32" | Often considered the 'point of no return' for many earlobes. |
| 4g | 5.0mm | 3/16" | Requires dedicated aftercare and slow stretching methods like taping. |
| 2g | 6.0mm | 1/4" | Approaching the upper limit of guaranteed natural closure. |
| 0g | 8.0mm | 5/16" | Major milestone. Tunnels are highly recommended here to reduce weight. |
| 00g | 10.0mm | 3/8" | Sizing shifts entirely to millimeters/inches beyond this point. |
Why the Jump Matters
Notice that the millimeter gaps between sizes increase as you go up. The jump from 14g to 12g is only 0.4mm, but the jump from 2g to 0g is a massive 2.0mm. Attempting to force a 2mm jump without using the PTFE taping method will almost certainly result in a blowout (where the tissue tears and pushes out the back of the lobe). According to the Association of Professional Piercers (APP), listening to your body's resistance and waiting 3 to 6 months between stretches is the gold standard for healthy tissue expansion.
Material Matters: What to Buy (and What to Avoid)
When shopping for a tunnel earring, the material is just as important as the size. Your stretched lobes have a larger surface area of exposed, healing tissue compared to standard piercings, making them highly susceptible to allergic reactions and bacterial harboring.
The Safe List: Implant-Grade Metals and Glass
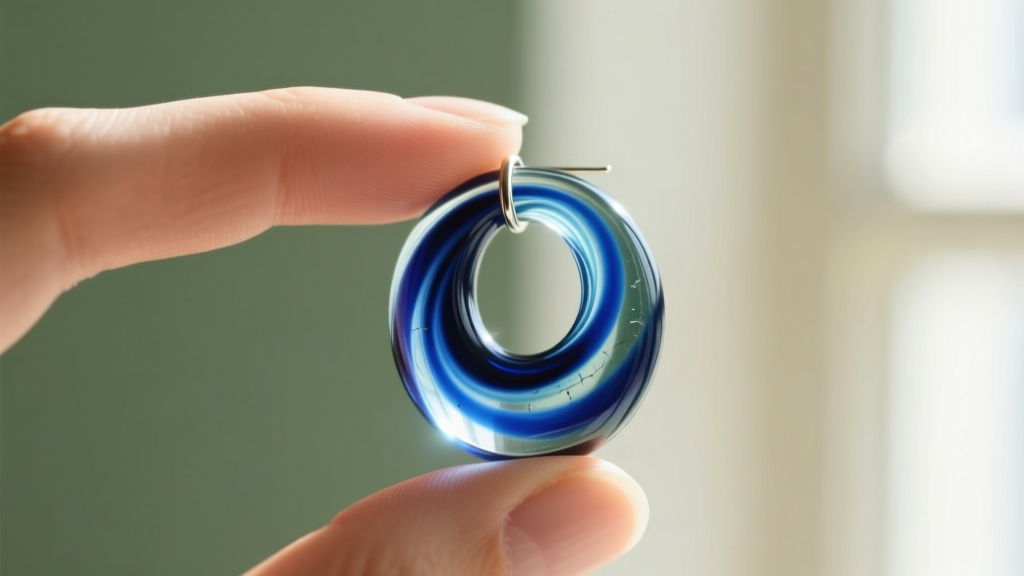
For fresh stretches or sensitive ears, you must stick to biocompatible materials. ASTM F-136 Implant-Grade Titanium is the undisputed champion. It is completely nickel-free, highly polished, and will not react with your body's chemistry. Borosilicate glass is another exceptional choice; it is non-porous, can be sterilized in an autoclave, and is incredibly smooth, allowing for effortless insertion.
The Danger Zone: Acrylic and Wood
Avoid acrylic tunnels at all costs for fresh stretches. Acrylic is a porous plastic that harbors bacteria and can leach toxic monomers into healing tissue, leading to severe contact dermatitis. Furthermore, acrylic is brittle and can crack under the pressure of a tight stretch. Similarly, while wood and bone are beautiful, they are organic and porous. They should only be worn in fully healed, mature stretches, and must be regularly maintained with jojoba oil to prevent cracking and warping. For a deep dive into safe materials, resources like Healthline's guide to ear stretching emphasize the importance of non-porous jewelry during the healing phases.
Flare Types Explained: How to Actually Get Them In
The 'flare' refers to the widened lip at the ends of the tunnel earring that keeps it from falling out of your ear. Choosing the right flare type depends entirely on how healed and elastic your lobes are.
1. Single Flare Tunnels
These feature a lip on only one side. You insert the non-flared end through the front of your ear and secure it in the back with a silicone or rubber O-ring. Single flares are the most beginner-friendly option and are highly recommended for stretches that are still settling, as they do not require forcing a tight lip through the fistula.
2. Double Flare Tunnels
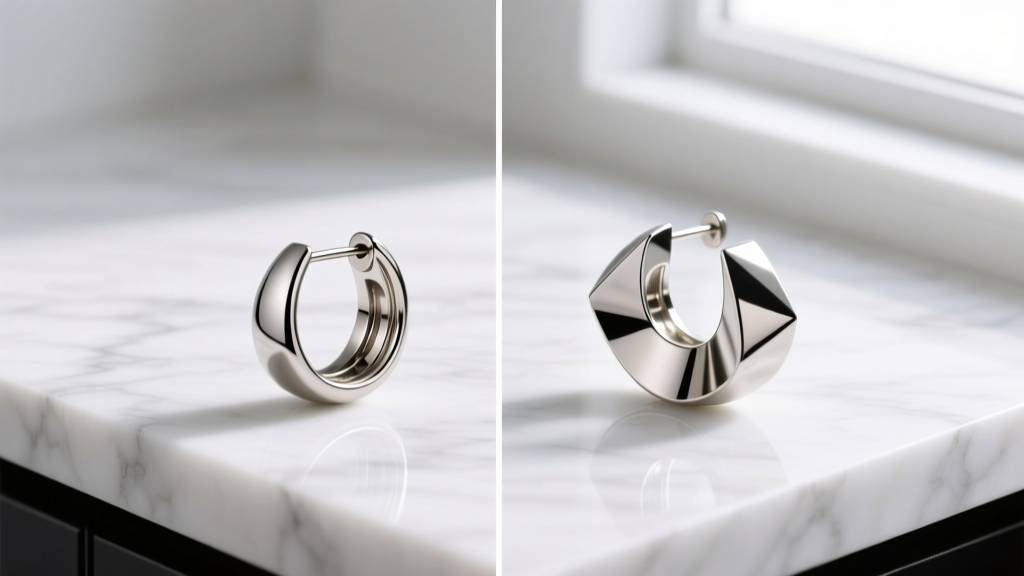
Double flares have a lip on both ends, creating a saddle shape. They offer a sleek, seamless look without the need for O-rings. However, they require a fully healed and elastic lobe. To insert a double flare, you must angle the jewelry so one edge of the lip catches the inside of the fistula, then gently but firmly 'pop' the opposite edge through. Forcing a double flare into a tight, unhealed stretch is a primary cause of blowouts.
3. No Flare (Straight) Tunnels
These are perfectly straight cylinders without any lips. They rely entirely on two O-rings (one on the front, one on the back) to stay in place. They are incredibly easy to insert and are often used by people who find flared jewelry uncomfortable or difficult to maneuver.
Step-by-Step Insertion and Aftercare
Inserting a new tunnel earring should never be a painful, bloody ordeal. Follow this protocol for a smooth transition:
- Prep the Environment: Take a warm shower. The heat and steam will naturally relax the elastin and collagen in your earlobes, making the tissue more pliable.
- Lubricate: Apply a generous amount of a safe, natural lubricant to both your earlobe and the tunnel. Jojoba oil, Vitamin E oil, or a dedicated stretching balm are ideal. Never use petroleum-based products like Vaseline, which can clog the fistula and trap bacteria.
- The Insertion: For a single flare, gently guide the non-flared end through the front. If you meet resistance, stop. Do not push through sharp pain. For a double flare, use the 'saddle pop' method, angling the jewelry to slip one side of the flare in before rocking the other side through.
- Cleanse: Once inserted, wipe away excess oil with a clean paper towel and spray the front and back with a sterile saline wound wash (0.9% sodium chloride with no additives).
Pro-Tip for Stubborn Stretches: If your double flare tunnel won't pop through, do not force it. Remove the jewelry, wrap a single layer of PTFE (Teflon) tape around your current plug, wear it for a week to gently expand the tissue, and then try the tunnel again.
Common Beginner Mistakes and How to Fix Them
Even with the best intentions, beginners often fall into traps that compromise the health of their lobes. Here is how to troubleshoot the most common issues:
- Mistake: Sleeping in heavy stone or steel tunnels. The Fix: Gravity and the pressure of your pillow can cause the fistula to migrate or thin out over time. Swap to lightweight silicone or wood tunnels for sleeping.
- Mistake: Ignoring the 'cheese cutter' effect. The Fix: Wearing heavy, thin-gauge wire or poorly fitted tunnels can cause the jewelry to slowly slice downward through the lobe. Always ensure your tunnel sits flush and distributes weight evenly.
- Mistake: Over-washing with harsh soaps. The Fix: Stretched lobes do not need to be scrubbed with antibacterial soap daily, which strips natural sebum and causes dry, crusty buildup. Wash gently with mild, unscented soap and massage with jojoba oil daily to maintain tissue elasticity.
Final Thoughts on Your Stretching Journey
Choosing your first tunnel earring is a milestone that marks your transition from standard piercings to dedicated body modification. By prioritizing implant-grade titanium or borosilicate glass, respecting the millimeter jumps in the gauge matrix, and understanding the mechanics of single versus double flares, you set yourself up for a lifetime of healthy, beautiful stretches. Remember that stretching is a marathon, not a sprint. Treat your tissue with respect, invest in high-quality jewelry, and enjoy the process of curating a collection that is uniquely yours.


