How to Wear and Secure Bell Back Earrings: Step-by-Step Guide
Learn how to properly wear, secure, and clean bell back earrings. Our step-by-step guide ensures your heavy diamond studs stay safe and comfortable.

What Are Bell Back Earrings?
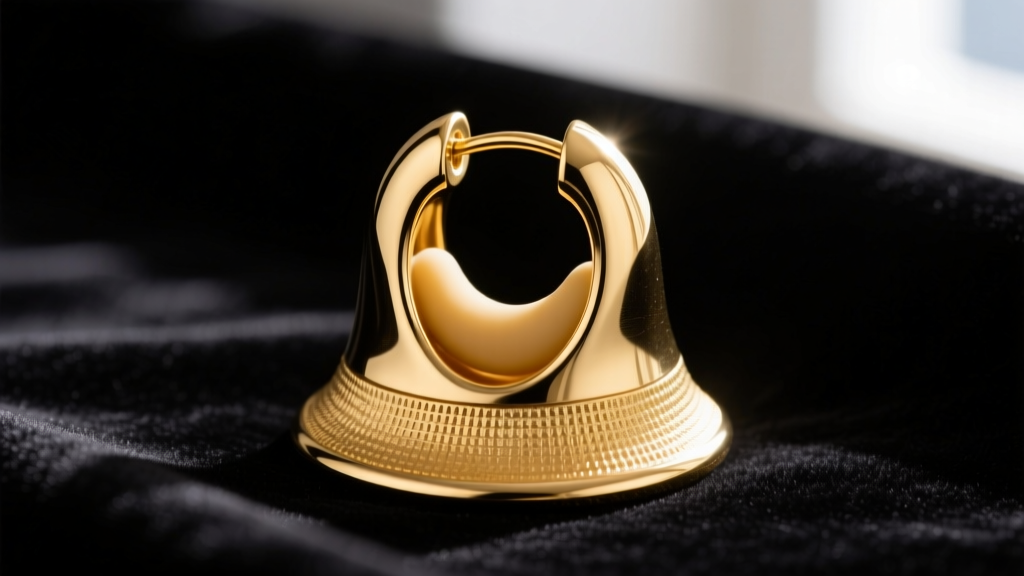
When investing in high-carat diamond studs or heavy gemstone jewelry, the earring backing is just as critical as the stone itself. Standard butterfly clutches often fail to support significant weight, leading to lobe sagging, discomfort, and a high risk of loss. This is where bell back earrings come into play. Often referred to as jumbo friction backs or secure bell push-backs, these findings feature a wide, flared base that resembles a bell. This design dramatically increases the surface area against the earlobe, distributing the weight of heavy earrings evenly and preventing the dreaded 'cheese-cutter' effect that damages piercings over time.
In this comprehensive guide, we will break down the exact anatomy of a bell back, provide a step-by-step tutorial on how to secure them properly, and share expert troubleshooting tips to ensure your valuable jewelry stays exactly where it belongs.
The Anatomy of a Secure Bell Back
To understand why bell back earrings outperform standard findings, you need to look at their internal and external engineering. A high-quality bell back consists of three main components:
- The Flared Base (The Bell): Typically measuring 8mm to 10mm in diameter, the wide base rests flush against the back of the earlobe. This prevents the earring from drooping forward, keeping a 2.0-carat diamond stud facing perfectly outward.
- The Internal Friction Scroll: Inside the metal housing are twin tension scrolls (usually stamped from 14k or 18k gold, or platinum) that grip the earring post. Unlike cheap butterfly backs that lose tension after a few uses, premium bell backs are engineered with high-durometer metals that retain their grip for years.
- The Silicone O-Ring Insert: Many modern bell backs feature a medical-grade silicone sleeve inside the metal scroll. This adds a secondary layer of friction, ensuring that even if the metal scrolls loosen slightly, the silicone maintains a vice-like grip on the post.
Gauge Compatibility and Weight Distribution
Heavy earrings require thicker posts to prevent bending. While standard fashion earrings use 20-gauge (0.81mm) posts, fine jewelry studs often use 18-gauge (1.02mm) or even 16-gauge (1.29mm) posts. Bell backs are specifically reamed to accommodate these thicker gauges without requiring excessive force that could bend the post or damage the stone setting. According to the Gemological Institute of America (GIA), proper jewelry care includes ensuring that the findings match the structural demands of the piece, making gauge compatibility a non-negotiable factor for heavy studs.
Step-by-Step: How to Put On Bell Back Earrings
Putting on a bell back requires slightly more precision than a standard push-back. Follow these steps to ensure a secure, comfortable fit without damaging your earlobe or the earring post.
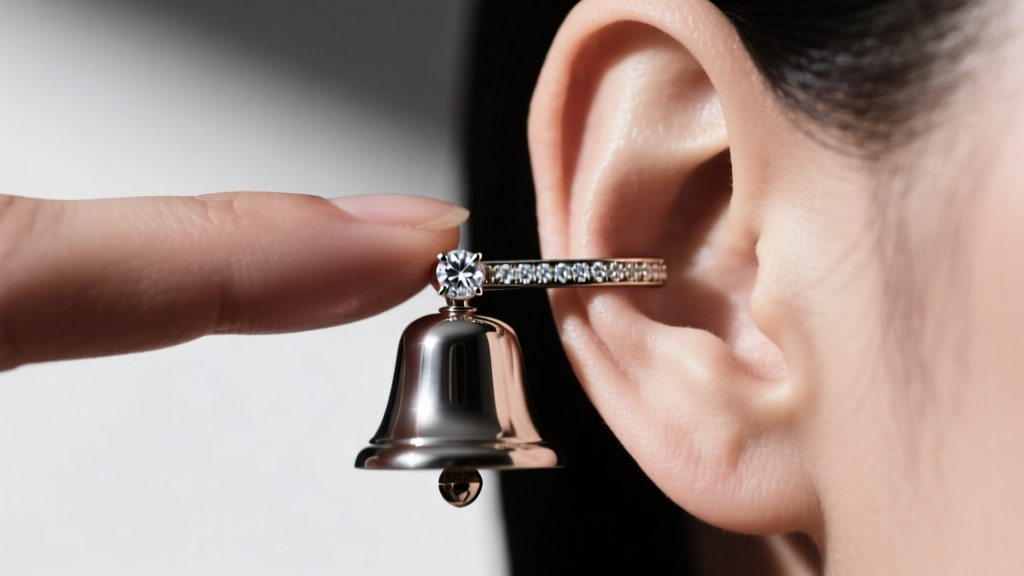
- Prep the Post and Lobe: Wipe the earring post with a lint-free microfiber cloth and a drop of isopropyl alcohol. Remove any skin oils or lotion, which can act as a lubricant and cause the bell back to slide off later.
- Align the Base Parallel: Hold the earring stud in front of your lobe. Bring the bell back up to the rear of the earlobe, ensuring the flat edge of the bell base is perfectly parallel to the skin. Angling the back can cause the internal scrolls to scrape and shave the metal post.
- Apply Even, Direct Pressure: Push the bell back straight onto the post. You should feel a smooth resistance. Do not wiggle it side-to-side.
- Pass the Safety Notch: High-quality earring posts feature two small grooved notches near the tip. The first is a 'false' safety notch. You must push the bell back past the second notch until you hear or feel a distinct 'click'. This ensures the internal scrolls have locked behind the deepest groove.
- The Pinch Test: Gently pinch the stud and the bell back together. There should be zero lateral movement. If the stud wiggles, the back has not cleared the second notch or the internal scrolls are worn.
Troubleshooting: Why Your Bell Backs Feel Loose
Even the best bell back earrings can experience issues over time. Here is a diagnostic guide to the most common failure modes and how to fix them.
1. The Back Slides Off Easily
The Cause: Buildup of lotions, hairspray, or sebum inside the silicone insert, or the internal metal scrolls have been stretched out from being forced onto a post that was too thick.
The Fix: Soak the bell backs in a solution of warm water and a few drops of mild dish soap. Use a soft baby toothbrush to gently clean the inside channel. If the metal scrolls are visibly bent outward, take them to a jeweler to have the tension reset with specialized pliers.
2. The Earring Still Droops Forward
The Cause: The earring post is too long for your earlobe thickness, creating a gap between the front stud and the bell back, acting as a lever that forces the earring to tilt downward.
The Fix: Visit your jeweler to have the post shortened. A post should only extend 1mm to 2mm past the bell back. Alternatively, use a small, clear silicone earring stopper pad between the front of the stud and your earlobe to fill the gap.
Comparison of Earring Backing Types
| Backing Type | Best For | Ideal Post Gauge | Security Level | Avg. Replacement Cost |
|---|---|---|---|---|
| Standard Butterfly | Lightweight, everyday studs | 20G - 18G | Low to Medium | $5 - $15 |
| Bell Back (Jumbo) | Heavy diamonds (1.5ct+) | 18G - 16G | High | $25 - $60 |
| Screw Back | High-value, active lifestyles | 18G - 14G (Threaded) | Very High | $40 - $90 |
| La Pousette (Locking) | Premium luxury studs | 16G - 14G | Maximum | $100 - $250+ |
*Data sourced from fine jewelry finding manufacturers and Blue Nile's jewelry education center.
Cleaning and Long-Term Maintenance
To maintain the tension and hygiene of your bell back earrings, a strict maintenance routine is required. Because the bell shape creates a small 'cup' against the earlobe, it can trap dead skin cells and moisture, leading to contact dermatitis or unpleasant odors if neglected.
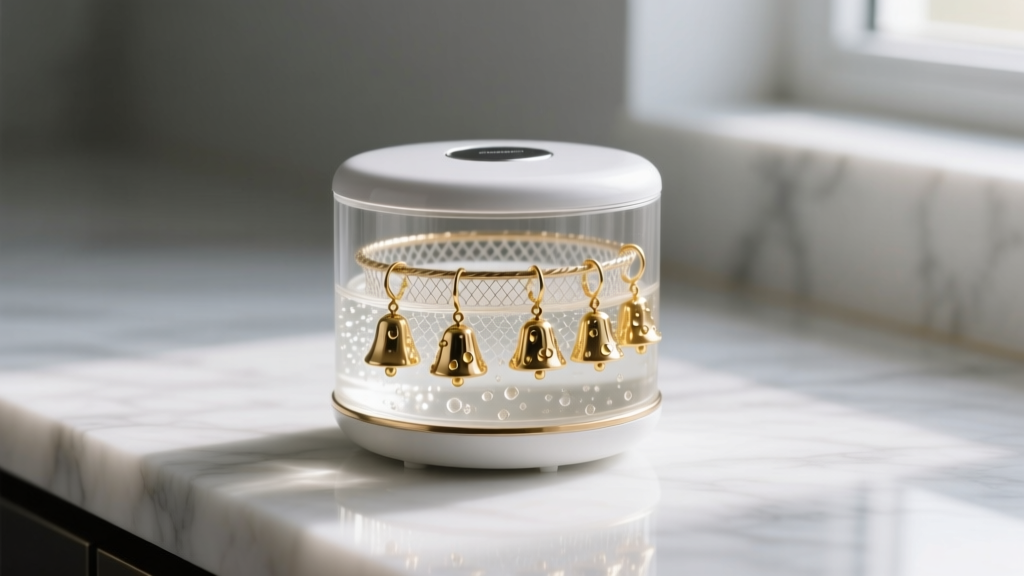
Expert Tip: Never use harsh chemical dips (like silver polish or chlorine-based cleaners) on bell backs that contain internal silicone O-rings. The chemicals will degrade the silicone, causing it to turn brittle and crack, which completely ruins the secondary friction grip.
Weekly Cleaning Protocol
- Removal: Always pull the bell back straight off the post. Never twist or yank it at an angle, as this will permanently warp the internal tension scrolls.
- Ultrasonic Bath: Place the bell backs (without the diamond studs, unless you are certain the stones are not fracture-filled or tension-set) into an ultrasonic cleaner filled with a specialized jewelry solution for 3 minutes. This vibrates out microscopic debris from the internal scrolls.
- Drying: Use compressed air or a hairdryer on the 'cool' setting to completely dry the inside of the bell. Trapped moisture leads to oxidization, even in 14k and 18k gold alloys.
Final Thoughts on Securing Your Investment
Transitioning to bell back earrings is one of the most effective, non-invasive ways to upgrade the security and comfort of your fine jewelry collection. By understanding the mechanics of the flared base, respecting the gauge limitations, and following a precise insertion technique, you eliminate the anxiety of losing a cherished diamond stud. Treat your findings with the same respect you treat your gemstones, and they will provide a lifetime of secure, sag-free wear.


