How to Clean and Disinfect Earrings: Budget & Value Guide
Discover how to clean and disinfect earrings without ruining them. Compare DIY, commercial, and ultrasonic methods for maximum value and hygiene.

The Financial Reality of Earring Maintenance
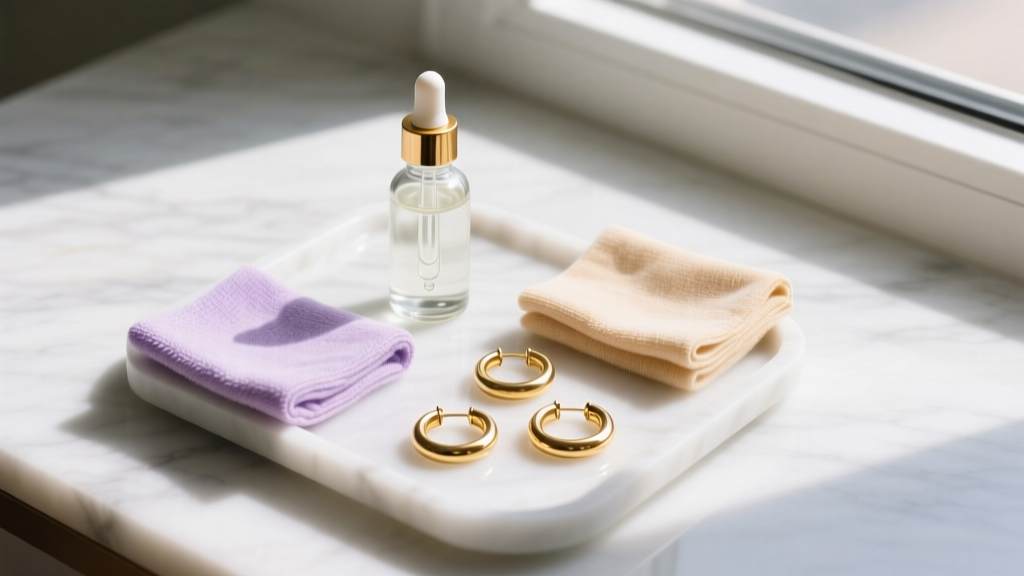
When you invest in quality jewelry, understanding how to clean and disinfect earrings is not just a matter of hygiene—it is a critical component of asset preservation. As we navigate jewelry care in 2026, the internet is flooded with viral cleaning hacks that promise sparkling results for pennies. However, many of these budget-friendly methods actually cause microscopic damage, strip expensive rhodium plating, and degrade gemstone integrity, ultimately costing you far more in professional repairs or replacements. True value in earring care lies at the intersection of effective sanitation and material science.
The Association of Professional Piercers (APP) emphasizes that proper hygiene prevents localized infections and contact dermatitis, but their official aftercare guidelines also warn against harsh chemicals that can degrade implant-grade jewelry. This guide breaks down the exact costs, risks, and return on investment (ROI) of various earring cleaning methods, helping you maintain your collection on a budget without sacrificing quality.
The Crucial Difference: Cleaning vs. Disinfecting
Before assessing the budget options, you must understand a fundamental chemical distinction that most consumers miss. Cleaning is the physical removal of organic debris (sebum, dead skin cells, makeup, and environmental dust) using surfactants. Disinfecting is the chemical process of killing bacteria and fungi using antimicrobial agents.
If you apply a disinfectant like 70% isopropyl alcohol directly to a dirty earring post, the organic biofilm shields the bacteria underneath, rendering the alcohol largely ineffective. You must always clean the physical debris away first with a surfactant, and then disinfect. Skipping the cleaning step means you are wasting your disinfecting solution and leaving your earlobes vulnerable to irritation.
The Hidden Costs of Viral Internet Hacks
Many budget-conscious consumers turn to household staples to clean their jewelry. While cheap upfront, these methods carry severe long-term financial penalties:
- Toothpaste: Often recommended for silver, toothpaste contains hydrated silica (Mohs hardness of 7). Sterling silver and 14k gold have a Mohs hardness of roughly 2.5 to 3. Scrubbing with toothpaste will inflict permanent micro-scratches, ruining the mirror finish and requiring a $50+ professional polishing to fix.
- Baking Soda and Aluminum Foil: While this electrochemical reaction removes tarnish from silver, it is highly corrosive to porous gemstones like turquoise, opals, and pearls, often dissolving their outer layers and destroying stones worth hundreds of dollars.
- Boiling Water: Submerging diamond studs in boiling water seems like a free, high-heat disinfection method. However, the rapid thermal shock can fracture diamonds with internal inclusions or shatter tension-set stones, turning a $1,000 investment into dust.
Budget vs. Premium: Cleaning Solutions Compared
To determine the best value for your specific jewelry collection, we must compare the cost-per-use and risk profile of the most common cleaning methods.
| Method | Estimated Cost | Best Used For | Material Risk Level |
|---|---|---|---|
| Dish Soap & Distilled Water | $0.05 / use | Daily wear gold, platinum, titanium, diamonds | Very Low |
| 70% Isopropyl Alcohol | $0.10 / use | Disinfecting metal posts, silicone backs, body jewelry | Medium (Dries porous gems) |
| Commercial Silver Dips | $0.50 / use | Heavily tarnished 925 sterling silver (no stones) | High (Strips patina, damages pearls) |
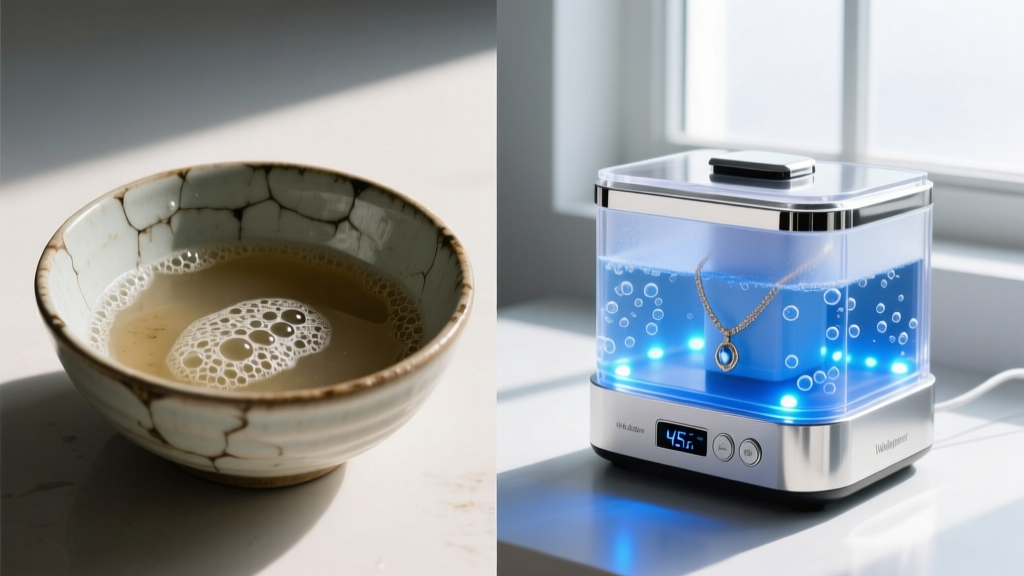
| Ultrasonic Cleaner (45kHz) | $40 - $60 (One-time) | Intricate settings, diamond studs, metal hoops | High for soft/fractured stones |
The $5 DIY Protocol for Maximum Value
For 90% of your everyday earrings—including 14k/18k gold, platinum, ASTM F136 implant-grade titanium, and cubic zirconia—the most cost-effective and safe method is a simple surfactant wash. Here is the exact protocol to maximize lifespan and hygiene:
- Prep the Solution: Fill a small glass bowl with warm (not hot) distilled water. Tap water contains trace minerals and chlorine that can leave hard water spots on high-polish metals. Add exactly two drops of a mild, phosphate-free dish soap (like original Dawn).
- Soak: Submerge the earrings for 5 to 10 minutes. This softens the sebum and cosmetic buildup trapped in the earring backs and prong settings.
- Agitate: Using a brand-new, extra-soft baby toothbrush, gently brush the earring post, the backing, and the underside of the gemstone setting. Never use a standard adult toothbrush, as the bristles are too stiff and can bend delicate prongs.
- Rinse & Dry: Rinse under a gentle stream of distilled water. Pat dry with a lint-free microfiber cloth. Allow to air dry completely on a paper towel before storing or wearing.
- Disinfect the Post: Dip a cotton swab in 70% isopropyl alcohol and wipe only the metal post that enters the ear. Avoid getting alcohol on the gemstone or the earring back.
Material-Specific Value Preservation
Different materials react differently to cleaning agents. Applying the wrong chemical is the fastest way to depreciate your jewelry's value.
Sterling Silver (925) and Tarnish Management
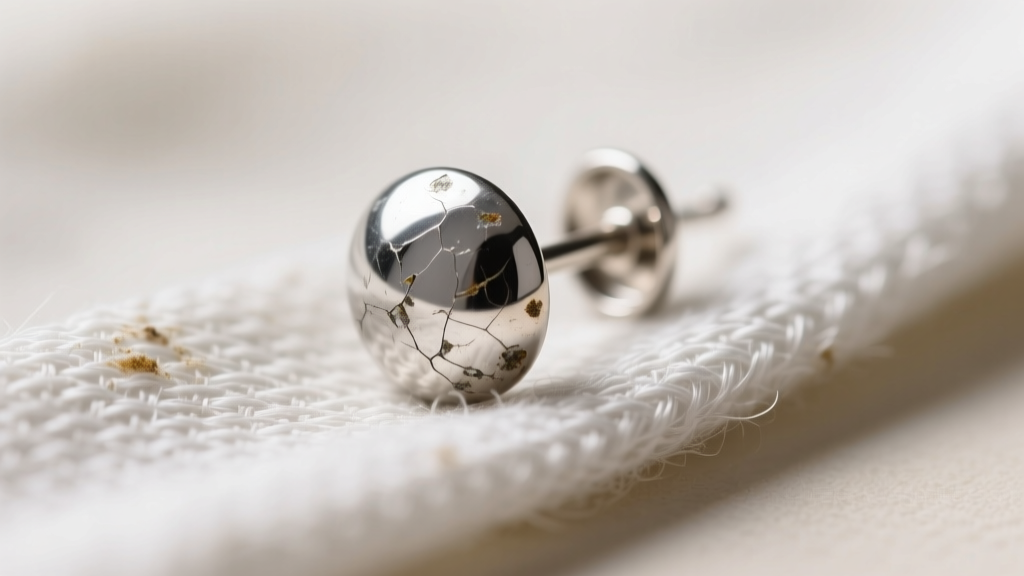
Silver tarnish is silver sulfide, caused by exposure to sulfur in the air and skin oils. While liquid silver dips are cheap ($8 a bottle), they strip the silver at a microscopic level, accelerating future tarnishing. The highest-value method is using a specialized treated silver polishing cloth (costing about $6 and lasting for dozens of uses). The cloth contains micro-abrasives and anti-tarnish agents that remove sulfide without removing the base metal.
Porous Gemstones: Pearls, Opals, and Turquoise
The Gemological Institute of America (GIA) strictly advises against using chemical cleaners, alcohol, or ultrasonic machines on organic or porous gems. These stones absorb liquids, which can dissolve their internal structure or ruin the epoxy used to set them. The only budget-safe method for a $200 pair of pearl drops is to wipe them gently with a damp microfiber cloth after every wear to remove acidic skin oils, which eat away at the pearl's nacre over time.
Earring Backs: Silicone vs. Metal
Silicone earring backs are popular for heavy dangles, but they degrade rapidly when exposed to 70% isopropyl alcohol, turning brittle and cracking within weeks. To preserve your investment in high-quality silicone backs, wash them in the soapy water solution and skip the alcohol disinfection step. Reserve alcohol strictly for metal butterfly backs or screw-backs.
Ultrasonic Cleaners: An ROI Analysis
Are budget ultrasonic cleaners (typically priced between $35 and $60 on major e-commerce platforms) worth the investment? The answer depends entirely on your wardrobe.
If you wear intricate diamond or sapphire studs daily, an ultrasonic cleaner uses high-frequency sound waves (ideally 40kHz to 45kHz) to create microscopic cavitation bubbles that blast debris out of prong settings. A professional jeweler charges $25 to $50 for a deep ultrasonic cleaning and steam polish. If you utilize a home machine just twice, it has paid for itself. Furthermore, regular home cleaning prevents the buildup of hardened lotion and dead skin that can eventually push diamonds out of their settings, saving you from a potential $1,000 stone replacement.
However, if your collection consists primarily of glued-in fashion jewelry, emeralds (which are heavily fracture-filled with oils), or opals, an ultrasonic cleaner is a terrible investment. The vibrations will shake the glue loose and shatter fragile stones, destroying your jewelry's value instantly. For these collections, stick to the $5 DIY soapy water protocol.
Final Verdict: Smart Spending for Lasting Shine
Mastering how to clean and disinfect earrings on a budget is about knowing when to spend and when to save. Skip the expensive branded jewelry soaking solutions, which are often just heavily marketed, diluted surfactants. Instead, invest a few dollars in high-quality microfiber cloths, a dedicated baby toothbrush, and a bottle of 70% isopropyl alcohol for targeted post disinfection. By respecting the material science of your specific earrings, you ensure that your jewelry remains both hygienically safe and financially valuable for decades to come.


