How to Build a Cartilage Ear Stack Using 2026 Earrings Trends
Learn how to build a flawless cartilage ear stack with our step-by-step guide to 2026 earrings trends, gauge sizes, and hypoallergenic metals.

Introduction to Ear Curation in 2026
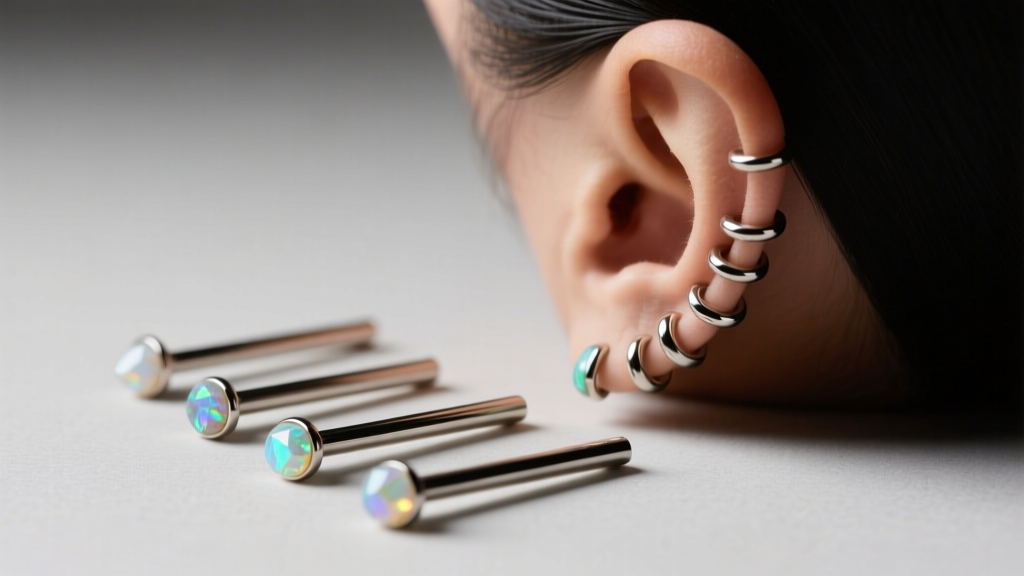
The art of ear curation has evolved far beyond simply getting multiple piercings and filling them with random jewelry. Today, building a cartilage ear stack is an exercise in intentional design, anatomical mapping, and material science. As we navigate the landscape of 2026 earrings, the prevailing trend is "quiet luxury"—a shift away from oversized, noisy statement pieces toward modular, high-end, and meticulously crafted threadless jewelry. Whether you are starting with a fresh helix piercing or looking to upgrade an existing constellation, this step-by-step guide will teach you how to curate a cohesive, hypoallergenic, and visually balanced ear stack using the latest industry standards.
Step 1: Map Your Anatomy and Piercing Gauges
Before purchasing any jewelry, you must understand the structural canvas of your ear. Cartilage thickness, the angle of your helix ridge, and the depth of your conch bowl all dictate which jewelry profiles will sit flush and heal properly. Furthermore, knowing your exact gauge size is non-negotiable. While standard earlobe piercings are often done at 20g or 18g, professional cartilage piercings are almost universally performed at 16g or 14g to ensure stability and accommodate premium jewelry brands like BVLA and Anatometal.
| Piercing Placement | Standard Gauge | Common Jewelry Type | Avg. Healing Time |
|---|---|---|---|
| Standard Lobe | 18g - 16g | Flat-back labret, Huggie | 6 - 8 Weeks |
| Helix / Forward Helix | 16g | Threadless Labret, Clicker | 6 - 12 Months |
| Flat | 16g - 14g | Threadless End (3mm-5mm) | 8 - 12 Months |
| Conch | 16g - 14g | Large Threadless, Hoop | 8 - 12 Months |
| Tragus | 16g | Small Labret (2mm-3mm) | 6 - 9 Months |
According to the Association of Professional Piercers (APP), initial jewelry must accommodate swelling, meaning your first post should be a longer, implant-grade titanium flat-back labret. Only downsize to a snug-fitting post once the swelling has completely subsided, usually around the 6-to-8-week mark.
Step 2: Select Hypoallergenic Base Metals
The foundation of any successful ear stack is the metal touching your skin. The era of "surgical steel" is over among professional piercers, as it contains nickel that frequently triggers contact dermatitis. For 2026 earrings, the gold standard for base posts is Implant-Grade Titanium (ASTM F136). This specific alloy is completely nickel-free, highly polished to a mirror finish to prevent bacterial adhesion, and lightweight enough for delicate cartilage tissue.
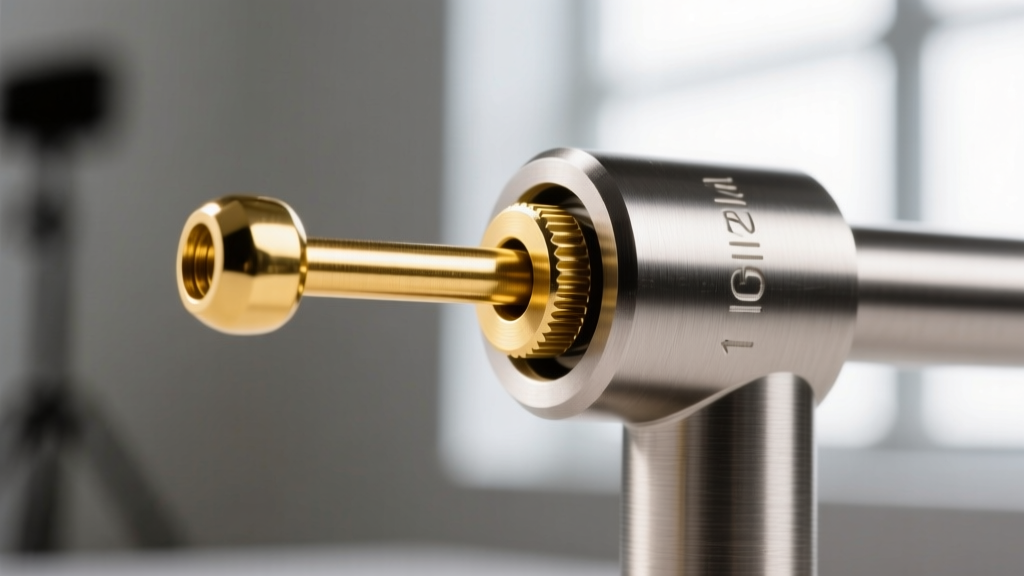
For the decorative ends, 14k or 18k solid gold (specifically palladium white gold or nickel-free yellow gold) is the premier choice. Brands like BVLA (Body Vision Los Angeles) machine their gold ends to exact tolerances, ensuring a seamless fit with titanium posts. Avoid gold-plated or gold-filled jewelry for cartilage stacks, as the friction of hair and headphones will eventually wear away the plating, exposing reactive base metals underneath.
Step 3: Anchor the Lobe (The Foundation)
Every great ear stack requires a visual anchor. The lobe serves as the heavy base of your composition. In 2026, the trend has moved toward chunky, seamless huggies or geometric sleeper hoops in the upper lobe, paired with a larger, textured stud in the primary lobe piercing. If you have a second or third lobe piercing, graduate the sizes downward. For example, use a 10mm diamond-cut huggie in the first lobe, a 4mm bezel-set gem in the second, and a delicate 2mm threadless dot in the third. This creates a cascading effect that draws the eye upward toward the cartilage.
Step 4: Layer the Helix and Flat with 2026 Earrings
The helix and flat regions are where the "constellation" concept truly shines. The most significant innovation dominating 2026 earrings is the threadless jewelry system. Unlike internally threaded jewelry that screws together, threadless jewelry uses tension. The decorative end features a tiny gold pin that you slightly bend before inserting into the hollow titanium post. This tension creates a secure, flush fit that will not unscrew or fall out in your sleep.
Trending Motifs for Cartilage Stacks
- Raw and Uncut Gemstones: Moving away from perfectly faceted diamonds, 2026 sees a surge in raw sapphires, uncut tourmalines, and salt-and-pepper diamonds set in matte-finish gold bezels.
- Asymmetrical Clusters: Instead of matching studs, curators are grouping three tiny threadless ends (e.g., a star, a bezel diamond, and a plain gold ball) tightly together in the flat piercing to mimic a single, complex piece of jewelry.
- Solid Gold Ear Cuffs: For those hesitant to commit to a daith or snug piercing, tension-fitted 14k gold ear cuffs that wrap around the helix ridge offer a temporary, high-end aesthetic.
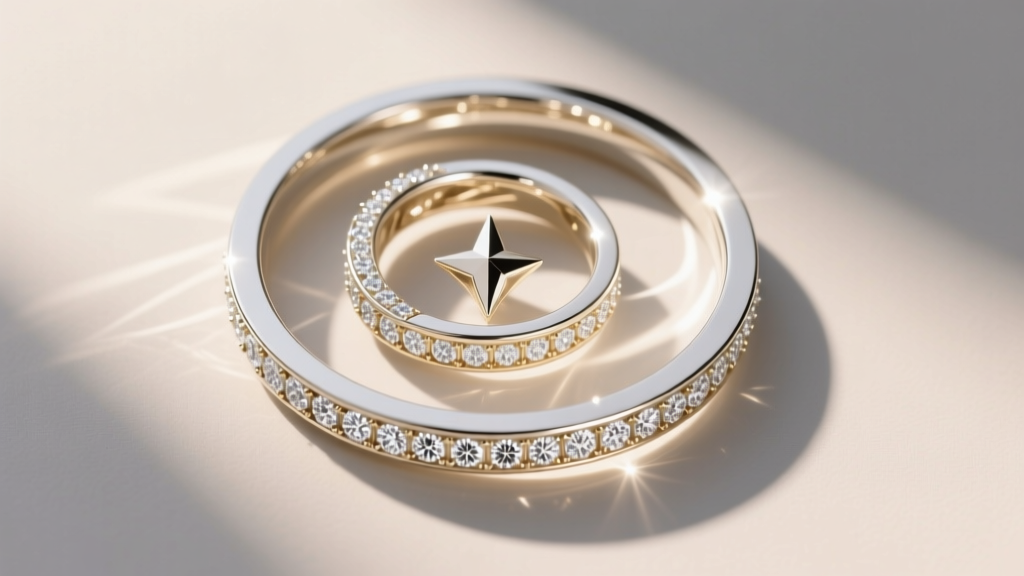
When spacing your helix and flat piercings, ensure there is at least 6mm to 8mm of clearance between the edges of the jewelry tops. If the gems touch, they will create friction, trap moisture, and delay the healing process.
Step 5: Add the Tragus or Conch Statement
The tragus and conch act as the middle-ground connectors between the lobe and the outer helix. For the tragus, anatomy is highly restrictive. Because the tragus sits close to the ear canal, large gems will press uncomfortably against the tragus ridge or catch on earbuds. Stick to 2mm or 3mm threadless ends, or a tiny, snug-fitting 6mm clicker hoop. The conch, however, offers a massive canvas. A 14k gold conch cuff or a large, intricate floral threadless end (8mm-10mm) can serve as the breathtaking centerpiece of your entire ear stack.
Step 6: Maintenance, Healing, and Troubleshooting
Curating an ear stack is a marathon, not a sprint. Cartilage lacks the robust blood supply of the earlobe, meaning healing times are measured in months, not weeks. During the first year of a new cartilage piercing, your aftercare routine must be impeccable.
Expert Troubleshooting Tip: If your cartilage piercing develops a "piercing bump" (hypertrophic scarring), do not apply tea tree oil or harsh astringents. These bumps are almost always caused by mechanical irritation—such as sleeping on the piercing, using a post that is too long, or wearing jewelry with rough polishing marks. Switch to a sterile saline wound wash, downsize your titanium post with a professional piercer, and sleep on a travel neck pillow to keep pressure off the ear.
Nickel allergies can develop at any point in your life, even if you previously tolerated cheap metals. The Mayo Clinic notes that prolonged exposure to nickel can trigger an immune response resulting in itchy, flaky rashes. Investing in ASTM F136 titanium and solid 14k/18k gold is not just an aesthetic choice; it is a medical necessity for long-term tissue health. Clean your stack daily with sterile 0.9% sodium chloride spray, avoid twisting the jewelry, and let your 2026 earrings do the talking.


