Earring Back Stuck Inside Ear: Expert Removal & Prevention Guide
Expert guide on what to do when an earring back is stuck inside your ear. Learn safe removal techniques, triage levels, and hardware upgrades.

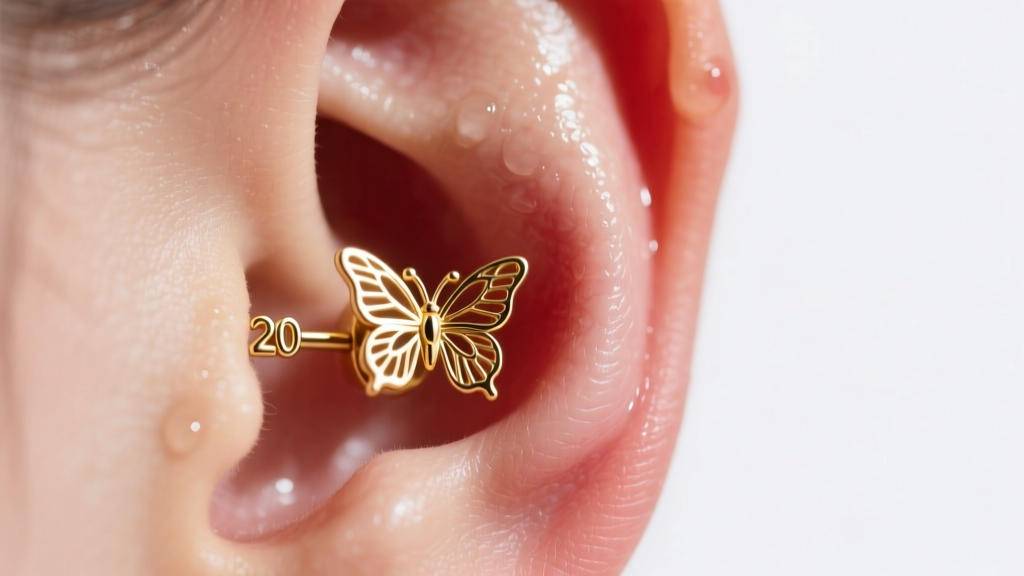
The Biomechanics of Embedding: Why Earring Backs Get Stuck
When you discover an earring back stuck inside ear tissue, you are witnessing a localized biological response to mechanical stress and restricted fluid dynamics. Standard butterfly clutches possess a small surface area (roughly 4mm x 6mm). When an earlobe experiences trauma, allergic reactions, or prolonged compression (such as sleeping on a stud), the tissue swells. If the earring post is a standard 8mm length, the swelling quickly engulfs the post.
Once the tissue expands past the clutch, the metal backing acts as a tourniquet. It restricts venous and lymphatic return while arterial blood continues to pump into the lobe. This creates a positive feedback loop of hydrostatic pressure, resulting in rapid, painful swelling. Furthermore, ultra-thin 22-gauge or 20-gauge posts exacerbate the issue through the "cheese-cutter effect," where the thin wire slices through swollen tissue, allowing the backing to bury itself deeper into the lobe or cartilage.
Triage: Assessing the Severity of the Embedding
Before attempting any extraction, you must accurately grade the severity of the embedding. Attempting to forcefully remove a fully epithelialized backing will result in severe tissue tearing and potential cartilage damage.
- Grade 1 (Friction Lock): The post is fully visible, and the tissue is not engulfing the backing. The clutch is simply wedged tight due to dried lymphatic exudate, misalignment, or excessive friction.
- Grade 2 (Partial Engulfment): The earlobe has swollen over the outer wings of the butterfly clutch, but the central metal tube of the backing is still visible and accessible to fine instruments.
- Grade 3 (Complete Epithelialization): The body has treated the buried metal as a foreign object and grown a continuous layer of epithelial skin cells completely over the backing. The metal is no longer visible.
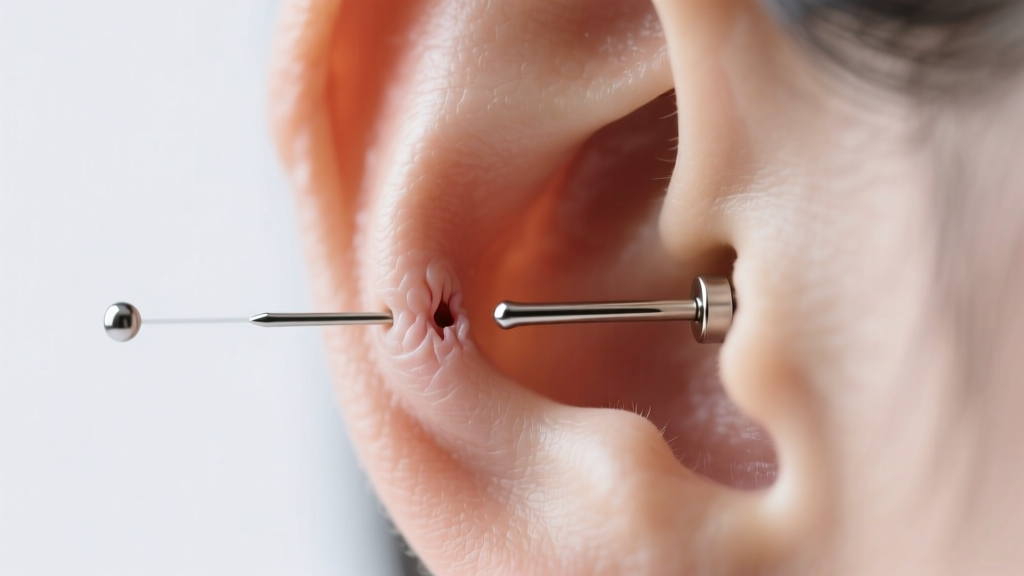
Step-by-Step At-Home Removal Protocols (Grades 1 & 2)
If your embedding is classified as Grade 1 or Grade 2, you can attempt safe at-home extraction. Do not use ice; while ice reduces inflammation, it makes the tissue rigid and difficult to manipulate. Instead, follow this clinical protocol:
1. Preparation and Lubrication
Apply a warm, sterile saline compress to the earlobe for 10 minutes. This increases tissue elasticity and promotes localized vasodilation. Next, apply a water-based medical lubricant or sterile saline gel around the post. Avoid petroleum-based products like Vaseline, which can trap bacteria in the puncture tract and degrade certain silicone O-rings.
2. The Hemostat Extraction Technique
Your fingers lack the precision and grip strength required to pull a buried clutch through swollen tissue. You need a 4.5-inch curved mosquito hemostat (available at most pharmacies). The curved tip allows you to get perfectly flush against the swollen tissue without pinching the skin.
- Clamp the hemostat jaws securely around the central tube of the butterfly backing.
- With your other hand, gently massage the swollen tissue away from the backing, pushing the skin forward along the post.
- Apply steady, outward traction on the hemostat. Do not twist violently, as this can snap a thin 22-gauge post inside the ear.
When to Seek Professional Medical Extraction (Grade 3)
If the skin has completely healed over the earring back (Grade 3), at-home removal is impossible and dangerous. You must visit a dermatologist, ENT specialist, or a highly experienced professional piercer. The medical professional will administer a local anesthetic (typically 1% lidocaine with epinephrine to minimize bleeding) and use a sterile scalpel to perform a minor excision of the epithelialized tract. Attempting to dig out a Grade 3 embedding with a needle or tweezers at home carries a massive risk of introducing staphylococcus bacteria, leading to perichondritis (if in the cartilage) or severe keloid scarring.
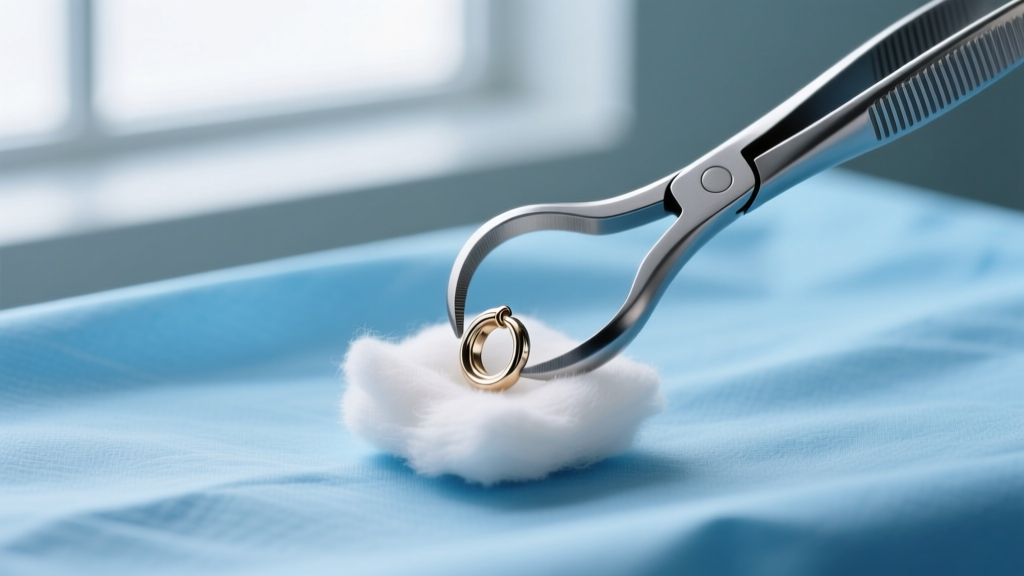
Technical Prevention: Upgrading Your Hardware
The most effective way to ensure you never deal with an earring back stuck inside ear tissue again is to abandon traditional butterfly clutches entirely. The jewelry industry has evolved, and professional-grade hardware offers vastly superior weight distribution and security.
| Backing Type | Surface Area | Embedding Risk | Best Use Case |
|---|---|---|---|
| Butterfly Clutch (Friction) | ~24 sq mm | High | Temporary wear only; avoid for sleeping. |
| Flat Back Labret (Threadless) | ~50+ sq mm | Extremely Low | Daily wear, sleeping, fresh piercings, cartilage. |
| Internally Threaded Screw | ~40+ sq mm | Low | Secure daily wear; requires precise post length. |
| Silicone O-Ring | ~15 sq mm | Moderate | Active lifestyles; flexible but can trap moisture. |
Flat back labrets distribute pressure evenly across the rear of the earlobe. Furthermore, they are available in varying post lengths (6mm, 8mm, 10mm, 12mm). If you are prone to swelling, wearing a 10mm or 12mm post ensures that even during peak fluid retention, the tissue will not engulf the backing.
Material Science: Hypoallergenic Metals to Reduce Swelling
In many cases, the initial swelling that causes the embedding is not mechanical, but immunological. Nickel contact dermatitis is the leading cause of unexplained earlobe swelling. When the immune system detects nickel ions leaching from the jewelry, it triggers localized histamine release, resulting in rapid edema.
According to the Association of Professional Piercers (APP), you must be highly critical of the metals you wear. Avoid anything labeled merely as "surgical steel" or "316L stainless steel," as these alloys contain 8-10% nickel. Instead, upgrade to ASTM F136 Implant-Grade Titanium. This specific alloy contains 0% nickel, is highly biocompatible, and is the exact same metal used in orthopedic joint replacements. The American Academy of Dermatology (AAD) also recommends titanium or niobium for patients with a history of metal allergies to prevent the chronic inflammation that leads to tissue embedding and subsequent scarring.
Final Takeaway
Dealing with a buried earring back requires a calm, clinical approach. Assess the grade of embedding, utilize proper extraction tools like a mosquito hemostat for partial embeds, and defer to medical professionals for complete epithelialization. By transitioning to ASTM F136 titanium flat-back labrets with appropriate post lengths, you can permanently eliminate the mechanical and biological triggers that cause this painful complication.


