How to Take a Earring Out: A Buyer's Guide to Clasps & Backs
Learn how to take a earring out safely with our buyer's guide. Compare clasp types, backing mechanisms, and find snag-free jewelry.

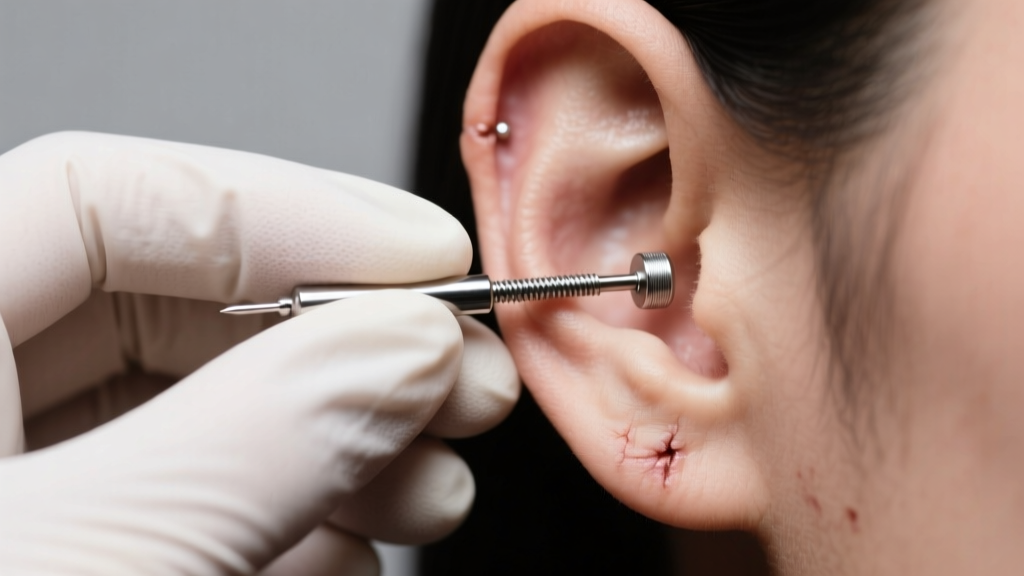
If you have ever frantically typed "how to take a earring out" into a search engine while staring at a swollen, irritated earlobe in the mirror, you are not alone. The jewelry industry often prioritizes aesthetic design over functional mechanics, leaving consumers with beautiful pieces that are nearly impossible to remove without professional intervention. As we move through 2026, the shift toward high-quality, body-safe jewelry has brought advanced clasp and backing mechanisms to the forefront of the market.
Understanding how to take a earring out safely is not just a troubleshooting skill; it is a critical buying consideration. The mechanism your jewelry uses dictates its security, its impact on your piercing fistula, and your daily comfort. This comprehensive buyer’s guide breaks down the mechanics of earring removal, what to look for when purchasing new jewelry, and how to avoid the nightmare of embedded or stuck clasps.
The Hidden Frustration: Why Clasp Mechanisms Matter When Buying
When shopping for earrings, most buyers focus on the gemstone cut, the metal color, or the overall silhouette. However, the connection point—where the post meets the backing or where the hoop closes—is the most vital structural element. Cheap, mass-market jewelry frequently relies on externally threaded posts or tight, poorly calibrated friction backs.
Externally threaded jewelry features screw threads carved directly into the post. When you push or pull this post through your piercing, those microscopic metal ridges act like a cheese grater on the delicate fistula tissue. This micro-trauma causes swelling, which in turn traps the backing against the skin. According to the Association of Professional Piercers (APP), internally threaded or threadless (press-fit) jewelry is the gold standard for preventing this exact issue. When you buy internally threaded jewelry, the post is completely smooth, and the threading is hidden inside the backing or the decorative end, ensuring a seamless, trauma-free removal process.
Step-by-Step: How to Take a Earring Out Based on Clasp Type
Different mechanisms require entirely different removal techniques. Using the wrong method can bend the post, break the clasp, or tear the tissue. Here is how to handle the most common types of earring closures you will encounter on the market today.
1. Threadless (Press-Fit) Jewelry
Threadless jewelry, popularized by high-end brands like BVLA, relies on the tension of a slightly bent pin that inserts into a hollow post. How to remove: Grip the front decorative end and the flat back disc firmly. Pull them straight apart with a slight twisting motion. Do not yank; use steady, opposing pressure. Buying Tip: Look for brands that offer precision-machined titanium posts (ASTM F-136 grade) to ensure the pin doesn't snap inside the post during removal.
2. Internally Threaded Screw Backs
Common in high-quality cartilage studs and labrets, the post has a smooth exterior and a threaded interior hole. How to remove: Hold the front gemstone completely still. Turn the flat back disc counter-clockwise ("lefty-loosey"). Buying Tip: Ensure the brand uses standardized threading (e.g., 16G posts usually use 1.2mm internal threading) so you can mix and match ends from different reputable manufacturers.
3. La Pousette (Locking) Backs
Often used for expensive diamond or gemstone lobe studs, La Pousette backs feature a tiny internal spring mechanism with two side tabs. How to remove: You must pinch the two microscopic side tabs together to retract the internal locking pins, then slide the backing off the post. Buying Tip: Avoid La Pousette backs if you have long acrylic nails or limited fine motor dexterity, as the tabs require precise pinching.
4. Hinged Hoops and Clickers
Standard for septum, daith, and rook piercings, clickers feature a hinged segment that snaps into a receiving tube. How to remove: Locate the nearly invisible seam on the hoop. Push the hinged segment slightly upward and outward to disengage the internal click pin, then swing the segment open. Buying Tip: Invest in cast clickers rather than stamped metal. Cast clickers (like those from Maria Tash or Anatometal) have tighter tolerances and won't accidentally pop open when sleeping, yet release smoothly when manually manipulated.
Troubleshooting: What to Do When an Earring is Truly Stuck
Even with high-quality jewelry, biological factors can complicate removal. If you are dealing with a stuck backing, follow this clinical troubleshooting protocol before resorting to pliers:
- Step 1: Address the Swelling. If the earlobe or cartilage is swollen, the tissue may be enveloping the backing. Apply a sterile, warm saline compress for 5 minutes to reduce inflammation and soften any dried lymphatic fluid (crusties) trapping the metal.
- Step 2: Improve Your Grip. Skin and metal are naturally slippery. Put on a pair of textured nitrile medical gloves. The rubber grip will multiply your torque and prevent your fingers from slipping off the backing.
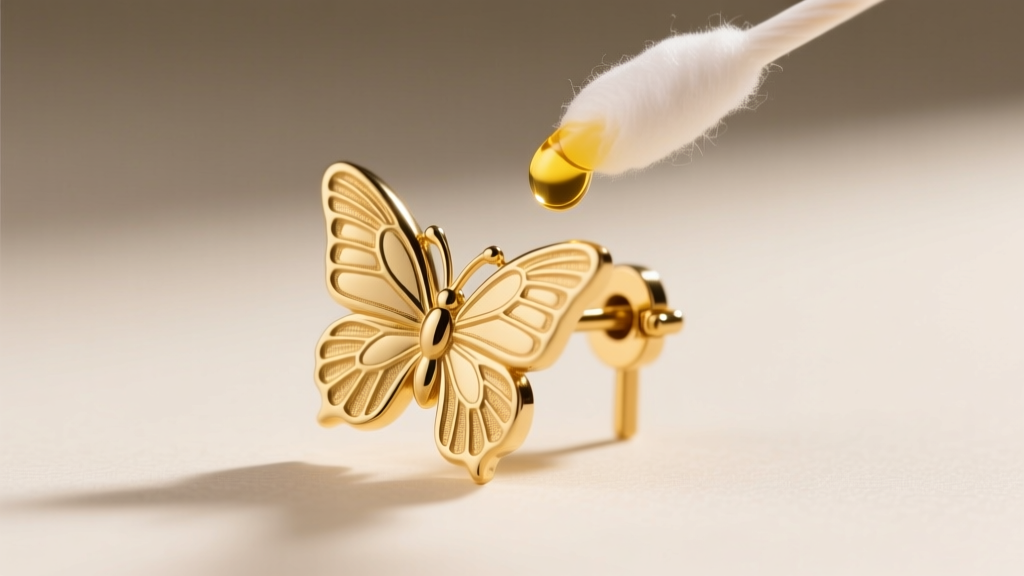
- Step 3: Lubricate the Post. For friction backs or stuck screw backs, apply a single drop of pure jojoba oil or sterile saline to the post entry point. Allow it to capillary down the shaft of the earring to break the friction seal.
- Step 4: Use Proper Tools (With Caution). If a screw back is stripped, a professional piercer will use padded hemostats. Never use bare metal pliers from a toolbox, as they will crush the post and permanently lock the threading.
Expert Warning: If an earring back is embedded in the skin due to severe swelling, do not attempt to dig it out. The American Academy of Dermatology (AAD) warns that manipulating embedded jewelry can lead to secondary bacterial infections and permanent keloid scarring. Seek a professional piercer or a dermatologist immediately.
Buyer’s Comparison Chart: Earring Backs & Removal Difficulty
Use this matrix to evaluate which earring mechanism aligns with your lifestyle, dexterity, and security needs before making a purchase.
| Mechanism Type | Security Level | Removal Ease | Best Placement | Price Range (USD) |
|---|---|---|---|---|
| Threadless (Press-Fit) | High | Easy (Pull apart) | Cartilage, Lobe, Nose | $35 - $150+ |
| Internally Threaded | High | Moderate (Requires grip) | Lobe, Helix, Labret | $30 - $120 |
| La Pousette Locking | Very High | Difficult (Requires pinching) | High-Value Lobe Studs | $80 - $300+ |
| Hinged Clicker | High | Easy (Snap open) | Septum, Daith, Hoops | $45 - $250 |
| Friction (Butterfly) | Low | Easy (When clean) | Standard Lobe (Temporary) | $10 - $40 |
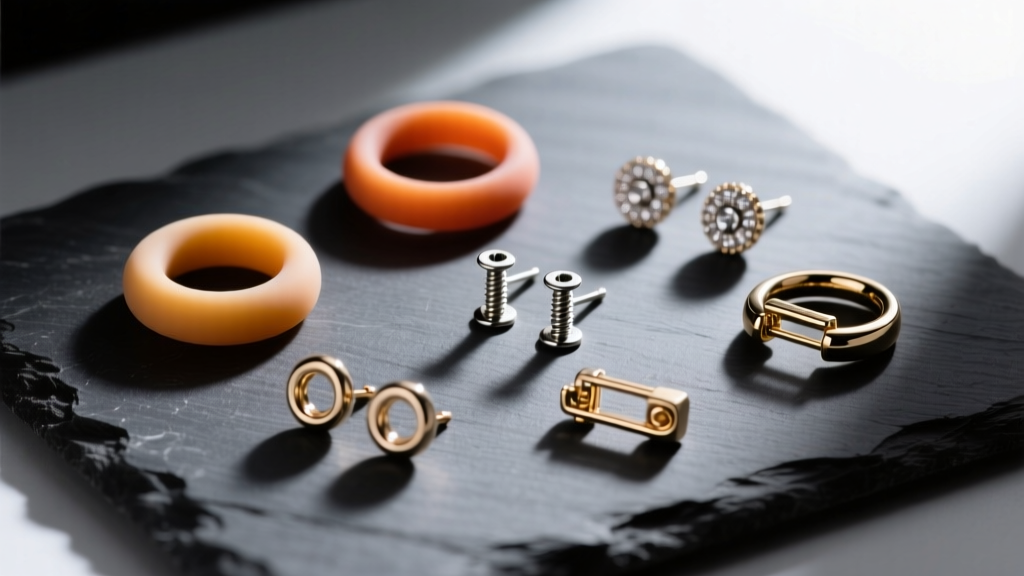
Material & Gauge Considerations for Smooth Removal
The physical dimensions and metallurgical composition of your earrings play a massive role in how easily they are removed.
The Gauge Factor
Gauge refers to the thickness of the post. Standard mall-kiosk earrings are often 20-gauge (0.81mm) or 22-gauge (0.64mm). These wire-thin posts are highly prone to bending. If a 20G post bends even slightly inside the piercing channel, pulling the backing off becomes a painful struggle. When buying new jewelry, opt for 18-gauge (1.02mm) or 16-gauge (1.29mm) posts. The thicker structural integrity ensures the post remains perfectly straight, allowing the backing to slide or screw off without binding.
Metallurgy and Allergic Swelling
One of the primary reasons people cannot get their earrings out is allergic contact dermatitis. "Surgical steel" is a largely unregulated marketing term that often contains high levels of nickel. When nickel leaches into the tissue, the body responds with severe swelling and weeping fluid, effectively cementing the earring back into the lobe. To guarantee smooth removal, only purchase jewelry certified as ASTM F-136 Implant-Grade Titanium, Niobium, or Solid 14k/18k Nickel-Free Gold. These biocompatible materials keep the tissue calm, ensuring the jewelry slides out exactly as easily as it went in.
Final Verdict: What to Look for Before You Checkout
Knowing how to take a earring out starts long before the jewelry reaches your ear; it starts in the shopping cart. When evaluating a new piece of jewelry, scrutinize the clasp mechanism just as closely as the gemstone. Avoid externally threaded posts, flimsy butterfly clutches, and mystery-metal alloys that invite swelling.
Instead, invest in internally threaded, threadless, or precision-cast hinged mechanisms crafted from implant-grade titanium or solid gold. By prioritizing functional, high-tolerance engineering, you ensure that your jewelry remains a source of joy and self-expression, rather than a source of physical frustration and panic.


