Cleaning & Maintaining All Types of Earring Clasps: Expert Guide
Discover expert care, cleaning, and maintenance tips for all types of earring clasps. Learn how to fix loose backs, remove buildup, and extend lifespan.

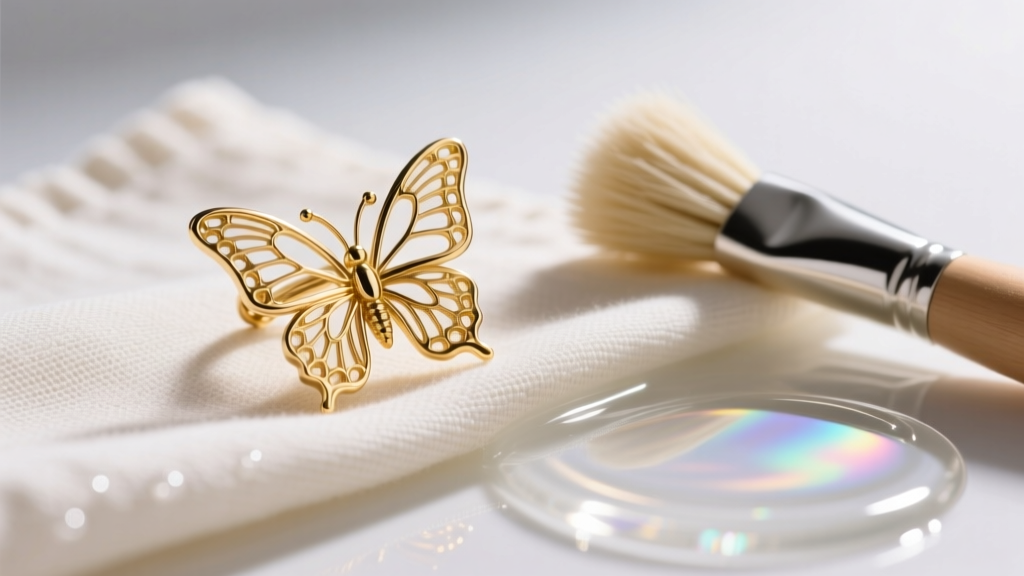
When it comes to fine jewelry maintenance, most collectors focus on polishing gemstones or restoring the luster of precious metals. However, the unsung hero of your jewelry's longevity, security, and hygiene is the clasp mechanism. Understanding the specific care requirements for various types of earring clasps is essential to prevent loss, avoid skin irritation, and ensure smooth daily operation. From the delicate threads of a screw back to the tension wings of a butterfly clasp, each mechanism harbors unique vulnerabilities and requires a tailored maintenance approach.
The Hidden Grime: Why Clasp Maintenance Matters
Earring clasps sit in a high-friction, high-contact zone against the skin. The crevices of a clasp mechanism act as a magnet for sebum, dead skin cells, cosmetic residues, and environmental pollutants. Over time, this biological and chemical buildup calcifies, creating a gritty paste that increases friction. According to the Association of Professional Piercers (APP), trapped debris in body jewelry components can lead to localized contact dermatitis and bacterial proliferation, particularly in fresh or sensitive piercings. Furthermore, hardened grime forces you to apply excessive pressure when inserting or removing the earring, which is the leading cause of bent posts and warped clasp wires.
Anatomy and Failure Modes of Common Types of Earring Clasps
To properly clean and maintain your earrings, you must first understand the mechanical failure points inherent to different types of earring clasps.
Butterfly (Friction) Backs
The butterfly back relies on two rolled metal 'wings' that create tension against a grooved post. The most common failure mode is the spreading of these wings, resulting in a loss of grip. The grooves on the post also trap microscopic debris, which can wear down the inner scroll of the clasp over time, leading to a loose fit and eventual loss of the earring.
Screw Backs
Screw backs feature a precision-threaded post and a matching threaded barrel. They are highly secure but vulnerable to cross-threading. If forced at an incorrect angle, the delicate threads strip, rendering the clasp useless. Additionally, the deep threading acts as a reservoir for oils and lotions, requiring meticulous brushing to clean.
Leverbacks and Latch Backs
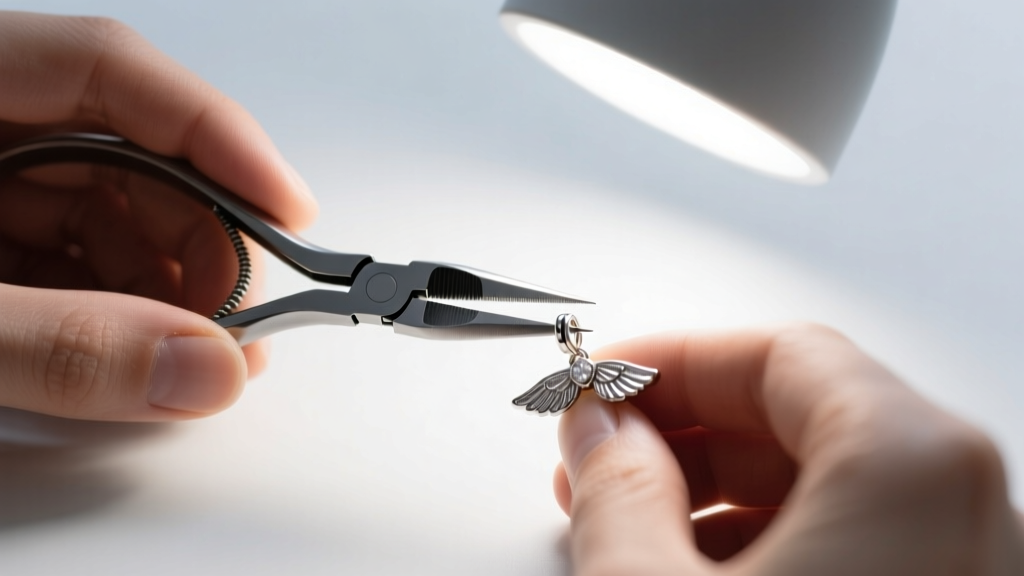
Commonly used for dangle and drop earrings, these clasps utilize a hinged wire that snaps into a catch loop. The primary failure points are the hinge pin (which can wear down and cause wobble) and the catch wire (which can bend outward, preventing a secure 'click').
Material-Specific Cleaning Protocols
The cleaning agent you use must be compatible with both the clasp mechanism and the metal alloy. Using harsh chemicals on porous or plated metals can cause irreversible pitting or discoloration. Below is a professional maintenance matrix for common earring metals.
| Material Grade | Common Clasp Types | Recommended Cleaning Agent | Ultrasonic Safe? |
|---|---|---|---|
| 14k / 18k Solid Gold | Butterfly, Screw, Leverback | Mild dish soap & warm water | Yes (40kHz max) |
| Sterling Silver (925) | Butterfly, Fishhook | Silver dip (for tarnish), mild soap | No (causes micro-pitting) |
| Implant-Grade Titanium (ASTM F136) | Internally Threaded Screw, Hinge | Saline solution or mild soap | Yes |
| Platinum (950) | Butterfly, Screw, Omega | Mild dish soap & warm water | Yes |
The 4-Step Deep Cleaning Routine for Clasp Mechanisms
Routine wiping is insufficient for the intricate geometry of earring clasps. Perform this deep cleaning protocol every 4 to 6 weeks to maintain optimal tension and hygiene.
Step 1: The Enzymatic Soak
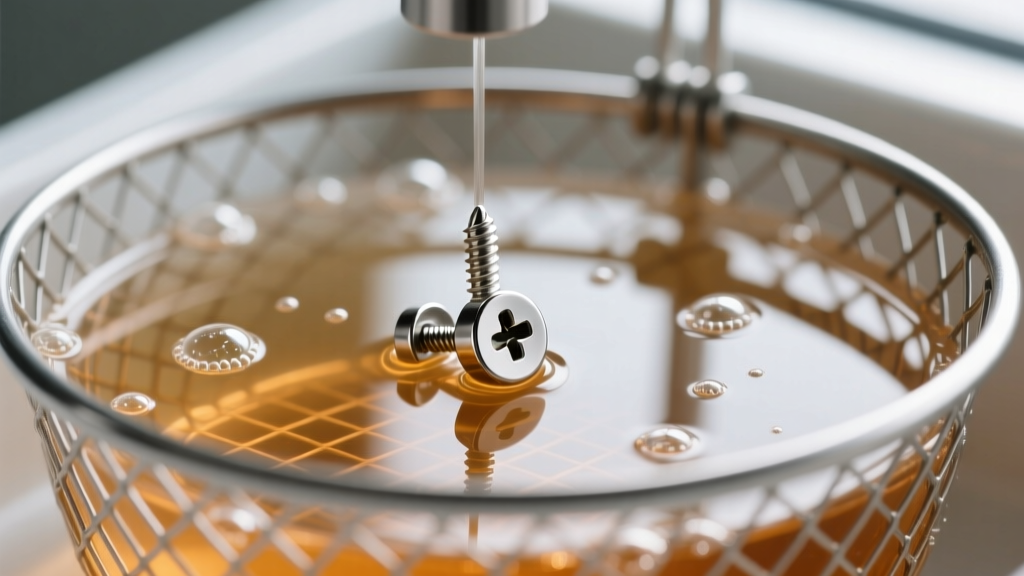
Fill a small glass bowl with warm (not hot) water and a few drops of phosphate-free dish soap. Submerge the clasps and posts for 15 minutes. The mild surfactants will break down the lipid bonds of sebum and cosmetic oils trapped in the threads and hinges. Avoid ammonia-based cleaners, as they can degrade the structural integrity of lower-karat gold alloys and damage any accent gemstones set near the clasp.
Step 2: Targeted Agitation
Remove the earrings from the soak and use a soft-bristled baby toothbrush to gently agitate the mechanism. For screw backs, brush parallel to the threads to dislodge debris without bending them. For butterfly backs, gently brush inside the scroll cavity. The Gemological Institute of America (GIA) strongly recommends soft bristles to prevent micro-scratches on precious metal finishes.
Step 3: The Lint-Free Rinse and Dry
Rinse thoroughly under lukewarm distilled water to prevent hard water spots. Dry immediately using a lint-free microfiber cloth. Avoid cotton swabs or tissue paper; the microscopic cotton fibers easily snag on the catch wires of leverbacks and the threads of screw backs, creating a secondary layer of debris.
Step 4: Hinge Lubrication (Leverbacks Only)
If your leverback hinges feel stiff, apply a microscopic drop of food-grade mineral oil to the hinge pin using a sewing needle. Wipe away any excess. Never use WD-40 or silicone sprays, as these contain petroleum distillates that can cause severe skin reactions and degrade certain metal alloys.
Troubleshooting: Restoring Tension and Fixing Bent Wires
Maintenance isn't just about cleaning; it's about mechanical preservation. If your butterfly backs are sliding off the posts too easily, the tension wings have likely spread. To fix this, use nylon-jaw pliers. Steel jewelry pliers will permanently mar and scratch the metal finish. Gently squeeze the two wings of the butterfly clasp together until you feel resistance. Test the clasp on the post; it should require a firm, deliberate push to snap into the post's groove.
For leverbacks that no longer 'click' shut, the catch wire has likely been pulled outward. Using your nylon-jaw pliers, apply extremely gentle inward pressure to the catch loop until the hinged wire seats flush against it with an audible snap. If the hinge pin itself is loose and the wire wobbles laterally, the pin has worn down and the earring requires professional jeweler intervention for re-pinning.
When to Replace: Signs of Irreparable Clasp Damage
While routine maintenance can extend the life of your jewelry for decades, metal fatigue is inevitable. You must replace the clasp immediately if you observe any of the following critical failure signs:
- Stripped Screw Threads: If the barrel spins freely without tightening, the threads are stripped. Continuing to wear the earring risks sudden loss.
- Cracked Solder Joints: Inspect the base of the catch wire on leverbacks and the hinge plate on latch backs under a jeweler's loupe. Hairline cracks in the solder indicate imminent structural failure.
- Severe Tarnish Pitting: On sterling silver clasps, if black tarnish has progressed to deep, rough pitting that cannot be polished away, the metal's structural integrity is compromised and the clasp should be swapped for a new one.
By integrating these targeted cleaning and maintenance protocols into your jewelry care routine, you ensure that every component of your earrings—from the primary face to the hidden clasp mechanism—remains secure, hygienic, and mechanically sound for years to come.


