Earring Infection Bump: Causes, Treatment & Prevention
Learn how to identify, treat, and prevent an earring infection bump with expert cleaning routines, material guides, and aftercare tips.

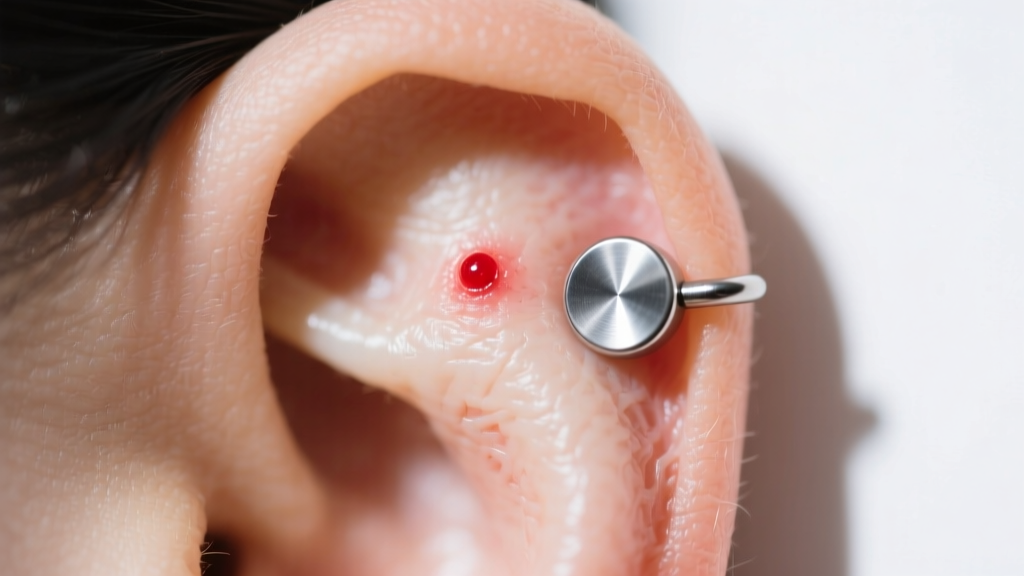
Understanding the Earring Infection Bump
Waking up to discover a tender, swollen lump near your new or even long-healed piercing is a frustrating experience. Commonly searched as an 'earring infection bump,' this localized swelling is rarely a true bacterial infection. In the vast majority of cases, what you are dealing with is an irritation bump (hypertrophic scarring), a pyogenic granuloma, or a localized allergic contact dermatitis. True abscesses are relatively rare but require immediate medical attention. Understanding the biological mechanism behind your bump is the first step toward effective treatment and long-term ear health.
Cartilage piercings, such as the helix, tragus, or conch, are particularly susceptible to these bumps due to the limited blood supply in auricular cartilage. When the tissue experiences micro-trauma from snagging, poor-quality jewelry, or improper cleaning, the body's immune system responds with localized inflammation. Over time, this chronic inflammation leads to the formation of excess collagen or fluid-filled granulomas, manifesting as the dreaded bump.
Identifying Your Bump: Irritation vs. Infection
Before applying any treatments, you must accurately identify the nature of the bump. Misdiagnosing an irritation bump as an infection often leads to the overuse of harsh chemicals like tea tree oil or hydrogen peroxide, which only exacerbate tissue damage and delay healing.
Hypertrophic Scarring (Irritation Bump)
- Appearance: A firm, flesh-colored or slightly pink bump directly adjacent to the piercing hole.
- Causes: Externally threaded jewelry, sleeping on the piercing, improper angles, or snagging.
- Exudate: May secrete a clear or whitish lymph fluid that crusts over, but no foul-smelling pus.
Pyogenic Granuloma
- Appearance: A red, raw, and highly vascular bump that bleeds very easily with minimal friction.
- Causes: Prolonged moisture exposure and chronic friction.
- Exudate: Frequent bleeding and weeping of clear fluid.
True Bacterial Infection (Abscess)
- Appearance: Diffuse swelling, intense redness radiating outward, and the area is hot to the touch.
- Causes: Introduction of Staphylococcus aureus or Pseudomonas bacteria into the fistula.
- Exudate: Thick, opaque yellow or green pus with a distinct, unpleasant odor.
Expert Insight: According to the American Academy of Dermatology, true piercing infections are accompanied by systemic symptoms like fever or swollen lymph nodes. If you experience these, seek medical care immediately rather than attempting home remedies.
The Material Matrix: Upgrading Your Jewelry
The most common culprit behind a persistent earring infection bump is the metallurgy of your jewelry. Many commercial earrings are made from 'surgical steel,' a vague term that often masks alloys containing high levels of nickel. Nickel exposure triggers allergic contact dermatitis, leading to chronic inflammation and bump formation. To resolve this, you must upgrade to biocompatible materials.
| Material Grade | Nickel Release | Biocompatibility | Best Use Case |
|---|---|---|---|
| ASTM F-136 Implant-Grade Titanium | Zero | Exceptional (MRI safe) | Fresh piercings, chronic irritation bumps |
| 316L Surgical Steel | Low to Moderate | Fair (Can cause allergies) | Fully healed lobes only |
| Niobium (99.9% Pure) | Zero | Excellent | Healed cartilage, sensitive ears |
| 14k / 18k Solid Gold (Nickel-Free) | Zero | Excellent (If alloyed correctly) | Healed piercings, fine jewelry |
When shopping for replacement jewelry, look for brands that explicitly state 'ASTM F-136' or 'F-67' compliance. High-quality, internally threaded or threadless (push-pin) flat-back labrets from reputable manufacturers like NeoMetal or BVLA typically range from $35 to $70. While this is an investment, it is significantly cheaper than a doctor's visit for a stubborn infection.
Step-by-Step Treatment Protocol
Once you have ruled out a true bacterial infection and upgraded to implant-grade titanium, follow this strict protocol to reduce the bump. The core philosophy here is LITHA: Leave It The Hell Alone. Over-cleaning is just as damaging as under-cleaning.
1. Sterile Saline Compresses
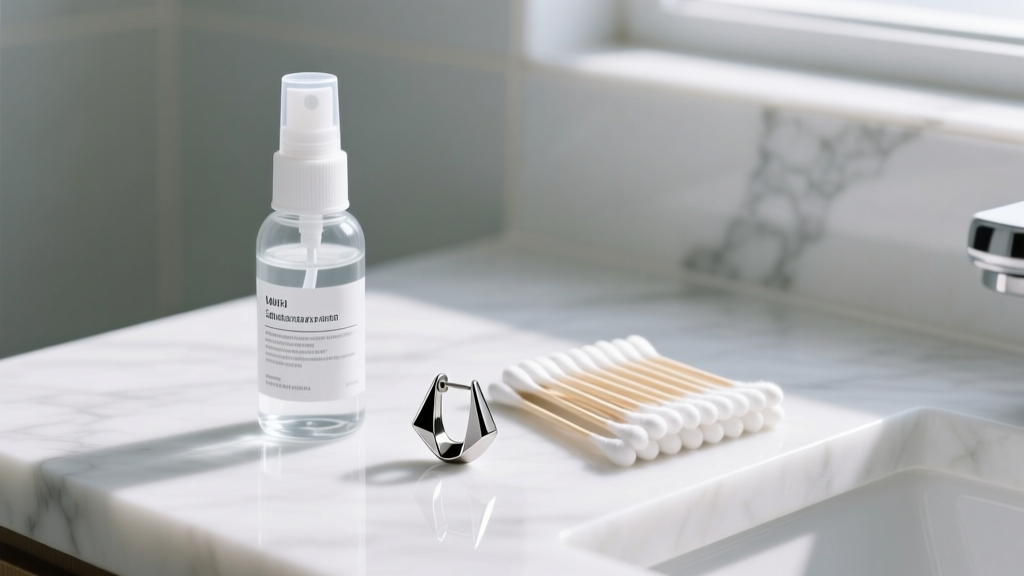
Ditch the homemade sea salt soaks. Mixing your own solution often results in incorrect salinity ratios, which can dehydrate the healing tissue and worsen the bump. Instead, use a sterile 0.9% sodium chloride wound wash (like NeilMed Piercing Aftercare). Spray the saline onto a piece of sterile, non-woven gauze and hold it against the bump as a warm compress for 3 to 5 minutes, twice a day. The warmth increases localized blood flow, while the saline gently softens crusties without abrasive friction.
2. Downsize the Post Length
If your bump is on a cartilage piercing, the jewelry post might be too long. Piercers initially use longer posts (e.g., 8mm or 10mm) to accommodate swelling. Once the swelling subsides, the excess post allows the jewelry to move, flip, and snag, causing the 'cheese-cutter effect' inside the fistula. Visit a professional piercer to downsize to a snug-fitting post (usually 5mm or 6mm for standard helixes). This eliminates movement and removes the mechanical irritation causing the bump.
3. Eliminate Moisture Traps
Cartilage bumps thrive in damp environments. After showering, do not leave your ear wet. Gently pat the area dry with a disposable paper product or use a hair dryer on the lowest, coolest setting to ensure the fistula is completely dry. Avoid applying heavy ointments, oils, or creams, as these block oxygen flow to the healing tissue and trap bacteria.
Daily Maintenance and Long-Term Prevention
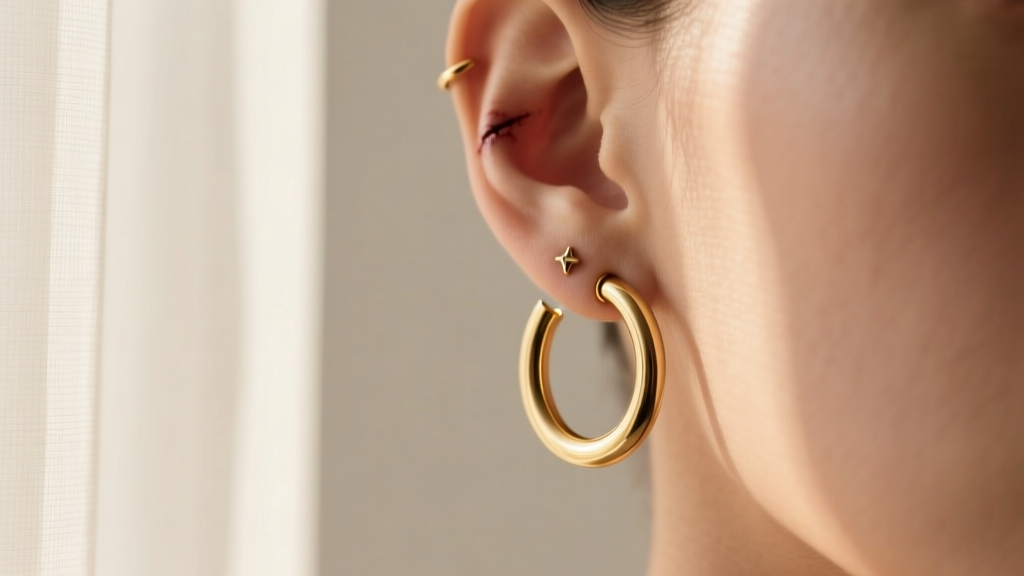
Preventing an earring infection bump requires a consistent, gentle maintenance routine long after the initial healing phase. Even fully healed piercings can develop irritation bumps if subjected to sudden trauma or chemical irritation.
- Nighttime Protection: Use a travel neck pillow or a specialized piercing pillow with a hole in the center to sleep on your side without applying pressure to your cartilage.
- Shampoo and Skincare: Rinse your ears thoroughly after washing your hair. Residue from conditioners and styling products is a frequent cause of delayed healing and localized bumps.
- Snag Prevention: Be hyper-aware of hairbrushes, towels, and over-ear headphones. Swap button-down shirts for loose-neck tees while your piercing is in the vulnerable healing stages.
For routine cleaning of healed piercings, warm water and a mild, fragrance-free glycerin soap during your daily shower are sufficient. Avoid alcohol-based cleaners, witch hazel, and hydrogen peroxide, as these destroy the delicate epithelial cells lining your fistula.
When to Seek Professional Intervention
While most irritation bumps resolve within 4 to 8 weeks of implementing proper aftercare and jewelry downsizing, some situations require professional medical or piercing intervention. If the bump is a pyogenic granuloma that continues to bleed profusely, a dermatologist may need to treat it with silver nitrate or perform a minor excision.
Furthermore, if you notice the redness spreading down your earlobe or neck, or if the cartilage becomes intensely painful and misshapen, you may be developing perichondritis—a serious infection of the tissue surrounding the cartilage. The Association of Professional Piercers strongly advises against removing the jewelry yourself if you suspect a true infection, as the surface holes can close rapidly, trapping the abscess inside the tissue and leading to severe complications. Always consult a healthcare provider for a proper diagnosis and prescription antibiotics if necessary.
By understanding the root causes of an earring infection bump, investing in biocompatible jewelry, and adhering to a gentle, science-backed cleaning routine, you can maintain healthy, beautiful piercings for a lifetime.


