Top Chainmaille Earring Patterns for Beginners Explained
Discover the best chainmaille earring patterns for beginners. Learn about aspect ratios, jump ring gauges, and hypoallergenic metals.

Introduction to Chainmaille Jewelry
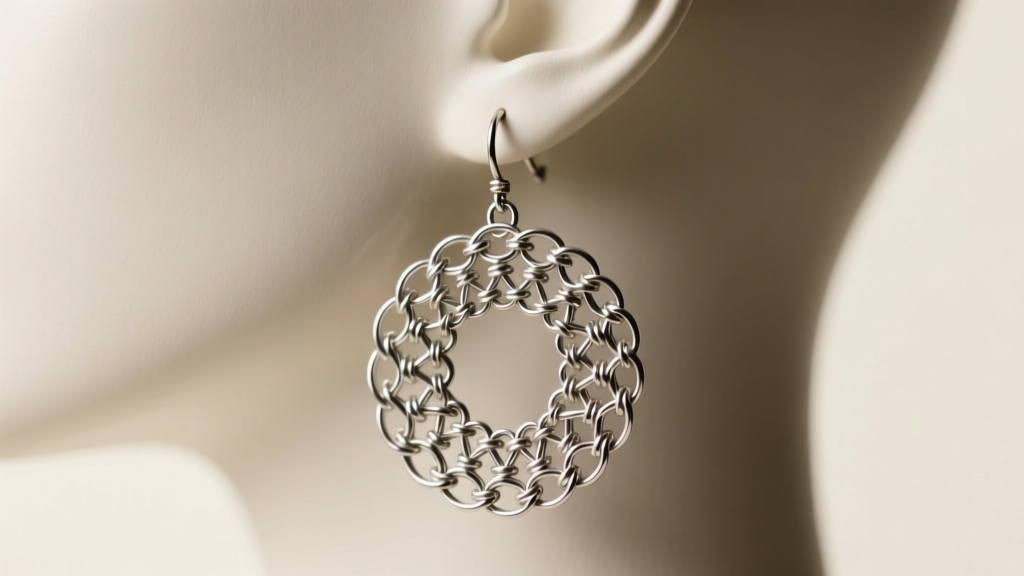
Chainmaille (often spelled chainmail or maille) is the ancient art of linking individual metal rings together to form intricate, flexible fabrics. While historically used for armor, today it is a highly prized technique in artisan jewelry making. For beginners, diving into chainmaille earring patterns can feel overwhelming due to the sheer number of weaves and the precise mathematics required. However, with the right foundational knowledge, you can craft stunning, lightweight, and durable earrings right at your workbench.
This guide breaks down the core mechanics of chainmaille, explores the most forgiving weaves for novice artisans, and details the exact material grades and tool requirements needed to create professional-grade earrings that won't irritate sensitive earlobes.
The Golden Rule: Understanding Aspect Ratio (AR)
Before you pick up a pair of pliers, you must understand Aspect Ratio (AR). In chainmaille, AR is the mathematical relationship between the Inner Diameter (ID) of a jump ring and the Wire Diameter (WD) of the metal used to make it. The formula is simple: AR = ID / WD.
Why does this matter? Every single chainmaille earring pattern requires a specific AR window to function correctly. If your AR is too low, the rings will be too fat to fit through one another. If your AR is too high, the rings will be too large and thin, causing the weave to look sloppy, lose its structural integrity, and potentially pull apart under the weight of the earring.
For example, if you are using 20 AWG wire (which has a diameter of 0.81mm) and you want an AR of 4.0, you need a jump ring with an inner diameter of 3.24mm (0.81 x 4.0). According to the comprehensive weave databases maintained by the Maille Artisans International League, sticking to the recommended AR is the single most important factor in achieving a flawless weave.
Beginner AR Reference Chart
Use this table as a quick reference when sourcing or cutting your jump rings for your first few projects.
| Weave Pattern | Ideal Aspect Ratio (AR) | Recommended Wire Gauge | Difficulty Level |
|---|---|---|---|
| European 4-in-1 | 3.5 - 4.5 | 20 AWG (0.81mm) | Beginner |
| Byzantine | 3.5 | 22 AWG (0.64mm) | Beginner-Intermediate |
| Box Chain | 5.3 | 20 AWG (0.81mm) | Intermediate |
3 Best Chainmaille Earring Patterns for Beginners
When selecting your first chainmaille earring patterns, you want weaves that are repetitive, forgiving of slight AR variations, and visually striking. Here are the top three choices for newcomers.
1. European 4-in-1
This is the quintessential chainmaille weave, historically used in medieval European armor. In jewelry, it creates a beautiful, flat, scale-like mesh that drapes elegantly. Each ring passes through four others. It is incredibly forgiving; an AR anywhere from 3.5 to 4.5 will yield a beautiful result. For earrings, a tighter AR (around 3.5) using 22 AWG wire creates a dense, highly reflective surface that catches the light beautifully without adding excessive weight to the earlobe.
2. Byzantine Chain
The Byzantine weave is a three-dimensional, rope-like chain that looks vastly more complex than it actually is. It relies on a repeating sequence of folding rings back on themselves. It requires a very specific AR of 3.5 to ensure the 'knots' fold neatly. Because it is naturally thick and cylindrical, Byzantine chainmaille earring patterns make excellent standalone dangle earrings that don't require additional beads or charms to look finished.
3. Box Chain (Square Weave)
Despite being classed as intermediate due to the higher AR requirement (typically 5.3), the Box Chain is highly repetitive and logical once you understand the first four-ring unit. It creates a hollow, square-profile chain that is incredibly lightweight—a massive advantage for earring design. Using anodized niobium rings in alternating colors can make the geometric squares of the Box Chain pop vividly.
Choosing the Right Metals for Sensitive Lobes
Earrings sit in direct, continuous contact with the skin, making metallurgy a critical consideration. Avoid cheap base metals, plated brass, or anything containing nickel, which is a primary culprit for contact dermatitis.
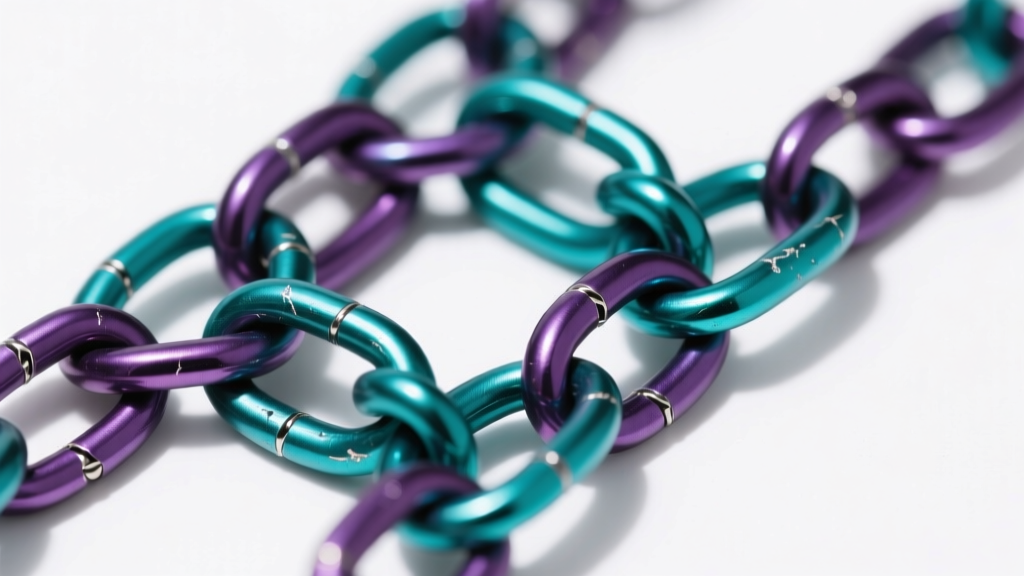
- Niobium: The undisputed king of hypoallergenic chainmaille. Niobium is a reactive metal that can be anodized using a simple DC power supply to create a rainbow of vibrant, permanent colors without using dyes or plating. It is slightly softer than steel, making it easy to manipulate with hand tools.
- Implant-Grade Titanium (ASTM F136): Lightweight, incredibly strong, and completely biocompatible. The downside for beginners is that titanium is very hard; it will quickly dull standard flush cutters and requires high-quality pliers to manipulate without causing hand fatigue.
- Argentium Sterling Silver: If you prefer the look of traditional silver, skip standard .925 sterling and opt for Argentium. It contains germanium, which makes it highly resistant to tarnish and firescale. This means your chainmaille earrings will stay bright longer without requiring aggressive polishing that can damage the weave.
Essential Tools and Closure Techniques
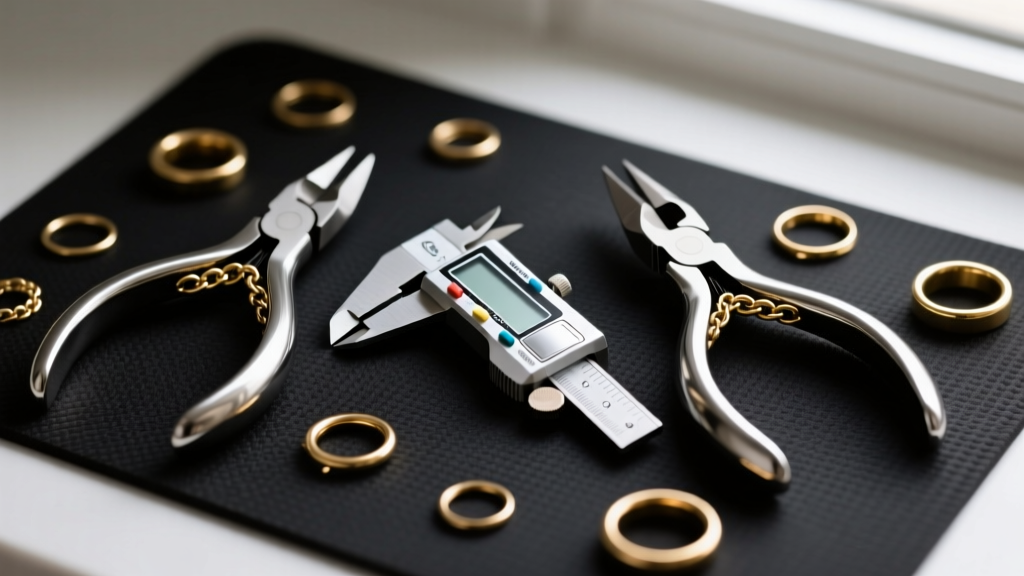
To execute chainmaille earring patterns cleanly, you need the right tools. You will primarily use two pairs of pliers. Never use serrated or toothed pliers, as they will permanently mar and scratch your jump rings. Invest in smooth-jawed chain-nose or flat-nose pliers from reputable brands like Wubbers or Lindstrom.
The most common beginner mistake is opening jump rings by pulling them apart laterally (like an 'O' becoming a 'C'). This ovalizes the ring, weakens the metal through work-hardening, and makes a perfect closure impossible. Instead, grip the ring at the 3 o'clock and 9 o'clock positions with your two pliers. Twist one hand toward your body and the other away, creating a spiral gap. To close, reverse the twist until you hear and feel a satisfying 'click' as the ends meet.
For the cleanest closures, source saw-cut jump rings rather than machine-cut (flush-cut) rings. Saw-cut rings have a perfectly flat kerf (the cut line), allowing the ends to meet seamlessly without snagging on hair or clothing. Major suppliers like The Ring Lord offer precision saw-cut rings in virtually every gauge and material.
Attaching the Ear Wire: A Structural Note
A common failure point in DIY chainmaille earrings is the connection to the ear wire. If the jump ring at the top of your weave has too high of an AR, the ear wire can slip through the gap and the earring will be lost. To prevent this, use a 'transition ring'—a smaller, thicker jump ring (e.g., 24 AWG with a low AR of 3.0) to connect the top of your weave to the ear wire loop. Additionally, ensure your ear wire itself is forged from a sturdy gauge, like 18 AWG or 20 AWG, so it does not bend under the pendulum weight of a chainmaille dangle.
Final Thoughts on Your First Weave
Mastering chainmaille earring patterns is a journey of patience and precision. Start with a small batch of rings, practice your twist technique until it becomes muscle memory, and stick strictly to the recommended Aspect Ratios. Once you complete your first pair of European 4-in-1 or Byzantine dangles, the intersection of mathematics, metallurgy, and wearable art will keep you hooked for a lifetime.


