Step-by-Step Guide to Changing a Stubborn Pierced Earring
Learn how to safely remove, clean, and insert a pierced earring in cartilage without causing irritation bumps or shrinking the fistula.

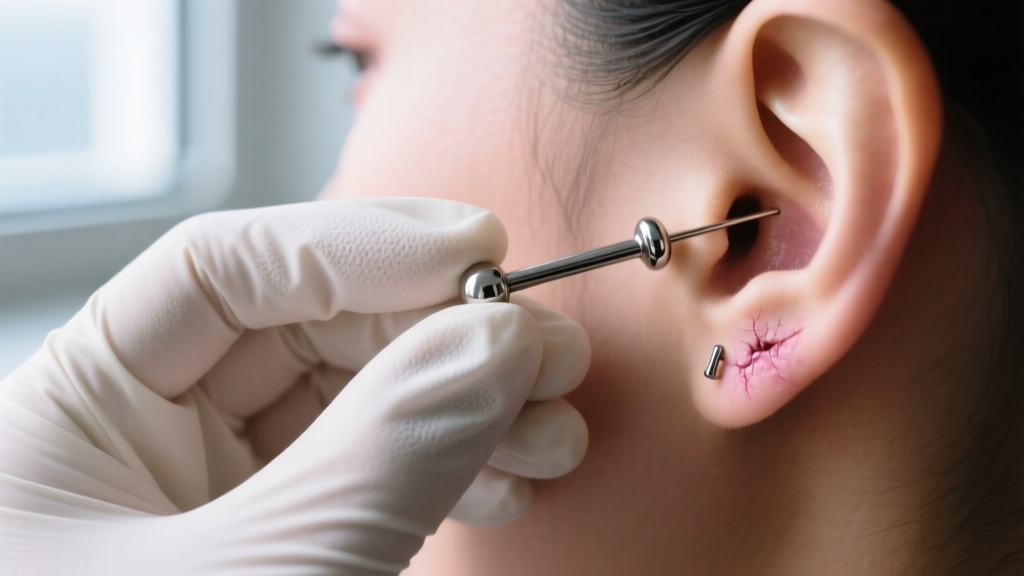
The Anatomy of a Stubborn Cartilage Piercing
Changing a pierced earring in a lobe is usually a trivial, painless task. However, attempting to swap jewelry in a cartilage piercing—such as a helix, conch, tragus, or rook—presents a unique set of anatomical challenges. Unlike the soft, vascular tissue of the earlobe, cartilage is avascular and rigid. The fistula (the tube of healed skin lining the piercing channel) in cartilage is notoriously unforgiving. If left empty for even a few minutes, a cartilage fistula can begin to shrink, making the reinsertion of a pierced earring feel like forcing a blunt object through solid tissue.
Furthermore, the micro-trauma caused by forcing an ill-fitting or poorly lubricated earring through a tight fistula is the leading cause of hypertrophic scarring and irritation bumps. As of 2026, modern piercing science emphasizes that the mechanical stress of jewelry insertion is just as critical as the material of the jewelry itself. This comprehensive guide will walk you through the exact clinical steps to safely remove, prep, and insert a pierced earring in cartilage without triggering an inflammatory response.
Essential Tools and Material Grades
Before you touch your ear, you must gather the correct tools. Attempting to change a stubborn pierced earring with bare hands and unverified jewelry is a recipe for a blown-out fistula. According to the Association of Professional Piercers (APP), only specific, biocompatible materials should be introduced to a healing or easily irritated cartilage channel.
| Material | Standard / Grade | Nickel Release Risk | Avg. Price Range (2026) |
|---|---|---|---|
| Implant-Grade Titanium | ASTM F-136 | Negligible (Safe) | $45 - $90 |
| Niobium | Unalloyed Pure | Zero (Safe) | $35 - $70 |
| Solid 14k/18k Gold | Palladium-Alloyed | Low (If nickel-free) | $80 - $250+ |
| Surgical Steel (316L) | Not ASTM Certified | High (Allergy risk) | $10 - $25 |
The Danger of "Surgical Steel" and Acrylics
Never use 316L Surgical Steel for a stubborn or easily irritated cartilage piercing. While often marketed as "hypoallergenic," 316L steel contains up to 14% nickel, which can leach into the micro-tears of a tight fistula, causing contact dermatitis. Similarly, avoid acrylics or bioplasts, which are porous and harbor bacteria. Always opt for ASTM F-136 implant-grade titanium with a mirror-finish polish.
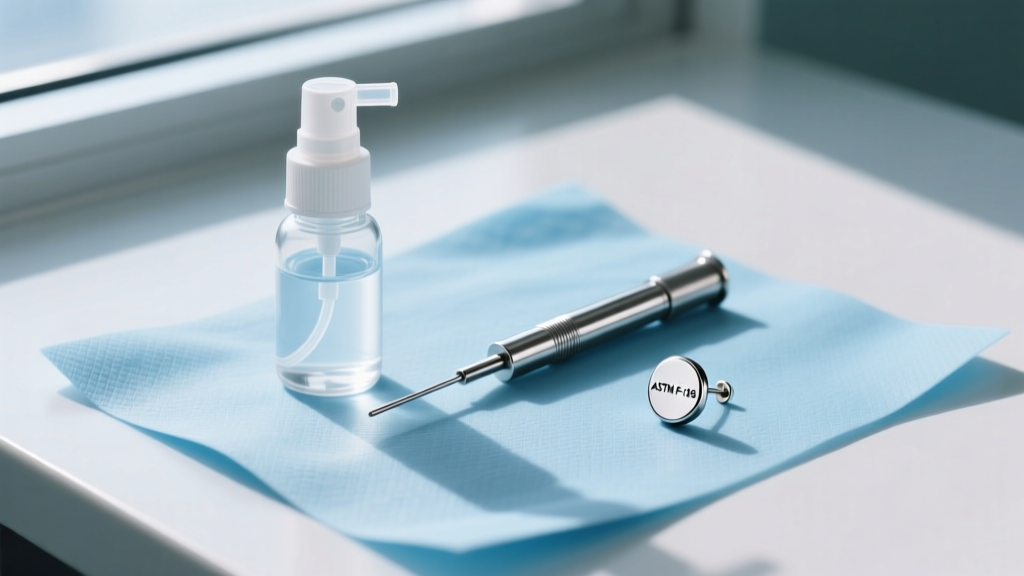
Your Preparation Kit
- Insertion Taper: A polished steel or titanium taper that matches your jewelry gauge (usually 16G / 1.2mm or 14G / 1.6mm). Tapers cost between $15 and $30 and are mandatory for guiding jewelry without scraping the fistula.
- Sterile Saline (0.9% NaCl): Must contain only purified water and sodium chloride. Avoid wound washes with added benzalkonium chloride or preservatives.
- Water-Based Lubricant or Jojoba Oil: A tiny drop helps the taper glide. Do not use petroleum jelly, which traps bacteria and clogs the piercing channel.
- Non-Woven Gauze: To grip the jewelry and prevent slipping.
Step-by-Step: Removing the Old Pierced Earring
The removal process requires patience. Cartilage piercings are prone to developing "crusties" (dried lymph and sebum) that effectively glue the jewelry threads together.
- Apply a Warm Compress: Soak a piece of non-woven gauze in warm sterile saline and hold it against the front and back of the ear for 3 to 5 minutes. This softens any lymphatic buildup and increases local blood flow, making the tissue more pliable.
- Identify the Threading: Most modern high-end body jewelry features internal threading (the screw is on the post) or threadless tension-fit pins. If your jewelry is internally threaded, remember the rule: "Lefty-loosey" on the front gem, not the back disc. Turning the back disc can cause the entire post to spin, tearing the delicate fistula lining.
- Grip and Unscrew: Use dry, clean non-woven gauze to grip both the front and back firmly. If the jewelry is stuck, do not use pliers, as they will scratch the titanium and create microscopic grooves that harbor bacteria. Instead, apply gentle, sustained pressure while unscrewing.
- Remove and Cleanse: Once the jewelry is out, immediately spray the empty fistula with sterile saline. Warning: A cartilage hole can begin to shrink within 60 seconds. Have your taper and new jewelry ready in your hands before you remove the old piece.
Step-by-Step: Inserting the New Pierced Earring Safely
This is the most critical phase. Forcing a blunt earring post into a cartilage fistula acts like a cookie cutter, scraping away the stratified squamous epithelium that lines the hole. This scraped tissue rolls up inside the channel, forming a painful irritation bump.
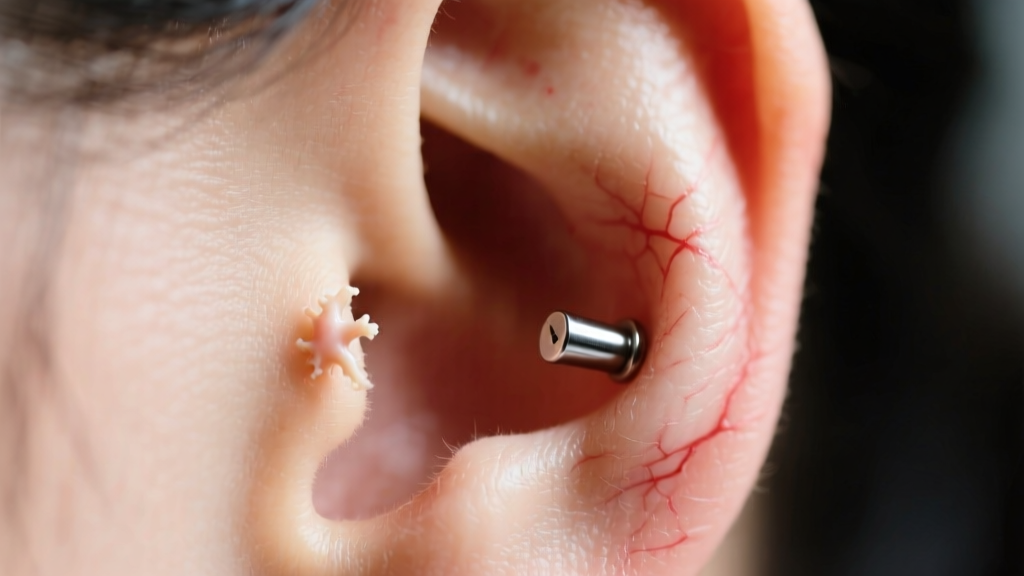
Using the Taper Technique
- Step 1: Lubricate. Apply a microscopic drop of jojoba oil or water-based lubricant to the tip of your insertion taper and the first few millimeters of the new jewelry post.
- Step 2: Align the Angle. Cartilage piercings are rarely perfectly straight; they are usually pierced at a specific angle to accommodate the anatomy of the ear. Look in a mirror or use your phone's selfie camera on the back of your head to match the taper to the natural exit angle of the fistula.
- Step 3: Glide, Don't Push. Gently slide the thin end of the taper into the hole. You should feel zero resistance. If you hit a "wall," you are likely hitting the side of the fistula. Back the taper out slightly, adjust the angle by a millimeter, and try again.
- Step 4: Connect and Follow Through. Once the thick end of the taper is flush with the piercing exit, screw the new pierced earring post onto the back of the taper (if using a threaded taper) or push the tension-pin directly into the taper's hollow channel. Slowly pull the jewelry through the ear until the front gem seats flat against the skin.
Troubleshooting: Irritation Bumps and Blowouts
Even with perfect technique, trauma can occur. The Mayo Clinic notes that localized swelling and minor bumps are common responses to mechanical stress in avascular cartilage.
Expert Troubleshooting Tip: If you notice a small, flesh-colored or red bump forming next to your newly inserted pierced earring within 24 hours, do not remove the jewelry. Removing it will trap the swelling inside the closing fistula, potentially forming an abscess. Instead, switch to a longer-post labret stud to accommodate the swelling, apply a warm sterile saline compress twice daily, and sleep on a travel neck pillow to eliminate pressure on the ear.
If the jewelry feels like it is sitting at a harsh angle and causing persistent pressure on one side of the hole, the fistula may have healed at a slant. In this case, you must visit a professional piercer to have the channel evaluated. They may need to use a specialized 14-gauge to 16-gauge step-taper to gently massage the tissue back into alignment over a period of weeks.
Long-Term Maintenance for Cartilage Health
Once your new pierced earring is securely in place, maintenance is key to preventing future shrinkage and irritation. Avoid sleeping on the side of the piercing; chronic pressure restricts blood flow to the cartilage, leading to tissue necrosis and delayed healing. Clean the area once a day with sterile 0.9% saline spray, and never twist or rotate the jewelry. By respecting the delicate biology of the cartilage fistula and utilizing proper clinical tools like insertion tapers, you can enjoy your high-quality body jewelry without the setbacks of irritation bumps or closed channels.


