How to Clean Diamond Earrings at Home: Expert Troubleshooting Guide
Learn how to clean diamond earrings at home safely. Expert troubleshooting for cloudy stones, stuck backs, and delicate prong settings.

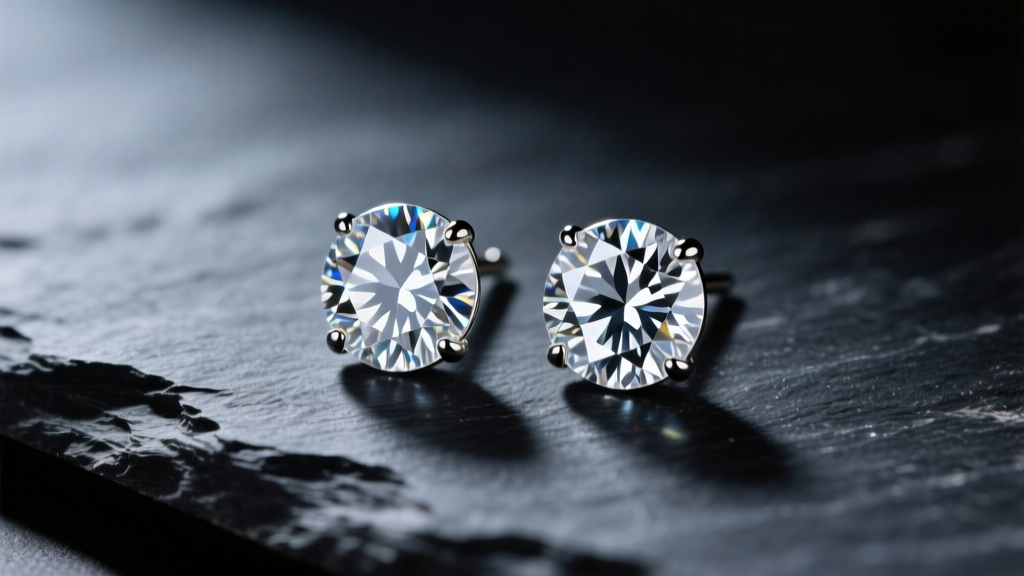
Learning how to clean diamond earrings at home is an essential skill for any jewelry owner, but the internet is flooded with outdated hacks that can permanently damage your precious metals and gemstones. Diamonds are famously durable, ranking a 10 on the Mohs hardness scale, but the metal settings holding them—and the optical clarity of the stones themselves—are highly vulnerable to improper cleaning techniques. As of 2026, with the rise of complex micro-pave and tension settings, a one-size-fits-all approach to jewelry care is a recipe for disaster.
This comprehensive troubleshooting guide moves beyond basic advice. We will diagnose why your diamonds remain cloudy after cleaning, address stuck friction backs, and provide a professional-grade protocol to restore your earrings to their original brilliance without compromising the structural integrity of the setting.
The Anatomy of Earring Grime: Why Diamonds Lose Their Sparkle
To effectively clean diamond earrings, you must first understand the chemistry of the dirt. Diamonds are lipophilic, meaning they have a natural chemical affinity for oils and grease. When you touch your earrings, apply skincare products, or simply exist in an environment with airborne cooking oils, a microscopic layer of lipid film coats the diamond's table and pavilion.
This oil film acts as a barrier to light return. A diamond's brilliance relies on light entering the crown, bouncing off the precisely angled pavilion facets, and reflecting back to the eye. When grease fills the pavilion (the bottom half of the stone), light leaks out the sides rather than reflecting upward, resulting in a flat, milky, or grayish appearance. Furthermore, dead skin cells and sebum accumulate in the gallery wire and prong crevices, creating a hardened, cement-like matrix that cannot be wiped away with a simple polishing cloth.
The Professional-Grade Home Cleaning Protocol
Skip the harsh commercial dips and abrasive toothpaste. The Gemological Institute of America (GIA) recommends a gentle, degreasing approach that safely lifts oils without attacking the metal alloys. Here is the exact step-by-step methodology used by bench jewelers.
Step 1: The Degreasing Soak
Fill a small glass bowl with warm water—ideally between 100°F and 110°F. Never use boiling water. Extreme thermal shock can cause diamonds with existing internal inclusions (like feathers or cleavage planes) to fracture. Add three drops of a high-quality, ammonia-free liquid dish detergent (such as Dawn Platinum). Avoid moisturizing soaps or body washes, as they contain lipid-based conditioners that will leave a new layer of scum on the stone. Let the earrings soak for exactly 20 to 30 minutes to soften the sebum matrix.
Step 2: Pavilion Brushing
Remove the earrings and place them on a clean, lint-free towel. Using an extra-soft infant toothbrush, gently scrub the stone. The critical technique here is to brush the pavilion (the underside of the diamond) where the prongs meet the girdle. Use small, circular motions. Do not use a standard adult toothbrush; the stiff nylon bristles can easily scratch 14k or 18k gold settings, which are much softer than the diamond itself.
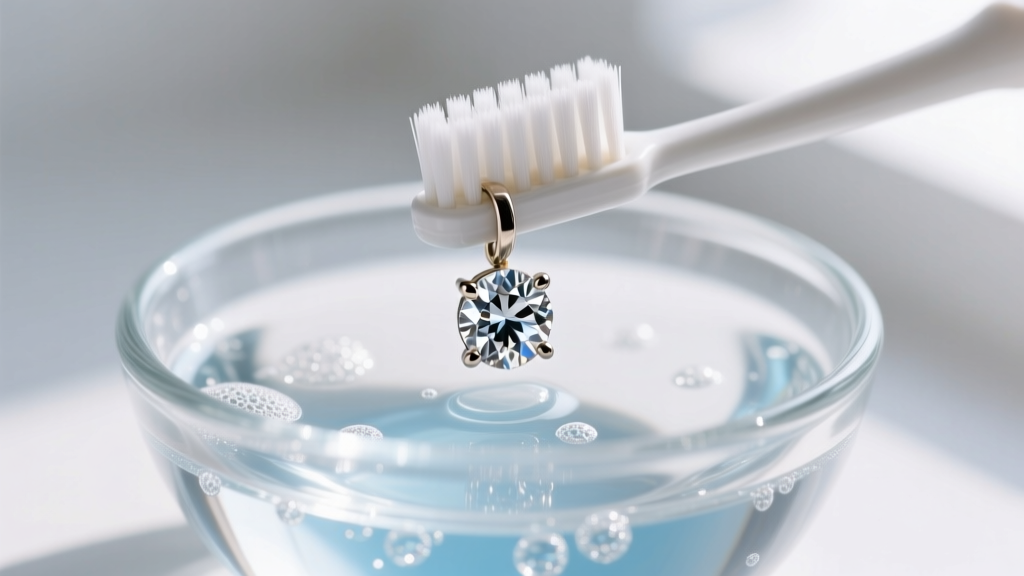
Step 3: The Distilled Water Rinse
This is the step most amateurs miss. Rinsing your earrings under tap water introduces calcium and magnesium ions. When the water evaporates, it leaves behind microscopic hard water spots that mimic the look of a cloudy diamond. Always perform your final rinse using distilled or purified water to ensure a spotless finish.
Step 4: Airflow Drying
Do not rub the diamond dry with a tissue or cotton ball, as these materials leave behind microscopic fibers that cling to the prongs. Instead, use a hairdryer on the "cool" setting to blast the water out from under the gallery, or use a can of compressed air. Finish by gently buffing the metal setting with a clean, untreated microfiber cloth.
Troubleshooting Common Diamond Earring Disasters
Even with the perfect cleaning protocol, specific issues can arise based on the earring's age, metal type, and wear history. Here is how to troubleshoot the most common problems.
Problem 1: The Diamond Still Looks Foggy After Cleaning
The Diagnosis: If you followed the protocol above and the stone still looks milky, you are likely dealing with soap scum buildup or a fracture-filled diamond. Over time, hard water reacts with dish soap to create a stubborn calcium stearate film.
The Fix: Create a 50/50 solution of distilled white vinegar and distilled water. Soak the earrings for 10 minutes to dissolve the mineral deposits, then repeat the gentle brushing process.
Warning: If your diamonds have been "clarity enhanced" via fracture filling, do not use vinegar or any acidic solution, as it can dissolve the glass-like filler. Consult your jeweler for enhanced stone care.
Problem 2: The Friction Back is Stuck or Won't Slide On
The Diagnosis: The earring post and the inside of the friction back (butterfly clutch) have accumulated oxidized sebum and microscopic skin particles, increasing friction to the point of seizing.
The Fix: Dip a cotton swab in 91% isopropyl alcohol and thoroughly swab the earring post and the inner tubes of the friction back. The alcohol will rapidly dissolve the lipid buildup without leaving a residue. If the metal post is slightly bent, causing mechanical binding, do not force it; take it to a jeweler to be straightened with a draw plate to avoid snapping the solder joint.
Problem 3: The White Gold Setting Looks Yellow
The Diagnosis: This is not dirt. White gold is an alloy of yellow gold and white metals (like nickel, palladium, or silver). To achieve a bright white finish, it is electroplated with a microscopic layer of rhodium. Daily wear, friction from hair, and exposure to acidic skin pH gradually wear this plating away, revealing the naturally yellowish alloy beneath.
The Fix: No amount of cleaning will fix this. You must take the earrings to a jeweler for a "rhodium dip." This is a standard maintenance procedure that typically costs between $35 and $75 and restores the metal to a mirror-white finish.
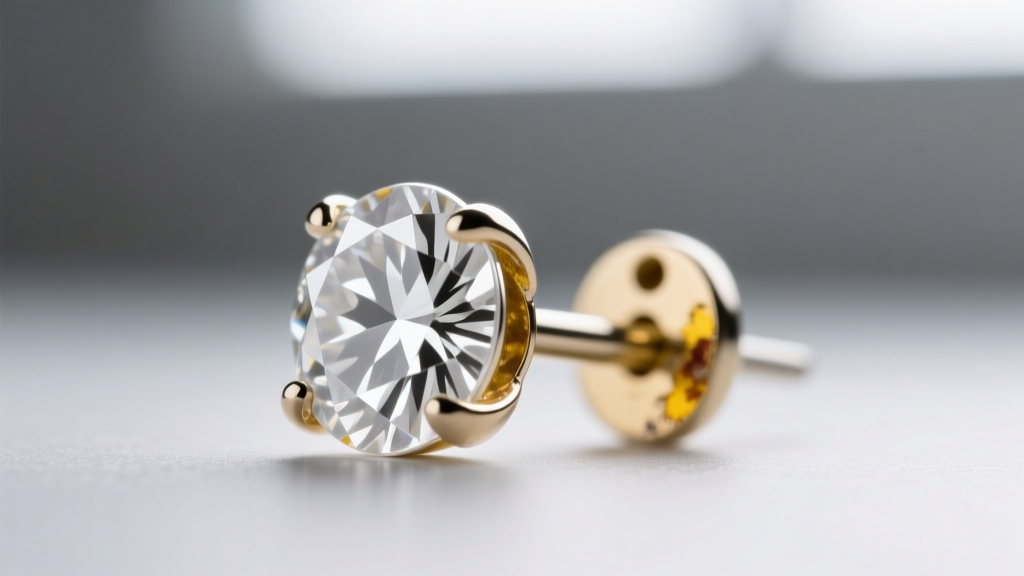
Cleaning Agents to Avoid: The Material Damage Matrix
Using the wrong chemical agent can lead to catastrophic failure of your earring settings. The table below outlines common household cleaners and their destructive effects on jewelry metals and secondary accent stones.
| Cleaning Agent | Effect on Gold/Platinum Alloys | Effect on Diamonds & Accent Stones |
|---|---|---|
| Chlorine Bleach | Causes severe pitting and stress-corrosion cracking in gold alloys, leading to prong failure. | Does not harm diamonds, but will dissolve porous accent stones like pearls or turquoise. |
| Toothpaste | Contains hydrated silica (Mohs 3.5-4), which will permanently scratch platinum and high-polish gold. | Leaves microscopic abrasions on the diamond's polish; traps in pave settings. |
| Baking Soda Paste | Highly abrasive; will create a matte, scratched finish on polished metal surfaces. | Can dull the surface polish of softer halo stones like emeralds or opals. |
| Ultrasonic Cleaners | Generally safe for solid platinum and gold if settings are tight. | DANGER: High-frequency vibrations can shatter fracture-filled diamonds or loosen micro-pave stones. |
Maintenance Frameworks Based on Wear Frequency
According to jewelry care guidelines from the American Gem Society and major retailers like Blue Nile, your cleaning schedule should adapt to your lifestyle. Use this framework to maintain optimal light performance:
- The Daily Wearer (Stud Earrings): If you sleep, shower, and exercise in your diamond studs, they are constantly exposed to sweat, shampoo, and skin oils. Perform the degreasing soak and brush protocol once a week. Wipe them with a microfiber cloth every night before bed.
- The Office Wearer (Hoops and Drops): Worn 8-10 hours a day, primarily exposed to indoor air and occasional hair product transfer. Clean every two to three weeks.
- The Occasional Wearer (Chandeliers and Climbers): Worn only for events. Clean before and after every wear. Store them in a sealed, anti-tarnish ziplock bag with a silica gel packet to prevent ambient moisture buildup.
When to Abandon DIY and See a Bench Jeweler
While mastering how to clean diamond earrings at home is empowering, it is not a substitute for professional structural inspections. You must stop cleaning and immediately consult a jeweler if you notice any of the following red flags:
- The Rattle Test: If you hold the earring near your ear and gently tap the metal, or if you feel a vibration when running your fingernail over the diamond, the stone is loose. Cleaning a loose stone can dislodge it entirely, resulting in the loss of the diamond.
- Visible Prong Wear: If the prongs look flat, thin, or snag constantly on your clothing, they have worn down past the safe threshold. A jeweler needs to perform a "prong re-tipping" using laser welding or soldering.
- Bent Posts: A bent earring post puts continuous lateral stress on the solder joint connecting the post to the earring cup. Over time, this will cause metal fatigue and a clean snap.
By understanding the chemistry of diamond grime and respecting the physical limits of your metal settings, you can safely maintain your earrings' brilliance for decades. Consistent, gentle cleaning using the distilled water and degreasing method will ensure your diamonds continue to perform exactly as they were cut to do.


