How to Clean an Earring in Left Ear: Expert Care Guide
Discover expert tips for maintaining an earring in left ear. Learn ergonomic cleaning techniques, material care, and sleep hacks for optimal healing.

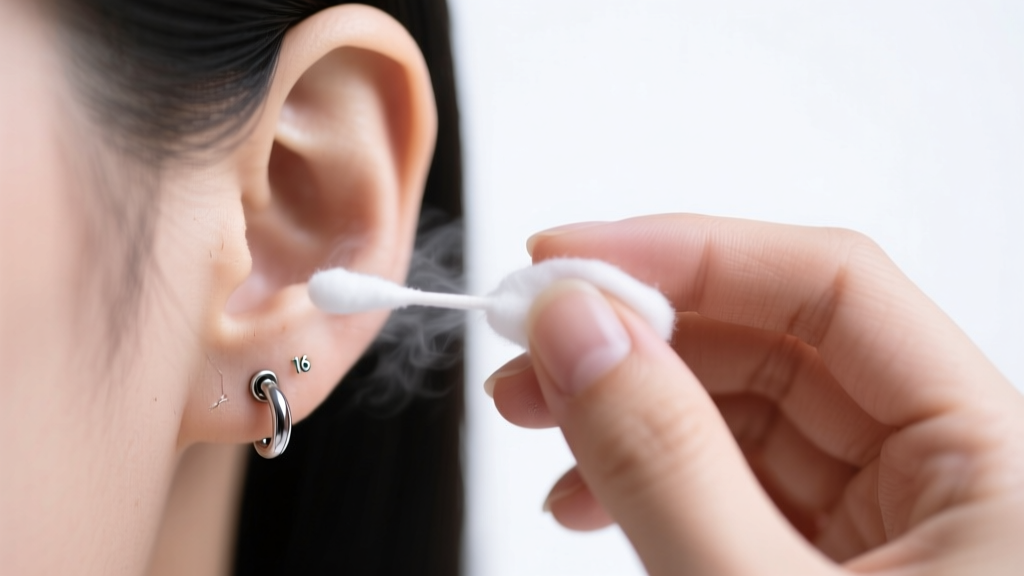
When it comes to piercing aftercare, most guides offer a one-size-fits-all approach. However, anyone who has ever maintained an earring in left ear placements knows that bilateral symmetry is a myth when it comes to ergonomics. For the roughly 90% of the population that is right-hand dominant, cleaning, drying, and managing a healing or established piercing on the left side presents unique biomechanical challenges. From obscured lines of sight to accidental tugging, the left ear requires a specialized maintenance protocol.
In 2026, the professional piercing community has moved entirely away from harsh astringents, focusing instead on microbiome-friendly aftercare and positional hygiene. Whether you are sporting a standard 20-gauge lobe stud or a complex 14-gauge flat-back labret in your left helix, understanding the specific demands of left-sided maintenance is critical for preventing irritation bumps, moisture trapping, and angled healing. This comprehensive guide breaks down the exact science and ergonomics of caring for your left ear jewelry.
The Ergonomic Challenge of Left-Sided Aftercare
The primary difficulty in maintaining an earring in left ear piercings stems from contralateral motor control. When a right-handed person reaches across their face to clean the left ear, their hand naturally obscures their field of vision. This blind spot often leads to two common failures in aftercare: incomplete removal of lymphatic crusties and accidental trauma to the fistula (the piercing channel) from snagging the jewelry post.
Overcoming the Blind Spot
To properly clean the left ear without causing micro-tears in the healing tissue, you must adjust your environment rather than your posture. Piercing professionals recommend utilizing a well-lit, magnifying vanity mirror. Instead of reaching over the front of your face, tilt your head slightly to the right and reach around the back of your neck or over the top of your head. This angle provides a direct line of sight to the left ear's conch, helix, and lobe placements without your wrist blocking the reflection.
Furthermore, abandon cotton balls and standard cotton swabs. The loose fibers easily wrap around the prongs of gem settings or the threads of internally threaded jewelry. When you pull the cotton away, you risk violently twisting the earring in left ear placements, which can strip the delicate epithelial cells lining the fistula. Instead, use tightly woven, non-woven gauze sponges (4x4 inches) folded into precise wedges.
Material-Specific Cleaning Protocols
The metal composition of your jewelry dictates the chemical environment of your piercing. In 2026, implant-grade materials are the undisputed standard for both healing and long-term wear. However, different metals react differently to environmental factors and cleaning agents. Below is a breakdown of how to maintain the most common high-quality materials used in left ear piercings.
| Material | Grade / Standard | Recommended Cleaner | Frequency | Specific Left Ear Considerations |
|---|---|---|---|---|
| Titanium | ASTM F136 Implant-Grade | 0.9% Sterile Saline | 1-2x Daily | Highly resistant to moisture; ideal for left-side sleepers prone to sweat accumulation. |
| Gold | 14k-18k Solid (Nickel-Free) | Mild Liquid Soap + Water | 2x Weekly | Softer metal; avoid aggressive scrubbing on the left ear to prevent micro-scratches that harbor bacteria. |
| Niobium | Unalloyed / Pure | 0.9% Sterile Saline | 1-2x Daily | Excellent for reactive skin; requires thorough drying after saline application to prevent water spots. |
| Steel | ASTM F138 Surgical | 0.9% Sterile Saline | 1-2x Daily | Contains trace nickel; if left ear shows itching, switch to Titanium immediately. |
According to the Association of Professional Piercers (APP), the only topical solution recommended for daily cleaning is sterile, isotonic saline (0.9% sodium chloride, 99.1% purified water) with no preservatives. You must actively avoid products containing benzalkonium chloride, hydrogen peroxide, rubbing alcohol, or tea tree oil. These harsh chemicals destroy fibroblasts—the very cells responsible for building the collagen matrix that heals your piercing.
Sleep Compression & Positional Hygiene
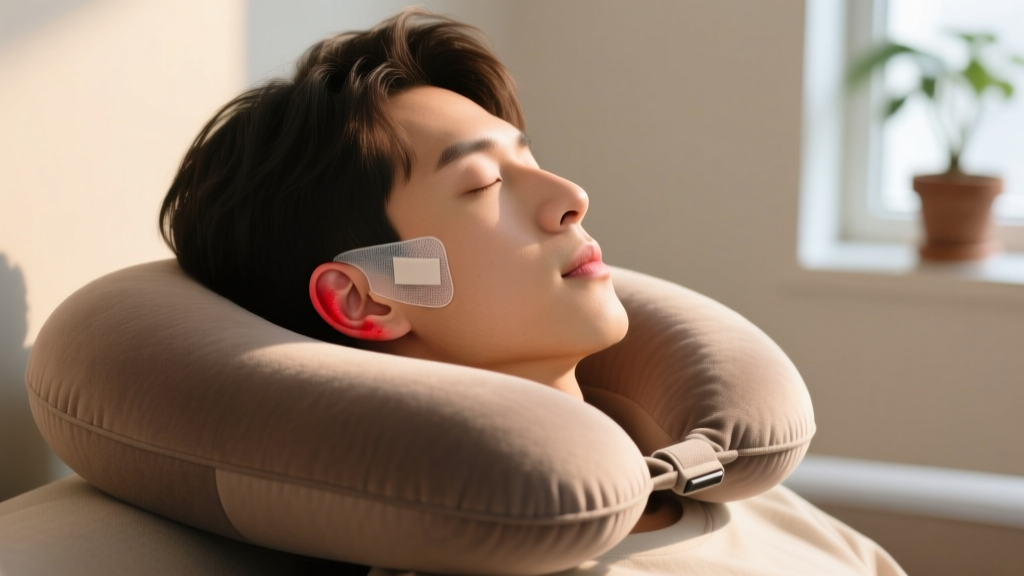
If you are nursing a new earring in left ear cartilage, sleep compression is your greatest enemy. Sleep compression occurs when the weight of your head presses the ear against the pillow, forcing the jewelry post to tilt at an unnatural angle. Over the course of 6 to 8 hours, this constant pressure causes the fistula to heal at a slant. Once healed, the jewelry will perpetually sit crooked, and the localized trauma frequently triggers hypertrophic scarring (irritation bumps).
The Travel Pillow Hack
To mitigate this, adopt the 'travel pillow hack.' Take a standard U-shaped memory foam neck pillow and place it flat on your bed. When you sleep on your left side, position your left ear directly inside the hollow center hole of the 'U'. This suspends the ear in mid-air, completely eliminating friction, pressure, and moisture trapping while allowing the earring to rest at a perfect 90-degree angle to the tissue.
'Moisture trapping on the side of the face you sleep on is a leading cause of localized contact dermatitis and delayed healing. Keeping the ear elevated and dry is just as important as the cleaning solution you use.' — Healthline Dermatological Piercing Guidelines
Step-by-Step Left Ear Cleaning Routine
- Prep & Sanitize: Wash your hands with an antibacterial liquid soap for a full 20 seconds. Dry with a disposable paper towel.
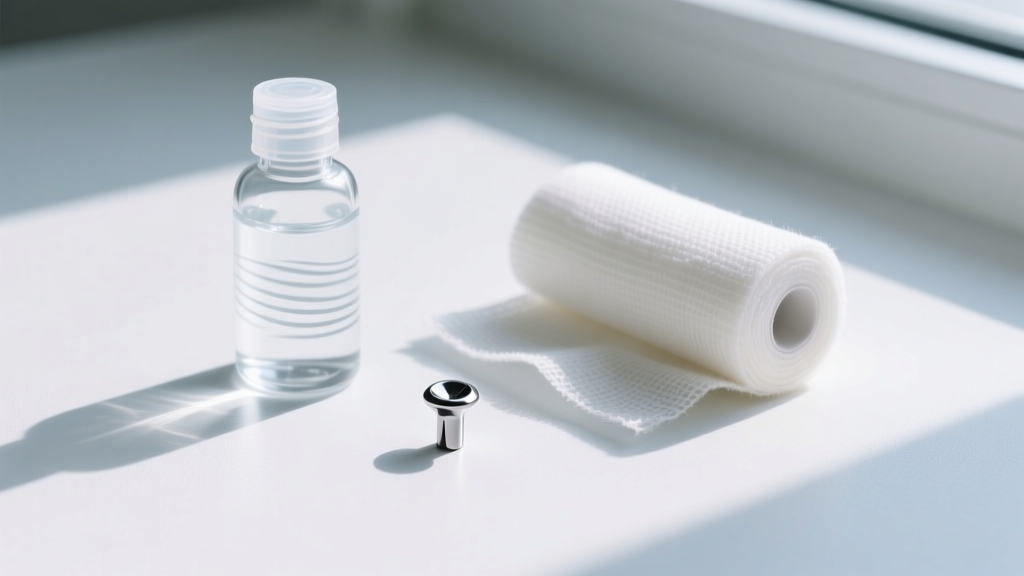
- Apply Saline: Spray the 0.9% sterile saline directly onto the front and back of the left ear piercing. Let it sit for 30 seconds to soften any lymphatic crusties.
- Gentle Removal: Using a folded piece of non-woven gauze, gently wipe away the softened debris. Never pick or scrape at the jewelry.
- Rinse (Shower Only): If you are in the shower, let warm water cascade over the left ear for 10 seconds to rinse away saline residue, which can cause itching if left to dry on the skin.
- Crucial Drying Phase: Use a fresh piece of gauze to pat the area dry. For hard-to-reach left ear placements, use a hair dryer on the 'cool' and 'low' settings held at arm's length to completely evaporate trapped moisture behind the ear flap.
Troubleshooting Left Ear Irritation Bumps
Developing a bump near an earring in left ear placements is incredibly common, but it is rarely an infection. True infections present with systemic symptoms like fever, radiating heat, and thick, foul-smelling green discharge. What most people experience is an irritation bump—a localized immune response to physical trauma or moisture.
Identifying the Culprit
To resolve the bump, you must identify the left-side specific trigger. Ask yourself the following diagnostic questions:
- Are you a left-handed phone user? Pressing a smartphone against a healing or sensitive left ear introduces immense friction and transfers screen bacteria directly to the piercing site. Switch to speakerphone or use the right ear.
- Do you wear over-ear headphones? The clamping force of studio headphones can crush the left helix or tragus, causing micro-trauma. Switch to bone-conduction headphones or earbuds in the right ear only until the bump subsides.
- Is your jewelry post too long? If the initial swelling has gone down but you are still wearing the original, longer post, the excess metal will snag on hair and clothing. Visit a professional piercer to have the jewelry downsized to a snug-fitting flat-back labret.
Final Thoughts on Asymmetric Maintenance
Caring for an earring in left ear placements is an exercise in mindfulness. By acknowledging the ergonomic hurdles of right-hand dominance, utilizing the correct non-fibrous cleaning tools, and strictly managing sleep compression, you can maintain pristine, healthy piercings. Remember that the goal of modern aftercare is not to sterilize the ear into submission, but to support the body's natural healing mechanisms through gentle, consistent, and biomechanically sound practices. Treat your left ear with the specialized attention it demands, and your jewelry will remain a comfortable, beautiful staple for years to come.


