How to Clean and Maintain Oxidized Skull Stud Earrings
Learn how to safely clean oxidized skull stud earrings without stripping the patina. Expert tips on tools, gemstone care, and storage.


Skull stud earrings are a staple of alternative, gothic, and edgy everyday jewelry. However, their intricate topography—featuring deep eye sockets, nasal cavities, and sculpted teeth—makes them notorious magnets for sebum, dead skin cells, and environmental grime. Worse, the majority of high-quality skull studs feature intentional oxidation (a darkened patina) to enhance the 3D relief of the bone structure. If you use standard silver cleaning methods, you will instantly ruin the contrast and leave your jewelry looking flat and lifeless.
As a jewelry care specialist, I see countless oxidized pieces destroyed by well-meaning owners using harsh chemicals. This comprehensive guide will teach you how to properly clean, maintain, and store your skull stud earrings while preserving the delicate liver of sulfur oxidation and protecting any gemstone inlays.
The Material Science: Understanding Your Skull Studs
Before applying any cleaning solution, you must identify the materials and finishes used in your specific skull stud earrings. Most premium skull studs are cast in 925 Sterling Silver and treated with Liver of Sulfur (potassium sulfide) to create the dark, antique finish in the recessed areas. The high points (like the cranium and cheekbones) are then hand-polished to create a striking two-tone contrast.
Additionally, many skull designs incorporate secondary materials:
- Cold Enamel: Used for colored accents (like blood drips or irises). Enamel is essentially a hardened resin that is highly sensitive to alcohol and acetone.
- Gemstone Inlays: Black onyx, synthetic ruby, or garnet are frequently glued or bezel-set into the eye sockets. According to the Gemological Institute of America (GIA), stones like onyx are porous and can be damaged by ultrasonic vibrations and harsh chemicals.
- Plating: Cheaper skull studs may be brass with a thin rhodium or black ruthenium plating. Aggressive brushing will wear this plating away, exposing the base metal.
The Ultimate Skull Stud Cleaning Toolkit
Throw away the commercial silver dips and abrasive pastes. To safely clean intricate skull earrings, you need a gentle, targeted approach. Here is the exact toolkit I recommend for 20g (0.8mm) and 18g (1.0mm) standard lobe skull studs, as well as thicker 16g (1.2mm) cartilage pieces.
| Tool | Purpose | Safe for Oxidation? |
|---|---|---|
| Mild Dish Soap (Dawn) | Degreasing and lifting sebum | Yes |
| Distilled Water | Rinsing without mineral deposits | Yes |
| Baby Toothbrush (Extra Soft) | Agitating dirt in eye/teeth crevices | Yes |
| Wooden Toothpick | Dislodging hardened debris in deep grooves | Yes |
| Sunshine Polishing Cloth | Buffing high points to a shine | Yes (If used carefully) |
| Canned Compressed Air | Drying without leaving lint in crevices | Yes |
Step-by-Step Cleaning Protocol
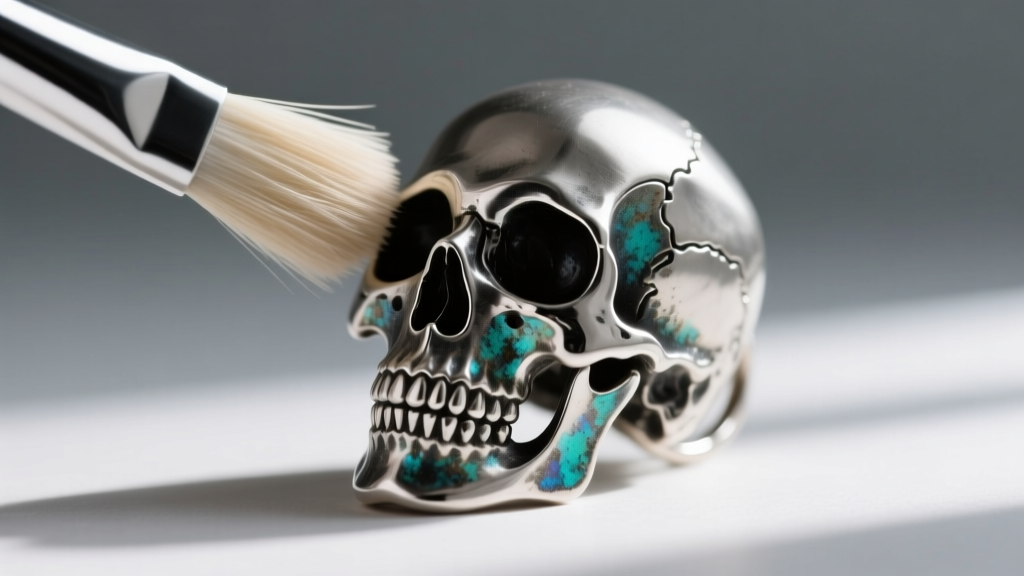
Follow this exact sequence to remove buildup without compromising the antique finish or loosening gemstone adhesives.
Step 1: Disassembly and Inspection
Remove the earring backs (butterfly clutches or silicone O-rings). Inspect the prongs or bezels holding any gemstone eyes. If a stone is loose, do not submerge it in water, as the moisture will degrade the jeweler's epoxy. Clean loose stones with a dry, soft brush only.
Step 2: The Degreasing Soak
Mix a few drops of mild, phosphate-free dish soap into a small bowl of lukewarm distilled water. Submerge the skull studs for exactly 5 to 10 minutes. This softens the hardened sebum and dead skin that accumulate around the earring post and the base of the skull.
Step 3: Targeted Agitation
Dip an extra-soft baby toothbrush into the soapy solution. Gently brush the skull, paying special attention to the nasal cavity, the gaps between the teeth, and the underside of the earring where it rests against the earlobe. For stubborn, calcified debris in deep crevices, use a wooden toothpick to gently scrape it out. Avoid metal needles, which will scratch the sterling silver.
Step 4: Rinsing and Drying
Rinse the earrings under a gentle stream of lukewarm distilled water. Tap water contains chlorine and minerals that can leave white spots or accelerate uneven tarnishing. Shake off excess water and use canned compressed air to blow moisture out of the deep eye sockets and teeth gaps. Lint-free microfiber cloths often snag on the sharp points of sculpted teeth, making air-drying the superior method.
Step 5: Selective Polishing
Once completely dry, take a treated jewelry polishing cloth (like a Sunshine cloth) and very lightly buff only the raised, high-polish areas of the skull (the forehead, cheekbones, and jawline). Do not press the cloth into the crevices. The mild abrasive in the cloth will strip the dark oxidation out of the shadows, destroying the 3D effect.
Critical Failure Modes: What NEVER to Do
According to Jewelers of America, improper cleaning techniques are the leading cause of irreversible damage to oxidized and gemstone-set jewelry. Avoid these common mistakes at all costs.
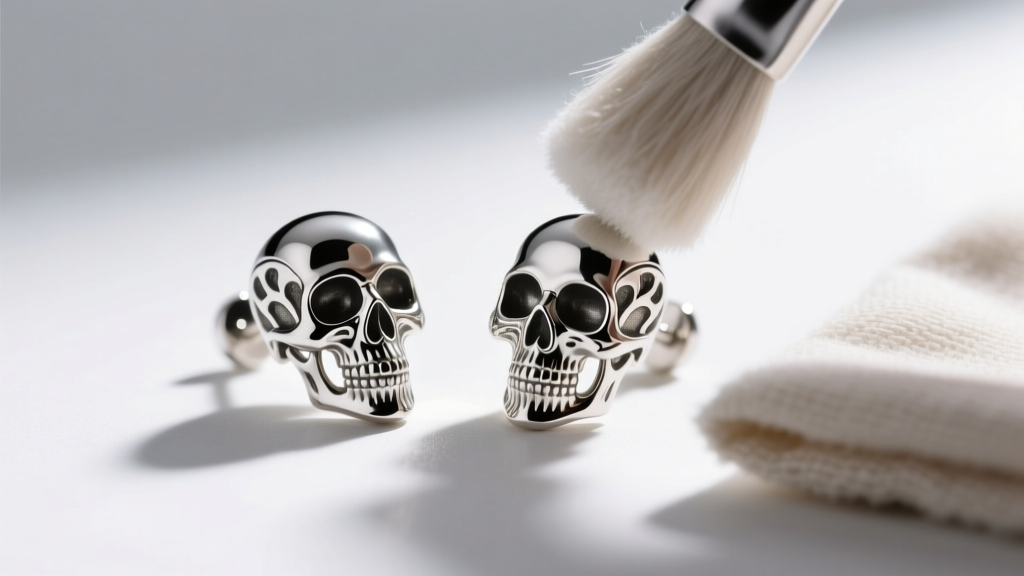
- Never Use Silver Dip Cleaners: Liquid silver dips rely on thiourea-based acids to instantly strip tarnish. They cannot differentiate between accidental tarnish and intentional liver of sulfur oxidation. A 5-second dip will turn your detailed skull into a flat, blindingly bright white piece of metal with zero depth.
- Avoid Ultrasonic Cleaners: The high-frequency cavitation bubbles created by ultrasonic machines are excellent for plain diamond studs, but they will violently shake the glue holding tiny onyx or ruby 'eyes' right out of their settings. They can also cause cold enamel fills to crack and flake.
- Skip the Baking Soda Paste: Baking soda is highly abrasive on a microscopic level. Scrubbing a skull stud with a baking soda paste will leave micro-scratches across the polished high points, giving the silver a dull, cloudy appearance over time.
Hardware Maintenance and Daily Storage
The care of your skull stud earrings extends beyond the decorative face; the post and backing system require equal attention to prevent earlobe irritation and loss.
Post and Backing Hygiene
Standard skull studs usually feature a 20-gauge (0.8mm) or 18-gauge (1.0mm) post. Because the skull design is often heavy and front-loaded, the earring can droop, causing the post to angle downward and irritate the piercing channel. To counteract this, swap out standard metal butterfly backs for flat-back silicone O-rings or stainless steel locking screw-backs. These provide a wider, more secure surface area against the back of the ear, keeping the heavy skull face upright. Clean the posts with a cotton swab dipped in 70% isopropyl alcohol before inserting them into your ears to prevent bacterial transfer.
Proper Storage to Prevent Unwanted Tarnish
While the recessed areas of the skull are intentionally oxidized, the high-polish areas will still develop a yellowish, unwanted tarnish when exposed to sulfur compounds in the air. Store your skull studs in an airtight polyethylene ziplock bag along with an anti-tarnish silica strip or a piece of anti-tarnish treated chalk. Keep them in a cool, dark drawer away from direct sunlight and humidity. Never store them loosely in a communal jewelry box, as the sharp teeth and bone spikes of the skull will easily scratch softer pieces like gold or pearls.
By following this meticulous, oxidation-safe cleaning protocol, your skull stud earrings will maintain their dark, brooding contrast and structural integrity for decades, remaining a sharp and hygienic staple in your jewelry rotation.


