How to Clean and Restore Coach Pearl Earrings Safely
Learn how to clean, repair, and restore Coach pearl earrings. Expert troubleshooting for tarnished brass, loose pearls, and cloudy coatings.

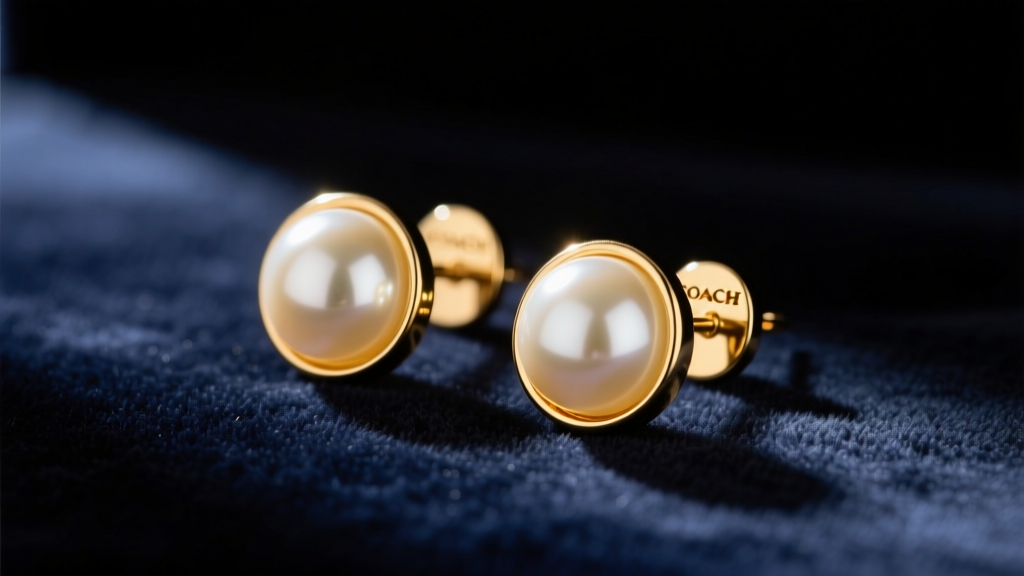
The Anatomy of Coach Pearl Earrings: What You Are Actually Working With
Before attempting any repairs or deep cleaning, it is critical to understand the material composition of your Coach pearl earrings. Unlike fine jewelry crafted from solid 14k gold and natural saltwater pearls, Coach fashion jewelry typically utilizes a solid brass base metal with a flash plating of gold or silver tone. The 'pearls' themselves are most often high-quality glass pearls or coated shell pearls, designed to mimic the luster of freshwater or Akoya pearls. Understanding this distinction is the first step in troubleshooting, as the cleaning agents safe for solid gold will permanently strip the lacquer coating off a glass pearl.
When dealing with vintage or heavily worn pieces, the primary failure points are almost always related to the degradation of the metal plating, the breakdown of the factory adhesive securing the pearl to the post, or chemical damage to the pearl's outer coating. Below, we break down the exact problem-solving protocols for each of these issues.
Troubleshooting Tarnish and the 'Green Ear' Effect
One of the most common complaints with fashion jewelry is the dreaded 'green ear.' This is not a sign of poor hygiene; it is a basic chemical reaction. The brass base of your Coach earrings contains copper and zinc. When the microscopic layer of gold or silver plating wears away due to friction and exposure to the acidic pH of your skin's sweat, the underlying copper oxidizes. This copper chloride transfers to your skin, leaving a green or black smudge.
How to Remove Tarnish Without Stripping Plating
Never use liquid silver dips, ultrasonic cleaners, or abrasive baking soda pastes on Coach pearl earrings. These methods will instantly cloud the pearl coating and strip the remaining metal plating. Instead, follow this targeted approach:
- For the Metal Hardware: Use a dry, treated jeweler's polishing cloth (such as a Connoisseurs or Sunshine cloth). Gently rub only the metal post and the backing cup. Avoid touching the pearl.
- For the Green Skin: Wash your earlobes with mild soap and water. To prevent future oxidation, apply a micro-thin layer of clear nail polish to the earring posts and the inside of the clutch backs. Allow it to cure for 24 hours before wearing. This creates an invisible, hypoallergenic barrier between the brass and your skin.
How to Re-Glue a Fallen Coach Pearl
Factory adhesives used in mass-produced fashion jewelry are often heat-sensitive cyanoacrylates or basic hot glues. Over time, exposure to humidity, hair dryers, and natural body heat causes the glue to become brittle and fail, resulting in the pearl popping out of its metal cup.
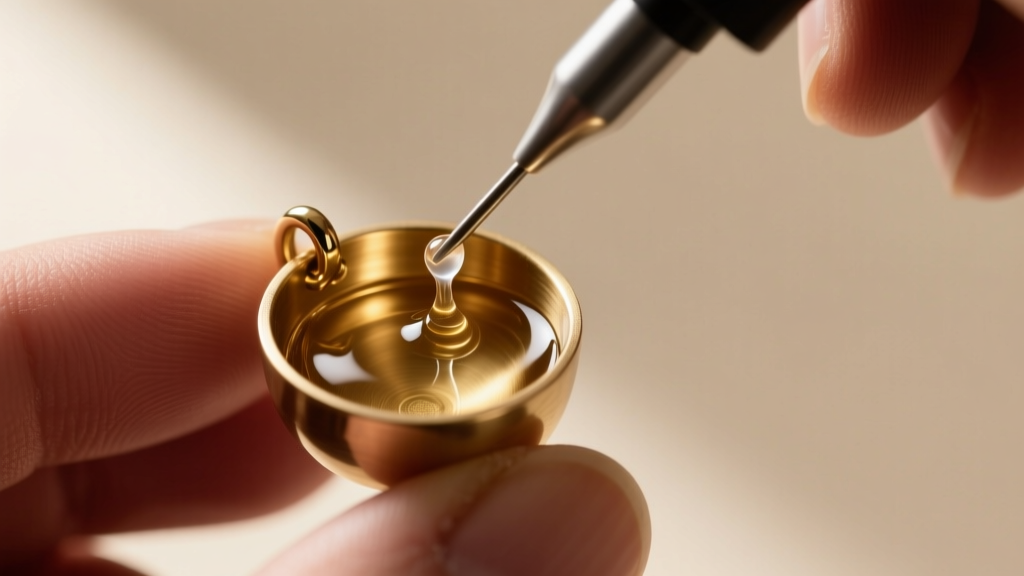
The Golden Rule: Never Use Super Glue
Expert Warning: Never use standard Super Glue (cyanoacrylate) to reattach a pearl. As cyanoacrylate cures, it releases a vapor that 'outgasses.' This vapor will settle on the surface of your glass or shell pearl, creating a permanent, frosty white haze that completely ruins the luster.
Step-by-Step Pearl Re-Setting Protocol
- Prep the Cup: Use a wooden toothpick or a fiberglass scratch pen to gently scrape out the old, crusty adhesive from the brass cup. Do not use metal tools, as they will scratch the interior plating.
- Prep the Pearl Base: Lightly wipe the flat bottom of the pearl with a cotton swab dipped in isopropyl alcohol to remove any skin oils. Let it dry completely.
- Select the Adhesive: Use a two-part clear jeweler's epoxy (like Devcon 5-Minute Epoxy) or a specialized flexible jewelry glue like G-S Hypo Cement. Epoxy provides a stronger bond for heavier statement pearls, while G-S Hypo is better for tiny, lightweight seed pearls.
- Apply and Set: Place a single, pin-sized drop of epoxy into the center of the cup. Press the pearl down firmly. Use a piece of painter's tape to hold the pearl flat against the cup while it cures for 24 hours in a dry, room-temperature environment.
Restoring Cloudy or Peeling Pearl Coatings
If your Coach pearl earrings have lost their shine or appear cloudy, the issue is usually chemical damage rather than dirt. According to the Gemological Institute of America (GIA), the luster of coated pearls is highly vulnerable to everyday cosmetics.
The Perfume and Hairspray Problem
Alcohol and aerosol propellants are the enemies of pearl lacquer. If you spray perfume or hairspray while wearing your earrings, the airborne alcohol will slowly dissolve the microscopic layers of pearlescent coating. Once the coating begins to peel or pit, it cannot be chemically restored. However, if the pearls are simply dull from accumulated lotion and dead skin cells, you can safely revive them.
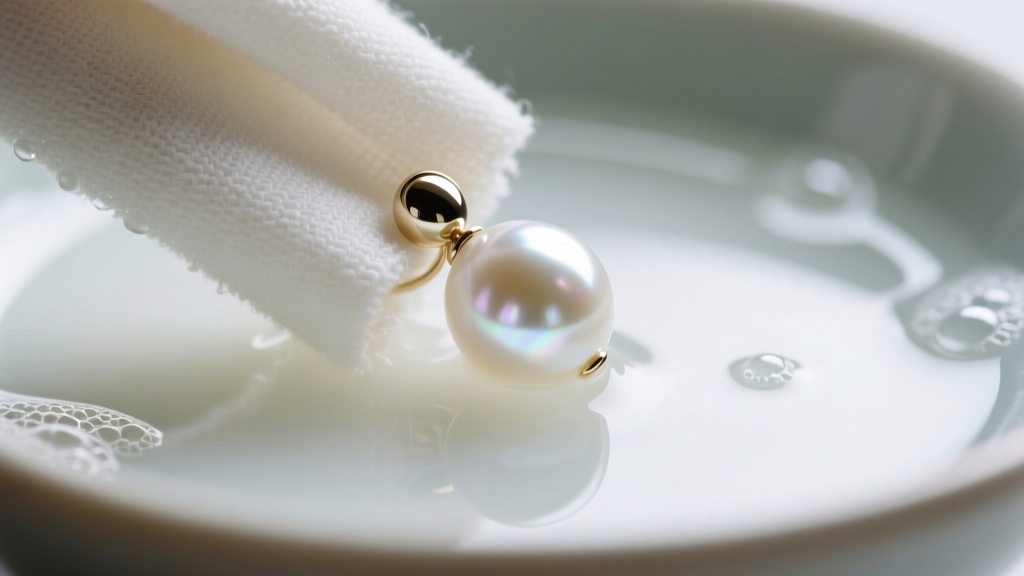
The Safe Washing Technique
Mix two drops of pH-neutral baby shampoo or Castile soap into a bowl of distilled water. Distilled water is crucial, as tap water contains chlorine and hard minerals that can leave micro-scratches on glass pearls. Dip a clean, lint-free microfiber cloth into the solution, wring it out until it is only barely damp, and gently buff the surface of the pearl in circular motions. Immediately dry with a separate soft cloth. Never submerge Coach pearl earrings in water, as moisture will seep into the glue joint and cause the pearl to detach.
Authentication Troubleshooting: Spotting Counterfeits
When buying secondhand Coach pearl earrings, troubleshooting authenticity is a major concern. Counterfeiters often get the metal weight wrong and use cheap, lightweight plastic beads instead of glass or shell pearls.
- The Temperature Test: Real glass and shell pearls feel noticeably cool to the touch when first picked up and take a few seconds to warm to your skin. Plastic beads will feel room-temperature immediately.
- The Weight Test: Coach uses solid brass for their hardware. If the earring post and cup feel exceptionally light or hollow, the base metal is likely cheap aluminum or pot metal, indicating a fake.
- The Stamp: Inspect the earring post or the flat back of the clutch. Authentic pieces will feature a clean, deeply engraved 'C' logo or the word 'COACH'. Fakes often have shallow, laser-etched, or misaligned stamps.
Coach Earring Care Matrix: Quick Reference Guide
For ongoing maintenance, refer to this troubleshooting matrix to ensure your earrings remain in pristine condition. For more official guidelines, you can also consult the official Coach jewelry care instructions.
| Issue / Symptom | Root Cause | Solution / Action Plan |
|---|---|---|
| Green skin around the piercing | Copper oxidation from worn brass plating | Coat earring posts with clear nail polish; clean skin with soap and water. |
| Pearl falls out of the metal cup | Factory glue degradation via heat/moisture | Scrape old glue; re-set using 2-part clear jeweler's epoxy. |
| Cloudy, frosty pearl surface | Alcohol-based perfumes or Super Glue outgassing | Wipe with damp microfiber; avoid aerosols. (Note: Severe peeling is irreversible). |
| Dull, darkened metal hardware | Oils, sweat, and environmental sulfur | Polish gently with a dry treated jeweler's cloth; avoid liquid dips. |
Final Storage Protocols
To prevent future troubleshooting, never store your Coach pearl earrings in a humid bathroom or a shared jewelry box where harder gemstones can scratch the pearl coating. Keep them in their original flannel pouch or a dedicated soft-lined compartment, and always include a 3M anti-tarnish strip in the storage area to absorb ambient sulfur and protect the brass base metal.


