How To Clean And Restore Silver Lapis Lazuli Earrings
Learn how to safely clean, polish, and restore silver lapis lazuli earrings without damaging the porous stone or tarnishing the 925 sterling setting.

The Material Science: Why Lapis and Silver Clash During Cleaning
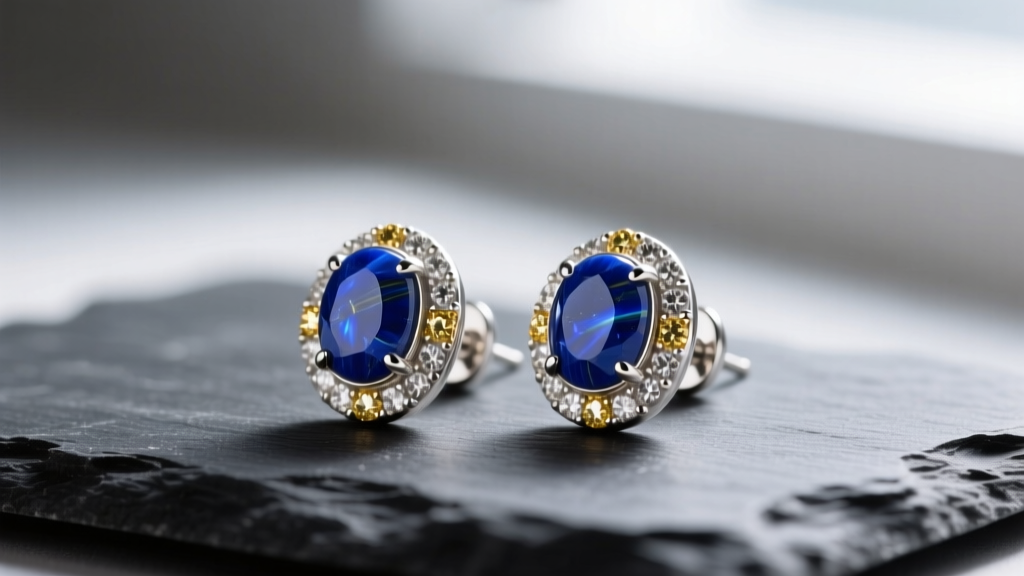
Silver lapis lazuli earrings represent a striking intersection of organic depth and metallic brilliance. However, maintaining them requires navigating a fundamental material conflict. Lapis lazuli is not a single mineral, but a complex metamorphic rock composed primarily of lazurite (which provides the deep blue color), calcite (the white matrix), and pyrite (the metallic gold flecks). It sits at a 5 to 6 on the Mohs hardness scale and is inherently porous. Conversely, the sterling silver (925) settings and posts—usually crafted in 20-gauge (0.8mm) or 22-gauge (0.6mm) thicknesses for studs—are alloys containing 7.5% copper. This copper reacts with atmospheric sulfur to form silver sulfide, the black tarnish that dulls your earrings.
The challenge lies in the fact that the chemicals required to strip silver sulfide will simultaneously degrade the calcite veins in the lapis or leach the dyes used in lower-grade stones. According to the Gemological Institute of America (GIA), lapis lazuli is highly sensitive to acids, high heat, and prolonged water exposure. Therefore, the standard 'dip and soak' methods used for plain silver jewelry will permanently ruin your lapis cabochons. Below is a professional, step-by-step framework for safely restoring your silver lapis lazuli earrings without compromising the integrity of the stone.
Step-by-Step Guide to Cleaning Silver Lapis Lazuli Earrings
To properly clean these earrings, you must treat the metal and the gemstone as two entirely separate entities requiring different chemical approaches.
Step 1: Dry Dusting and Surface Prep
Before introducing any polishing agents, remove surface dust and skin oils. Lapis lazuli can accumulate microscopic debris in its natural fissures, which can act as an abrasive if rubbed during the polishing phase.
- Tools needed: A clean, dry makeup brush (like a fluffy eyeshadow brush) or a specialized jewelry dusting brush with ultra-soft natural bristles.
- Action: Gently sweep the face of the lapis cabochon and the crevices of the silver bezel or prong setting. Do not apply downward pressure.
Step 2: Targeted Silver Polishing (Avoiding the Stone)
This is the most critical phase. You must polish the 925 sterling silver post, clutch, and bezel wall without letting the polish touch the lapis.
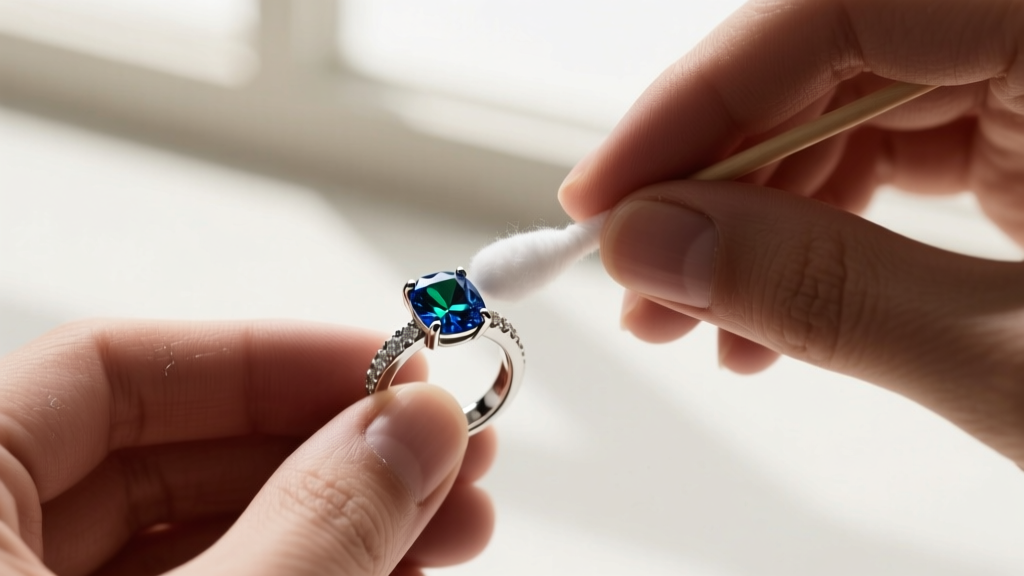
- Choose the right polish: Avoid liquid silver dips entirely. Use a high-quality, non-scratching silver cream or foam, such as Goddard's Silver Polish Foam, applied sparingly with a cotton swab (Q-tip).
- Isolate the stone: If the lapis is bezel-set, use a piece of painter's tape to mask the edge of the stone, protecting it from accidental polish transfer.
- Polish the post and back: Roll the cotton swab along the 20-gauge or 22-gauge ear post. Tarnish builds up heavily here due to contact with the skin's pH and hair products. Wipe the post clean with a separate dry microfiber cloth until it squeaks.
- Polish the bezel wall: Using a fresh swab, carefully trace the outer silver wall of the setting. If polish touches the lapis, immediately wipe it away with a dry cloth; do not let it dry.
Step 3: Safe Stone Wiping
Once the silver is gleaming, address the lapis lazuli. According to conservation guidelines from the Victoria and Albert Museum (V&A), mechanical cleaning is often safer than chemical cleaning for mixed-media antiques and delicate jewelry.
Take a dry, lint-free microfiber cloth and gently buff the face of the lapis lazuli in small, circular motions. This removes residual skin oils and restores the stone's natural waxy luster. If the stone is heavily soiled, slightly dampen a corner of the cloth with distilled water (never tap water, as chlorine and minerals can stain the calcite), wipe the stone quickly, and immediately dry it with the dry side of the cloth.
The Danger Zone: Common Mistakes That Ruin Lapis
Many well-intentioned jewelry owners destroy their silver lapis lazuli earrings by applying generic jewelry cleaning rules to a highly specific material. Review the table below to ensure you are not inadvertently causing microscopic damage.
| Cleaning Method | Effect on 925 Silver | Effect on Lapis Lazuli | Verdict |
|---|---|---|---|
| Ultrasonic Cleaners | Excellent (removes deep tarnish) | Destructive (shatters calcite veins, strips dye) | NEVER USE |
| Silver Dip Liquids | Fast tarnish removal | Chemical burn (acid destroys pyrite and lazurite) | NEVER USE |
| Baking Soda & Aluminum | Effective galvanic reaction | Alkaline damage (causes chalky surface residue) | NEVER USE |
| Polishing Cloths (Jeweler's Rouge) | Safe and effective | Safe (if kept strictly to the metal) | HIGHLY RECOMMENDED |
| Mild Soap & Distilled Water | Ineffective on heavy tarnish | Risky (prolonged exposure ruins porous stone) | USE WITH EXTREME CAUTION |
Troubleshooting: Restoring Tarnished Settings and Loose Stones
Even with careful maintenance, silver lapis lazuli earrings can develop specific issues over time. Here is how to troubleshoot the most common failure modes.
Dealing with Pyrite Flecks and Chalky Residue
If you notice a white, chalky film developing on the surface of your lapis, you are likely dealing with one of two issues. First, it could be calcite breakdown due to exposure to acidic skin pH or harsh cosmetics. Second, and more commonly in earrings priced under $50, it is dye leaching from a color-enhanced stone. If your lapis is dyed, cease all wet cleaning immediately and rely solely on dry microfiber buffing. If the pyrite (gold flecks) begins to look dull or brown, it is oxidizing. You can gently polish the pyrite flecks using a dry, soft-bristled fiberglass scratch pen, but this requires a steady hand and magnification.
Re-seating Loose Cabochons
Lapis lazuli is frequently set in sterling silver using a bezel setting or prongs. Because lapis is relatively soft, it can wear down slightly at the edges over years of friction against the silver, causing the stone to rattle. Do not attempt to bend the silver bezel tighter yourself. Sterling silver work-hardens over time; bending it without annealing will snap the bezel wall. Take the earrings to a professional jeweler. A lapidary can re-polish the stone's edge and a silversmith can safely re-seat and solder the bezel, a service that typically costs between $35 and $60 per earring—well worth it to save a $150 pair of high-grade Afghan lapis earrings.
Expert Insight: Always check the earring post gauge before purchasing replacement clutches (backs). Standard lapis studs use 20-gauge posts, but heavier dangles or artisan pieces often use thicker 18-gauge (1.0mm) posts. Forcing a standard 20g friction back onto an 18g post will stretch the back and eventually cause you to lose the earring.
Long-Term Storage and Maintenance Framework
Preventing tarnish and stone degradation is vastly superior to reactive cleaning. Implementing a proper storage framework will extend the life of your silver lapis lazuli earrings by decades.
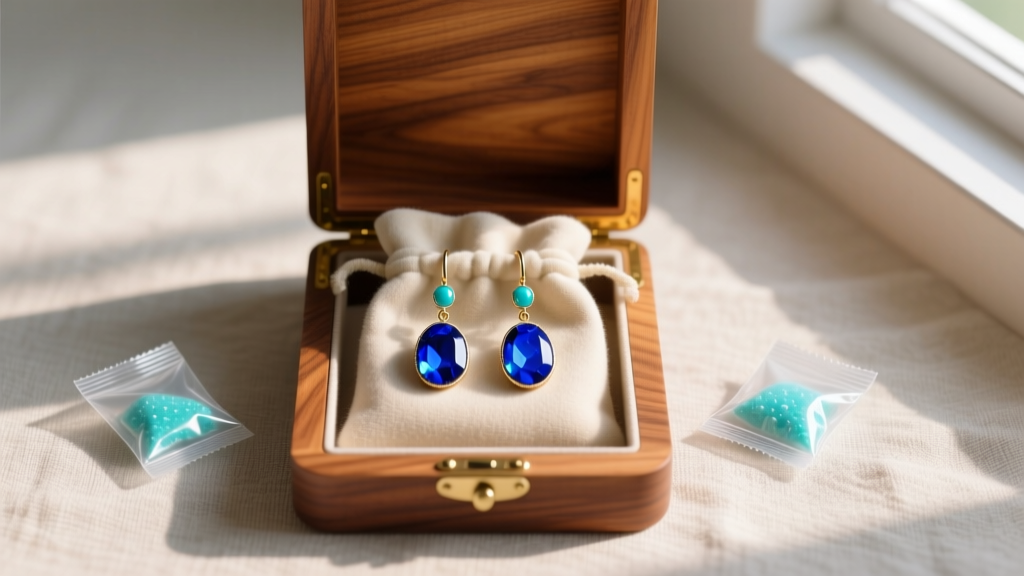
- Anti-Tarnish Environments: Store your earrings in individual Pacific Silvercloth or treated flannel pouches. These fabrics are embedded with microscopic silver particles that absorb sulfur from the air before it can reach your 925 sterling silver posts and settings.
- Moisture Control: Lapis lazuli is sensitive to extreme humidity fluctuations, which can cause the stone to expand and contract microscopically, loosening the setting. Keep a few silica gel packets in your jewelry box to maintain a stable, dry environment.
- Chemical Isolation: Always put your silver lapis lazuli earrings on after applying hairspray, perfume, and lotions. The alcohol and aerosolized chemicals in these products will instantly strip the natural polish from the lapis and accelerate silver tarnishing.
By respecting the unique geological properties of lapis lazuli and the metallurgical realities of sterling silver, you can keep your earrings looking as vibrant and striking as the day they were crafted. Consistent, gentle, and targeted maintenance is the true secret to preserving these timeless pieces.