How to Clean and Restore Silver Rose Earrings at Home
Learn how to safely clean, polish, and restore tarnished sterling silver rose earrings with this step-by-step guide, preserving delicate petal details.

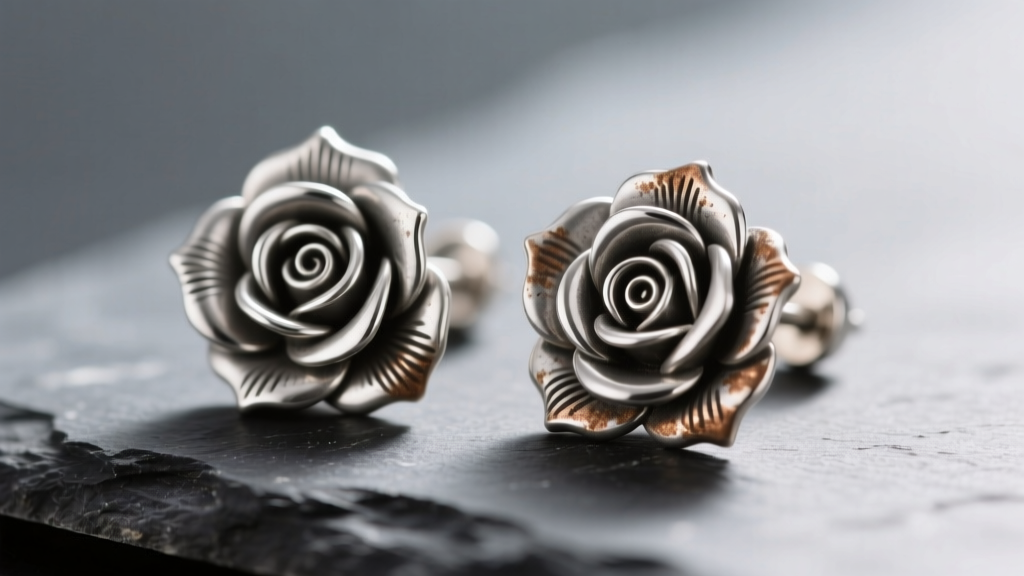
The Chemistry of Tarnish on Sterling Silver Rose Designs
Silver rose earrings are a timeless staple in any jewelry collection, but their intricate, overlapping petal designs make them uniquely susceptible to tarnish. Pure silver is relatively inert, but sterling silver (an alloy containing 92.5% silver and 7.5% copper) reacts with hydrogen sulfide in the atmosphere to form silver sulfide, the dark gray or black film we recognize as tarnish. According to the Canadian Conservation Institute, high humidity and airborne pollutants accelerate this chemical reaction.
The structural complexity of a rose motif creates micro-crevices that trap dead skin cells, cosmetic residues, and ambient moisture. This localized humidity acts as a catalyst, causing the deep recesses between the silver petals to oxidize much faster than the flat surfaces. Restoring these earrings requires a methodical approach that removes the silver sulfide without eroding the delicate metalwork or compromising the structural integrity of the earring post.
Tools and Materials You Will Need
Before beginning the restoration process, gather the following specialized tools. Avoid abrasive household cleaners, which can permanently scratch sterling silver (which sits at a mere 2.5 to 3 on the Mohs hardness scale).
- Phosphate-free mild dish soap: Phosphates can leave a dulling film on porous oxidized details.
- Soft-bristled baby toothbrush: Standard toothbrush bristles are often too stiff and can micro-scratch high-polish silver petals.
- Wooden toothpicks: For dislodging debris from deep petal crevices without risking metal-on-metal scratching.
- 100% cotton microfiber cloth: For initial drying and buffing.
- Treated silver polishing cloth: Impregnated with jeweler's rouge and mild anti-tarnish agents.
- Magnifying loupe (10x): Essential for inspecting the solder joints and earring post gauge.
Step-by-Step Guide to Cleaning Silver Rose Earrings
Step 1: The Initial Inspection and Gauge Check
Never submerge or aggressively polish jewelry without first inspecting its structural integrity. Use your magnifying loupe to examine the base of the rose where it meets the earring post. Standard lobe earrings typically feature a 20-gauge (0.81mm) or 18-gauge (1.02mm) post. Look closely at the solder pad connecting the post to the rose backing. If you notice any hairline fractures, discoloration in the solder, or if the post wiggles even slightly, stop immediately. Polishing a compromised joint will generate enough friction and torque to snap the post entirely. If the joint is secure, verify the '925' hallmark, usually stamped on the flat back of the rose or the butterfly friction back, to confirm you are working with genuine sterling silver and not silver-plated brass, which requires entirely different care.
Step 2: The Gentle Wash
Fill a small glass bowl with lukewarm water and add two drops of phosphate-free dish soap. Submerge the silver rose earrings for exactly three to five minutes. This brief soak softens trapped sebum and cosmetic buildup within the petal layers without giving the water enough time to promote further oxidation. Remove the earrings and gently brush the surface with the baby toothbrush using light, circular motions. Always brush outward from the center of the rose toward the edges of the petals to push debris out of the crevices rather than packing it deeper into the recesses.
Step 3: Detailing the Rose Petals
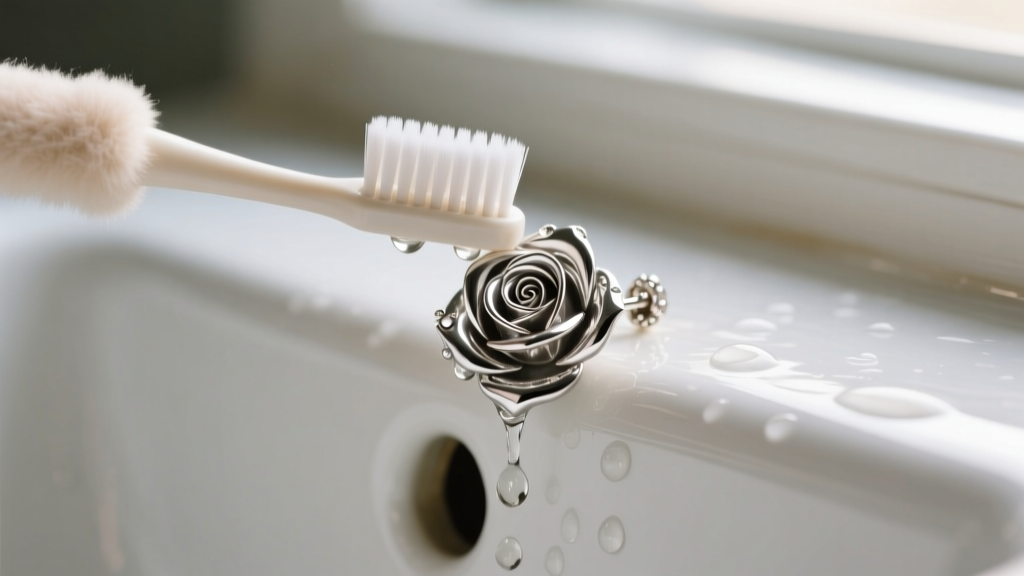 Rinse the earrings under a gentle stream of lukewarm water. Take a wooden toothpick and carefully trace the deepest grooves between the overlapping silver petals. The wood is hard enough to dislodge compacted tarnish and dirt but soft enough that it will not gouge the 925 sterling silver. Once the crevices are clear, pat the earrings completely dry with your cotton microfiber cloth. Ensure absolutely no moisture remains trapped in the center of the rose bud, as residual water will cause immediate flash-tarnishing.
Step 4: Polishing and Buffing
Wrap the treated silver polishing cloth around your index finger and gently buff the raised, high-polish areas of the rose petals. Use a pinching motion to slide the cloth between the outer petals. Avoid pressing too hard into the deep, intentionally darkened recesses if your earrings feature an oxidized (antiqued) finish, as the polishing cloth will strip the black patina that gives the rose its three-dimensional depth.
Special Considerations: Enamel, Oxidized, and Gemstone Accents
Many modern silver rose earrings incorporate secondary materials to enhance the design. The cleaning protocol must be adjusted based on these accents to prevent catastrophic damage.
| Accent Type | Cleaning Protocol | What to Avoid |
|---|---|---|
| Black Enamel | Wipe gently with a damp microfiber cloth; dry immediately. | Ultrasonic cleaners, silver dip, and polishing cloths (which will strip the enamel finish). |
| Oxidized Recesses | Polish only the raised high-points; use a dry cotton swab for crevices. | Aluminum foil/baking soda baths and liquid silver dips (thiourea-based), which strip intentional patina. |
| Cubic Zirconia (CZ) | Safe for ultrasonic cleaning; use a soft brush around the prongs. | Harsh chemicals like bleach, which can cloud the CZ and degrade the silver prong settings. |
| Pearl Center | Wipe pearl with a damp cloth only; clean silver post separately. | Submerging in water or soap, which degrades the pearl's nacre and dissolves the adhesive. |
Expert Warning: Never use liquid 'silver dip' solutions on intricate rose designs. These solutions rely on thiourea, a harsh chemical that strips tarnish instantly but leaves a porous, microscopic surface on the silver that actually accelerates future tarnishing and leaves a difficult-to-remove white residue in deep petal grooves.
Proper Storage to Prevent Future Tarnish
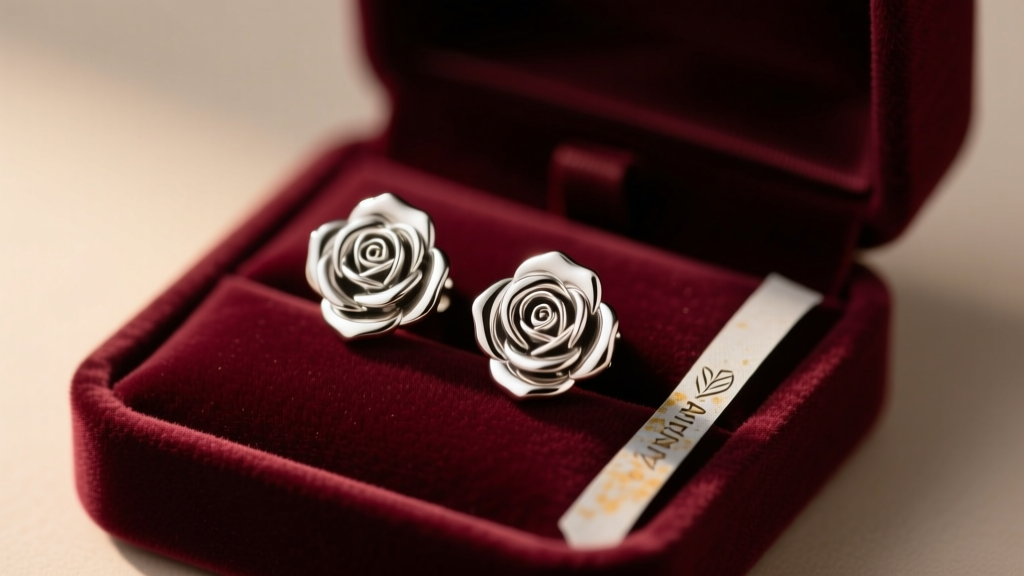 The way you store your silver rose earrings dictates how quickly you will need to repeat this cleaning process. According to the Assay Office London, maintaining a stable environment is key to preserving hallmark-quality silver. Store your earrings in an airtight polyethylene ziplock bag, squeezing out as much air as possible before sealing. Place a 3M anti-tarnish strip inside the bag; these strips absorb airborne sulfur compounds before they can react with the copper in the sterling alloy. Keep the storage bag in a cool, dark drawer, avoiding bathrooms where extreme humidity fluctuations from showers will rapidly degrade the silver.
Frequently Asked Questions
Can I use the aluminum foil and baking soda hack?
While the galvanic reaction between aluminum foil, baking soda, and hot water effectively removes silver sulfide, it is not recommended for rose earrings. The reaction can be too aggressive for delicate solder joints and will completely strip away any intentional oxidized detailing that gives the rose petals their shadowed, 3D appearance.
How do I fix a loose butterfly back on my silver rose earring?
If the friction back (butterfly clutch) slides off the 20G post too easily, do not use pliers to squeeze the metal loops, as this can snap the tension mechanism. Instead, use a specialized earring tightening tool or gently push the inner loops slightly closer together using two wooden toothpicks to increase the friction grip on the post groove.


