How to Clean, Style, and Care for Sand Dollar Earrings
Learn how to clean, style, and repair sand dollar earrings. Discover expert care tips for real shell and metal casts, plus sizing guides.

The Anatomy of Sand Dollar Earrings: Natural vs. Cast
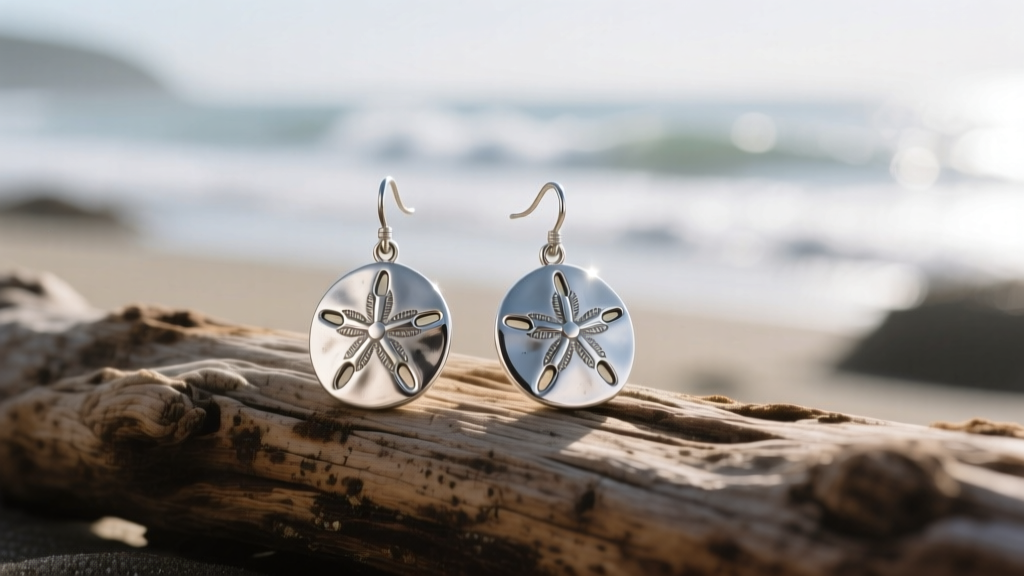
Sand dollar earrings have transcended seasonal summer trends to become a staple of the enduring "coastal grandmother" and nautical aesthetics dominating 2026 jewelry fashion. However, caring for these oceanic motifs requires a deep understanding of their material composition. Sand dollar earrings generally fall into two categories: natural organic shells and metal casts. Natural sand dollars are composed primarily of calcium carbonate, ranking a mere 3 to 3.5 on the Mohs hardness scale. This makes them incredibly porous and susceptible to chemical erosion. Conversely, metal casts—typically crafted from 925 sterling silver, 14k gold vermeil, or solid brass—offer durability but require specific polishing techniques to maintain their intricate textured details without wearing down the cast ridges.
According to the Gemological Institute of America (GIA), organic gems like shell, coral, and pearl require drastically different care routines than crystalline gemstones. Treating a natural shell earring like a diamond or quartz piece will result in irreversible damage. Below is your comprehensive, step-by-step guide to maintaining, sizing, and styling sand dollar earrings.
Step-by-Step Guide: Cleaning Your Sand Dollar Earrings
Method 1: Restoring Natural Calcium Carbonate Shells
Never use ultrasonic cleaners, steamers, or commercial silver dips on natural shell earrings. The high-frequency vibrations will shatter the fragile calcium carbonate structure, and acidic solutions will literally dissolve the shell. Follow this gentle restoration process:
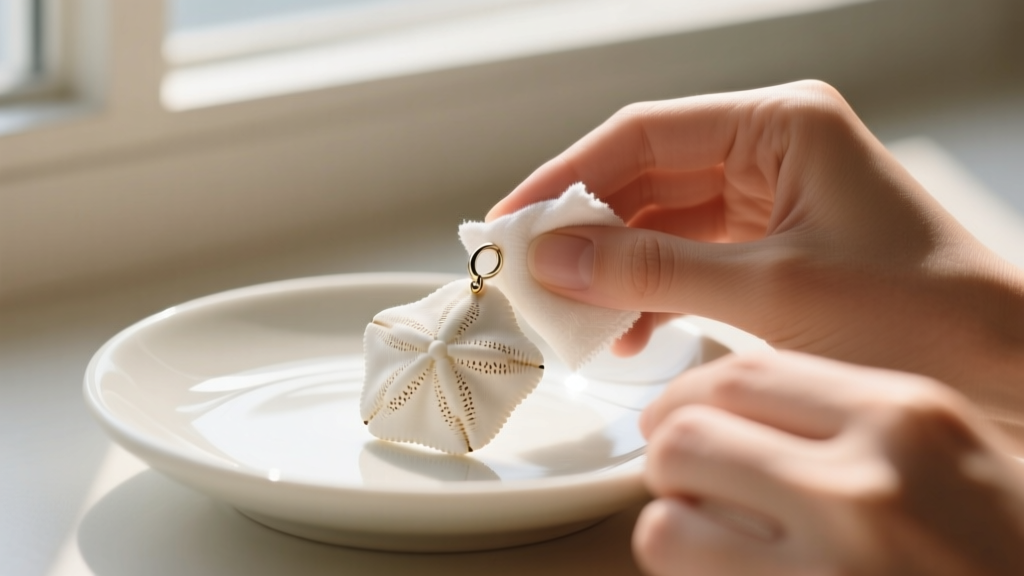
- Step 1: Mix a solution of lukewarm distilled water and two drops of pH-neutral baby shampoo in a small glass bowl. Avoid tap water, as chlorine and heavy minerals can stain the porous shell.
- Step 2: Dip a ultra-soft microfiber cloth or a clean, soft-bristled makeup brush into the solution. Gently wipe the surface of the sand dollar, paying special attention to the five-petal star pattern on the dorsal side where dirt accumulates.
- Step 3: Rinse the cloth with pure distilled water and wipe away any soap residue.
- Step 4: Pat dry immediately with a lint-free towel. Allow the earrings to air dry completely in a well-ventilated area away from direct sunlight, which can cause the organic material to become brittle over time.
Method 2: Polishing Metal Casts (Sterling Silver & Vermeil)
For 925 sterling silver or gold vermeil sand dollar earrings, the goal is to remove tarnish without eroding the microscopic cast details that mimic the shell's texture.
- Step 1: Use a specialized jewelry polishing cloth infused with micro-abrasives (such as a Sunshine cloth). Gently buff the high points of the sand dollar design.
- Step 2: For deep tarnish in the crevices, create a paste using baking soda and a few drops of water. Apply it with a cotton swab, let it sit for exactly two minutes, and rinse thoroughly. Do not use this method on gold vermeil, as baking soda can strip the thin gold plating.
- Step 3: For vermeil pieces, stick to a mild dish soap bath and a soft baby toothbrush to lift oils and lotions from the textured grooves.
Sizing, Gauges, and Avoiding the "Cheese-Cutter" Effect
One of the most common mistakes when wearing statement sand dollar dangles is ignoring the relationship between jewelry weight and piercing gauge. Heavy metal sand dollars can cause the "cheese-cutter effect," where a thin wire slowly migrates through the earlobe tissue due to gravity and motion. The Association of Professional Piercers (APP) strongly recommends sizing up your jewelry wire for heavier statement pieces to distribute the weight safely.
| Earring Style | Average Weight | Recommended Wire Gauge | Best Backing Type |
|---|---|---|---|
| Small Natural Shell Studs | 0.5g - 1.5g | 20G or 18G (Standard) | Friction push-backs or silicone o-rings |
| Medium Metal Cast Hoops | 2.5g - 4.0g | 18G or 16G | Hinged snap closures or clickers |
| Large Statement Dangles | 5.0g - 9.0g+ | 16G or 14G (Heavy Duty) | La pousette (locking) backs or ear wires with silicone stoppers |
Pro Tip: If you already own a pair of heavy 20G sand dollar dangles that are stretching your lobes, you can purchase 16G to 20G wire adapters or "earring support patches" (small, transparent silicone discs that sit behind the lobe) to distribute the weight across a wider surface area.
How to Style Sand Dollar Earrings by Face Shape
Sand dollar earrings come in various silhouettes, from perfectly round studs to elongated drop designs. Matching the silhouette to your face shape ensures a balanced, harmonious look.
- Round Faces: Avoid perfectly round, wide sand dollar studs, as they will emphasize facial width. Instead, opt for elongated sand dollar drop earrings or dangles that hang below the jawline. The vertical lines will visually lengthen your face.
- Square Faces: Soften strong jawlines with medium-sized sand dollar hoop earrings or curved huggies featuring a small sand dollar charm. The circular geometry contrasts beautifully with angular features.
- Oval Faces: You have the versatility to pull off any style. Oversized, intricate filigree sand dollar ear cuffs or bold, solid brass statement studs will look exceptionally balanced.
- Heart-Shaped Faces: Choose teardrop-shaped earrings that incorporate a sand dollar motif at the bottom. This draws the eye downward and adds visual weight to the narrower chin area.

Troubleshooting Common Issues: Cracks, Tarnish, and Loose Inlays
Repairing a Cracked Natural Shell
If your natural sand dollar earring suffers a hairline fracture, do not use standard super glue (cyanoacrylate), which can cloud the shell and leave a white, chalky residue. Instead, use a UV-curing jewelry resin. Apply a microscopic drop of the resin into the crack using a toothpick, press the edges together, and cure it under a UV lamp for 60 seconds. This creates a flexible, invisible bond that moves slightly with the organic material.
Fixing Loose Shell Inlays
Many metal sand dollar earrings feature small pieces of mother-of-pearl or natural shell glued into the metal framework. If an inlay pops out, clean both the metal recess and the shell piece with a cotton swab dipped in isopropyl alcohol to remove old adhesive and skin oils. Apply a tiny dot of two-part clear epoxy (which offers superior shear strength compared to craft glues), seat the inlay, and secure it with painter's tape for 24 hours while the epoxy cures.
Managing Vermeil Wear
Gold vermeil sand dollar earrings (which must have a minimum of 2.5 microns of gold over sterling silver) will eventually wear down on the high-friction ridges. To prolong the life of your vermeil, never wear them in saltwater or chlorinated pools. The salt and chemicals will accelerate the galvanic corrosion of the gold layer. When the silver begins to show through, you can send the pieces to a professional jeweler for electroplating, typically costing between $35 and $60 depending on the complexity of the cast.
Final Care and Storage Protocols
Proper storage is just as critical as cleaning. Because natural shells are porous, they can absorb ambient humidity and odors. Store your sand dollar earrings in a lined jewelry box with a small silica gel packet to control moisture. Keep them in individual soft flannel pouches to prevent harder gemstones or metal pieces from scratching the delicate calcium carbonate surface. By following these meticulous care and styling protocols, your sand dollar earrings will remain a pristine, oceanic staple in your collection for years to come.


