Crafting Earrings: Wire Wrapped Techniques and Gauge Guide
Master handmade jewelry with our beginner guide to wire wrapped earrings, covering wire gauges, metal grades, and essential wrapping techniques.

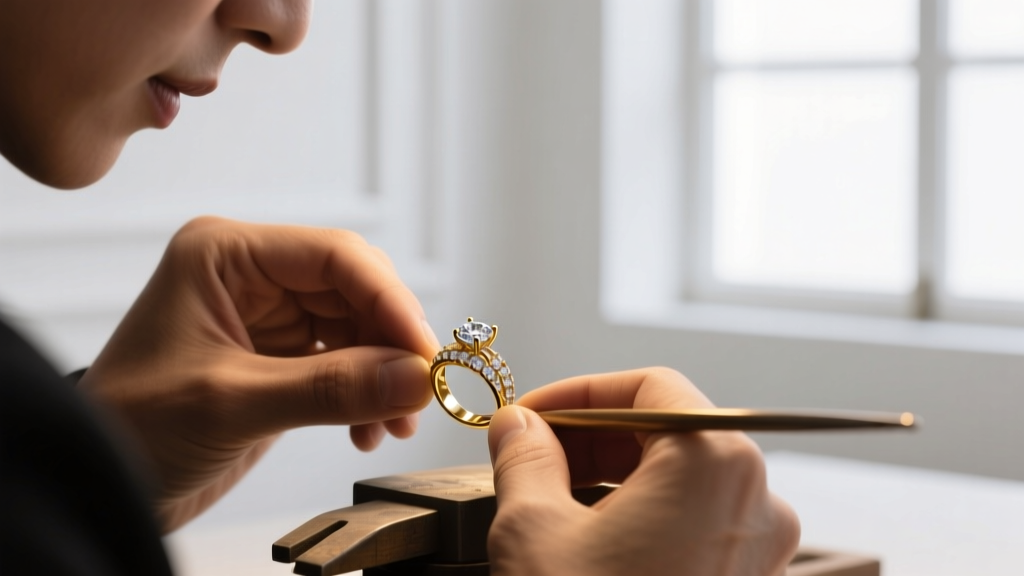
As we move through 2026, the demand for hyper-customized, artisan-crafted jewelry continues to surge, with a massive spotlight on bespoke ear styling. For collectors and hobbyists seeking earrings wire wrapped by hand, understanding the underlying mechanics of the craft is essential. Wire wrapping is one of the oldest jewelry-making techniques, relying entirely on mechanical bonds—tension, friction, and structural geometry—rather than heat or solder. Whether you are looking to buy high-end artisan pieces or start crafting your own ear cuffs, dangles, and hoops, this beginner-friendly explainer will decode the metallurgy, gauges, and techniques that define premium wire-wrapped earrings.
The Mechanics of Wire Wrapping
Unlike cast or soldered jewelry, wire-wrapped earrings are constructed by bending and looping metal wire to create frames, settings, and ear wires. The structural integrity of the piece relies on work-hardening. When you bend a piece of dead-soft wire, you are physically altering its crystalline lattice structure, making it stiffer and more brittle the more you manipulate it. Mastering this balance—knowing exactly when the wire is pliable enough to wrap, but rigid enough to hold a gemstone securely—is the hallmark of a skilled wire artist.
Decoding Wire Gauges and Hardness
The foundation of any wire-wrapped earring is selecting the correct thickness (gauge) and temper (hardness). In the American Wire Gauge (AWG) system, the higher the number, the thinner the wire. According to technical specifications from Rio Grande, a premier jewelry supplier, choosing the wrong gauge is the most common beginner mistake, leading to either flimsy ear wires or impossibly stiff wraps.
| Gauge (AWG) | Thickness (mm) | Best Application in Earrings |
|---|---|---|
| 26G | 0.40mm | Micro-weaving, delicate chainmaille, securing tiny seed beads |
| 24G | 0.51mm | Briolette wraps, bead weaving, binding structural frames |
| 22G | 0.64mm | Standard wire wrapping, linking components, small ear wires |
| 20G | 0.81mm | French ear wires, jump rings, structural frames, headpins |
| 18G | 1.02mm | Heavy ear cuffs, thick structural hoops, custom clasps |
Understanding Wire Temper
- Dead Soft: Annealed to be as pliable as possible. Ideal for tight, intricate weaves and wrapping around gemstones. It will work-harden as you manipulate it.
- Half-Hard: Has been drawn through a die, giving it a springy memory. This is the only temper you should use for making French ear wires, as it allows the wire to snap back into shape after being pulled through the earlobe.
- Full-Hard: Extremely stiff and brittle. Rarely used in wire wrapping except for heavy-duty clasps or prongs that require zero flexibility.
Selecting Metals for Sensitive Earlobes
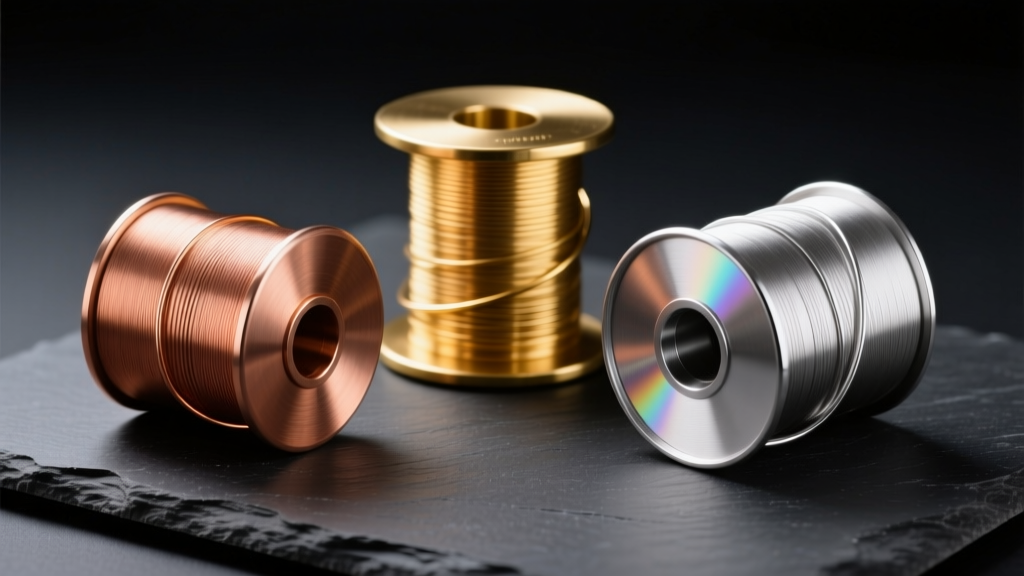 The metal you choose dictates both the longevity of the earrings and their biocompatibility. Cartilage piercings and fresh lobe piercings are highly reactive to alloy impurities, particularly nickel and brass.
Top Metal Choices for 2026
- Copper: The ultimate practice metal. It is inexpensive, highly malleable, and oxidizes beautifully for patina work. However, it is not recommended for fresh piercings due to potential skin discoloration and reactivity.
- Argentium Silver: A modern marvel in jewelry making. By replacing some of the copper in traditional sterling silver with germanium, Argentium is highly tarnish-resistant and hypoallergenic. It fuses to itself without solder, making it a favorite for advanced wire weavers.
- Niobium: A reactive metal that is 100% hypoallergenic. It cannot be cast or soldered, making it a perfect candidate for wire wrapping. Jewelers anodize niobium using electrical voltage to create vivid, permanent colors without using dyes or plating.
- 14/20 Gold-Filled: Consists of a brass core mechanically bonded to a thick outer layer of 14k gold. It contains 100 times more gold than gold-plated wire, ensuring it will not flake or wear off with daily earring friction.
The Essential Tool Kit
You do not need a massive studio to start crafting wire-wrapped dangles or huggies. According to tutorials on Fire Mountain Gems, a high-quality, minimalist tool kit will yield better results than a cheap, oversized set that mars your metal.
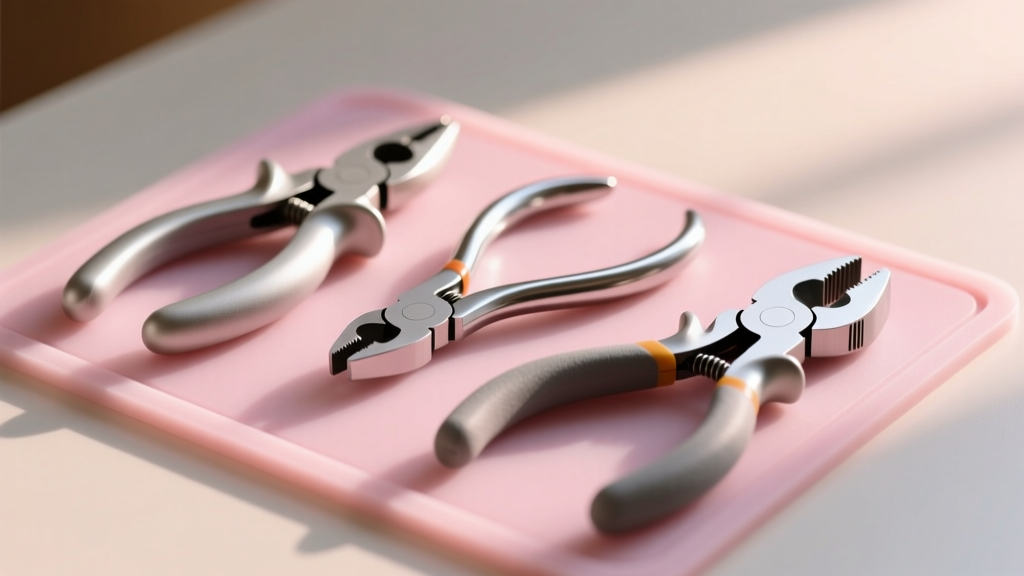
- Flush Cutters: Look for brands like Lindstrom or Tronex. You want a cutter that leaves one side of the wire completely flat (flush) and the other side slightly pointed (pinch). The flush side should always face your finished work to avoid sharp pokers.
- Chain-Nose Pliers: Flat on the inside, tapered at the tip. Used for gripping wire, closing jump rings, and tucking in sharp wire ends. Ensure they have no teeth, as teeth will permanently scar soft metals.
- Round-Nose Pliers: Conical jaws used exclusively for forming perfect loops, ear wire curves, and rosettes.
- Nylon Jaw Pliers: The secret weapon for wire straightening. Pulling dead-soft wire through nylon jaws removes kinks and work-hardens the wire just enough to make it manageable without scratching gold-filled or fine silver finishes.
Step-by-Step: The Classic Briolette Wrap
The briolette wrap is the foundational technique for creating teardrop-shaped dangle earrings. It allows a top-drilled gemstone to hang freely and catch the light.
- Thread the Bead: Cut a 4-inch piece of 24G dead-soft wire. Thread it through the top-drilled hole of your briolette gemstone, leaving a 1/2-inch tail on one side and a long working wire on the other.
- Form the Apex: Bend both wire ends straight up so they meet above the bead. Pinch them together just above the stone using your chain-nose pliers.
- The Bind: Take the long working wire and wrap it tightly around the short tail wire, moving upward. Three to four tight, adjacent coils are usually sufficient to secure the stone.
- Create the Loop: Use your round-nose pliers to bend the remaining tail wire into a perfect circular loop above the coils. This loop will eventually attach to your ear wire.
- Tuck the Tail: Snip the excess wire with your flush cutters, leaving a tiny 1mm tail. Use the tips of your chain-nose pliers to firmly press (tuck) this tail flat against the coil so it will not snag on hair or clothing.
Artisan Pricing vs. DIY Costs
Understanding the economics of wire-wrapped earrings helps both buyers and makers appreciate the craft. Mass-produced, cast-metal earrings with glued-in stones dominate the fast-fashion market, often retailing for $15 to $30. However, true artisan wire-wrapped earrings command a premium due to the intensive labor and high-grade materials involved.
Market Insight: A pair of hand-woven 14k gold-filled ear cuffs featuring genuine, untreated gemstones typically ranges from $85 to $160 in the artisan market. The value lies not just in the raw metal weight, but in the hours of precise, solder-free structural engineering required to secure the stones without drilling or gluing.
For the DIY enthusiast, a single spool of 20G and 24G gold-filled wire (approx. $45 total) can yield dozens of custom ear wires and settings, making it a highly cost-effective hobby once the initial learning curve of work-hardening is mastered.
Final Thoughts on Ear Styling
Wire wrapping bridges the gap between raw metallurgy and wearable art. By respecting the temper of your metals, utilizing the correct gauges for structural integrity, and mastering foundational wraps, you can create bespoke earrings that are perfectly tailored to your unique ear anatomy and style preferences. Whether you are wrapping a simple copper hoop or weaving an intricate Argentium silver ear cuff, the mechanical beauty of wire-wrapped jewelry remains timeless.


