How to Use Compression Earrings for Keloid Scar Treatment
Learn how compression earrings for keloid scar treatment work. Discover materials, wear times, and expert tips to flatten earlobe scars safely.

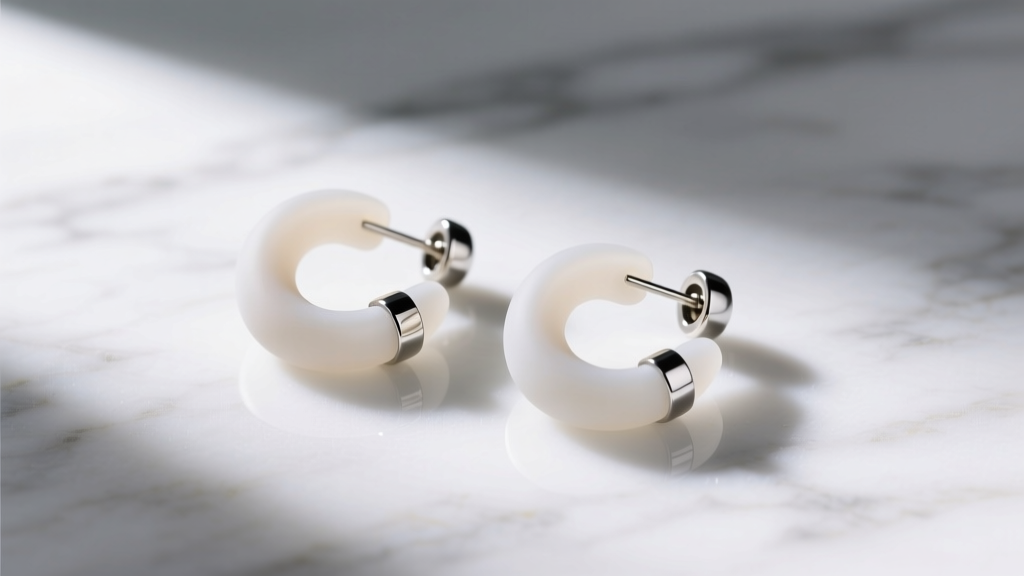
Understanding Keloids and the Science of Pressure Therapy
If you have ever developed a raised, firm, and often itchy bump after an ear piercing, you are likely dealing with a keloid. Unlike standard hypertrophic scars that stay within the boundaries of the original wound, keloids are the result of an aggressive overproduction of collagen (specifically types I and III) driven by an overexpression of TGF-beta growth factors. They extend beyond the initial piercing site and rarely resolve without intervention. For earlobe and cartilage keloids, surgical excision alone has a recurrence rate of up to 80%. This is where compression earrings for keloid scar management become a critical, non-invasive cornerstone of dermatological treatment.
Compression therapy works through a mechanism known as localized tissue hypoxia. By applying continuous, calibrated pressure to the scar tissue, the micro-capillaries feeding the keloid are temporarily occluded. This reduces the oxygen and nutrient supply to the hyperactive fibroblasts, triggering apoptosis (programmed cell death) and decreasing collagen synthesis. According to the American Academy of Dermatology, consistent pressure therapy can significantly flatten, soften, and reduce the hyperpigmentation of keloid scars over time, making it a first-line defense for minor to moderate earlobe keloids.
Types of Compression Earrings for Keloid Scar Management
Not all pressure earrings are created equal. The market offers three primary designs, each suited for different scar locations, lobe thicknesses, and patient lifestyles. Choosing the right mechanism is vital for maintaining the therapeutic pressure window without causing tissue necrosis.
1. Magnetic Compression Discs
Magnetic earrings utilize two high-strength neodymium magnets (typically N42 to N52 grade) encased in biocompatible housing. They are exceptionally popular for beginners because they are easy to apply and remove. The magnetic pull provides a constant, uniform pressure across the scar bed. However, they are best suited for thinner earlobes; if the lobe is too thick, the magnetic pull weakens, dropping the pressure below the therapeutic threshold.
2. Screw-Back Silicone Studs
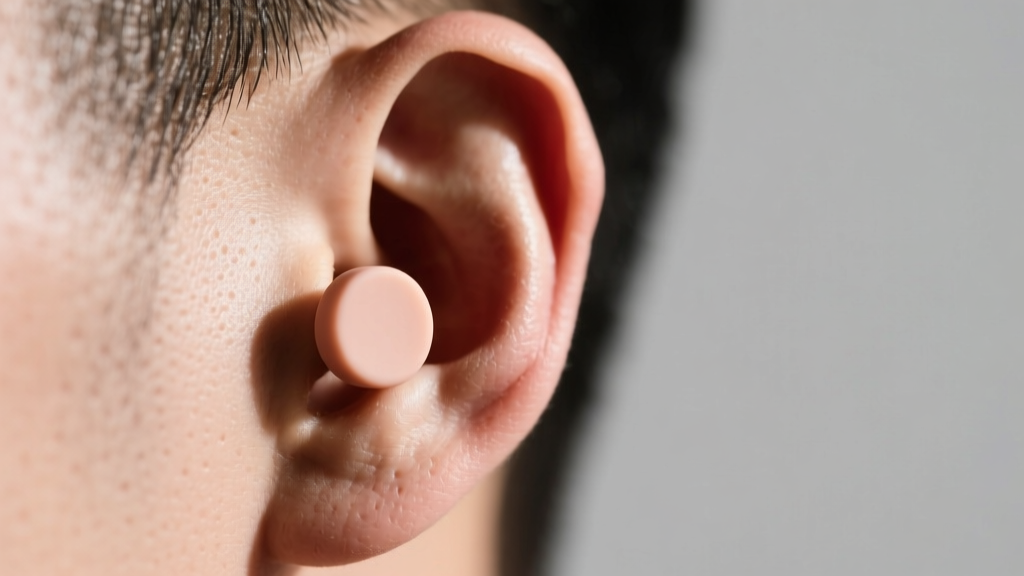
For thicker earlobes or more stubborn, fibrous keloids, screw-back compression studs are the gold standard. These feature a front-facing silicone pad and a threaded post that screws into a backing plate. This allows the wearer to manually adjust the compression level. By tightening or loosening the back, you can precisely dial in the pressure, accommodating swelling and varying lobe thicknesses.
3. Pressure Clip-Ons for Cartilage
Keloids on the ear cartilage (such as the helix or tragus) require a different approach since you cannot pass a post or magnet through solid cartilage. Specialized pressure clip-ons use a C-clamp or spring-loaded mechanism padded with medical-grade silicone to hug the cartilage ridge. These are notoriously difficult to wear for 24 hours due to the pain of clamping on rigid cartilage, so they are often used in shorter, more frequent intervals under medical supervision.
Material Grades and Sizing: What to Look For
When treating a compromised skin barrier, material biocompatibility is non-negotiable. The wrong materials can trigger contact dermatitis, which will exacerbate inflammation and stimulate further keloid growth. Below is a breakdown of the exact specifications you should demand when purchasing compression jewelry.
| Feature | Ideal Specification | Materials to Avoid |
|---|---|---|
| Post / Core Metal | Implant-Grade Titanium (ASTM F136) | Surgical Steel, Nickel, Brass |
| Compression Pad | Medical-Grade Silicone (Shore A 30-40) | PVC, Latex, Hard Plastics |
| Magnet Coating | Parylene C or Medical Epoxy | Uncoated Neodymium, Zinc plating |
| Pressure Target | 15 to 25 mmHg | >30 mmHg (Causes necrosis) |
The silicone pads must have a Shore A durometer hardness between 30 and 40. This ensures the pad is firm enough to transmit pressure to the deep collagen layers but soft enough to conform to the uneven surface of the scar without creating localized pressure points that could lead to skin ulceration.
Step-by-Step Wear Protocol for Beginners
Success with compression earrings for keloid scar reduction relies entirely on consistency. The therapeutic window requires sustained pressure. Intermittent wear will yield negligible results. Follow this daily protocol to maximize efficacy and minimize skin breakdown.
- Step 1: Cleanse the Area. Wash the keloid and surrounding skin with a sterile 0.9% sodium chloride (saline) solution. Pat completely dry with a disposable, lint-free gauze pad. Moisture trapped under the compression pad breeds bacteria and causes maceration.
- Step 2: Apply the Earring. Place the front pad directly over the center of the keloid. If using a screw-back, tighten it until you feel firm resistance and slight blanching (whitening) of the surrounding skin. If using magnets, ensure they are perfectly aligned to distribute pressure evenly.
- Step 3: Monitor for Ischemia. Mild blanching is normal and indicates capillary occlusion. However, if the skin turns deep purple, feels cold, or causes sharp, throbbing pain, the pressure is too high. Loosen the backing immediately to prevent tissue necrosis.
- Step 4: Maintain 24-Hour Wear. Compression therapy requires 12 to 24 hours of daily wear for a minimum of 6 to 12 months. Remove the earrings only for showering and cleaning.
- Step 5: Daily Hygiene. Clean the silicone pads daily with mild, fragrance-free antibacterial soap and warm water. Never use rubbing alcohol or hydrogen peroxide, as these will degrade the medical silicone and cause it to crack.
Common Mistakes and Troubleshooting
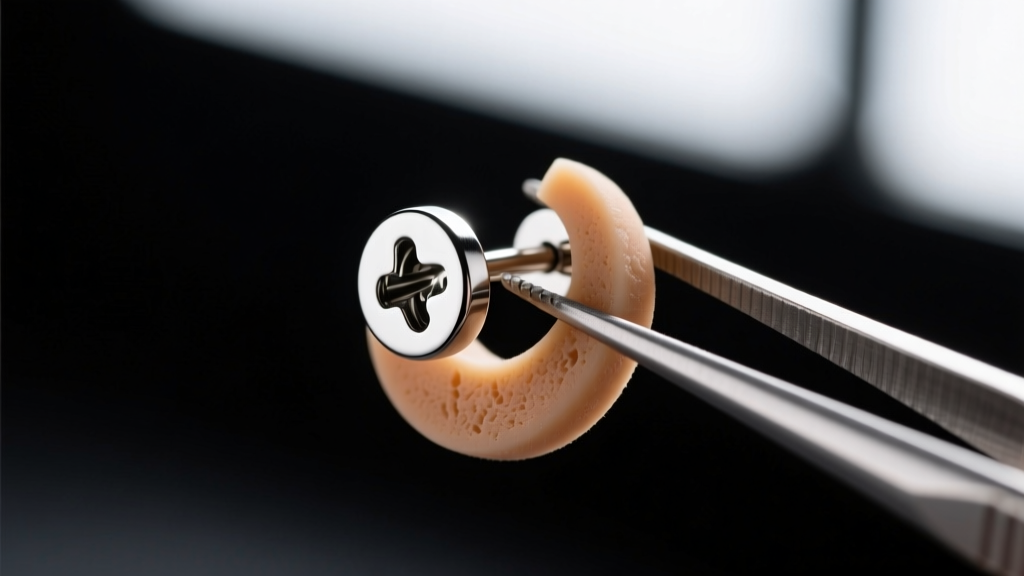
Even with the best intentions, beginners often make critical errors that stall progress or worsen the scar. Avoid these common pitfalls:
Applying Essential Oils Under the Pad
Many people attempt to combine compression with topical treatments like tea tree oil, vitamin E, or silicone gels. While topical silicone gels are clinically proven to help scars, applying them under a compression earring creates a slippery surface that reduces friction, causing the pad to slide off-center. Furthermore, essential oils can chemically degrade the silicone pads and cause severe contact dermatitis on compromised skin.
Ignoring Skin Maceration
If the skin under the earring becomes white, wrinkled, and soggy (maceration), you are trapping too much sweat. Switch to highly breathable, porous silicone pads, or take the earring off for 30 minutes twice a day to let the skin air-dry completely before reapplying.
Expecting Overnight Results
Keloid collagen is incredibly dense. While you may notice a reduction in itching and redness within the first 4 weeks, structural flattening takes months. The American Society for Dermatologic Surgery notes that pressure therapy must be maintained for at least 6 months, and often up to a year, to see permanent remodeling of the scar tissue.
When to Combine Compression with Medical Intervention
Compression earrings for keloid scar treatment are highly effective for small, pliable scars. However, if your keloid is larger than a dime, highly rigid, or continues to grow despite 3 months of consistent compression, it is time to consult a board-certified dermatologist. In clinical settings, compression is frequently paired with intralesional corticosteroid injections (such as Triamcinolone acetonide). The steroid breaks down the dense collagen bonds, while the compression earring prevents the tissue from rebounding and overproducing collagen once the injection wears off. This combination therapy boasts a success rate of over 75% for stubborn earlobe keloids, offering a permanent solution when compression alone falls short.


