The Ultimate Earring Gauge Size Chart for Beginners
Master your piercings with our complete earring gauge size chart. Learn standard mm conversions, cartilage vs lobe sizes, and how to avoid migration.

Understanding the Gauge System: Why Smaller Numbers Mean Thicker Wire
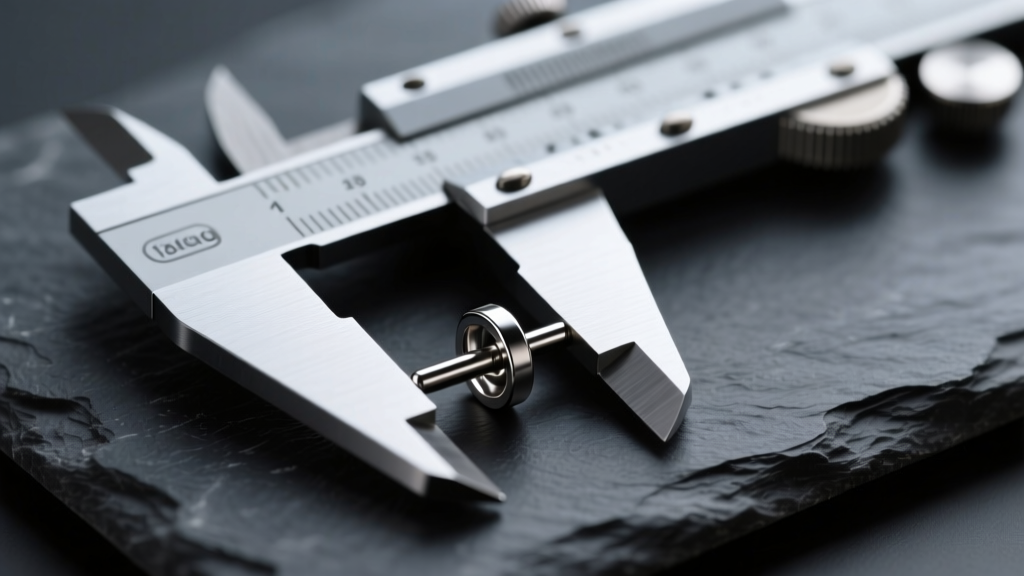
If you are new to buying body jewelry, looking at an earring gauge size chart for the first time can feel like reading a foreign language. The most confusing aspect for beginners is the inverse relationship of the American Wire Gauge (AWG) system. In the gauge system, the higher the number, the thinner the jewelry. Therefore, a 20-gauge earring is significantly thinner than a 14-gauge earring.
This system originated in the wire manufacturing industry, where the gauge number represented the number of times a wire was pulled through a drawing die. The more times the wire was pulled and stretched, the thinner it became, resulting in a higher gauge number. Today, this historical manufacturing quirk dictates the global standard for body jewelry. Understanding this inverse logic is the first step to ensuring your piercings heal correctly, remain comfortable, and avoid long-term tissue damage.
The Essential Earring Gauge Size Chart
Below is the definitive conversion chart you need to reference before purchasing any stud, hoop, or clicker. Millimeters (mm) are the most precise way to measure jewelry, and many high-end brands list both the gauge and the metric equivalent.
| Gauge (AWG) | Millimeters (mm) | Inches | Common Piercing Applications |
|---|---|---|---|
| 22G | 0.64mm | 0.025" | Rare; vintage earrings, some nose screws |
| 20G | 0.81mm | 0.032" | Standard earlobe (piercing gun), nose studs |
| 18G | 1.02mm | 0.040" | Standard earlobe, tragus, some helix |
| 16G | 1.29mm | 0.051" | Standard cartilage, helix, conch, labret |
| 14G | 1.63mm | 0.064" | Industrial, conch, daith, rook, stretched lobes |
| 12G | 2.05mm | 0.081" | Stretched lobes, specific heavy cartilage |
Standard Sizes by Piercing Location
The appropriate gauge for your earring depends entirely on the anatomy of the piercing and the tool used to create it. According to the Association of Professional Piercers (APP), matching the jewelry to the initial piercing needle is critical for proper fistula (the tube of healed tissue) formation.
Earlobe Piercings: The 20G vs. 16G Debate
If your lobes were pierced at a mall kiosk or jewelry store using a piercing gun, your fistula was likely created at 20G or 18G. Piercing guns use high-velocity blunt force and are restricted to thinner jewelry. However, professional piercers strongly advocate against using guns. A professional needle piercing for a standard lobe is typically done at 16G or 14G. The thicker needle creates a cleaner slice, and the thicker jewelry provides structural stability, reducing the risk of the earring tearing through the lobe over time.
Cartilage Piercings: Helix, Tragus, and Conch
Cartilage is a dense, avascular connective tissue that requires stability to heal without irritation bumps. The gold standard for professional cartilage piercings is 16G (1.29mm). For more complex or high-stress areas like the industrial (a bar connecting two helix holes) or the daith, 14G (1.63mm) is heavily preferred. The thicker wire prevents the jewelry from bending and irritating the delicate healing channel.
The "Cheese Cutter Effect" and Sizing Mistakes
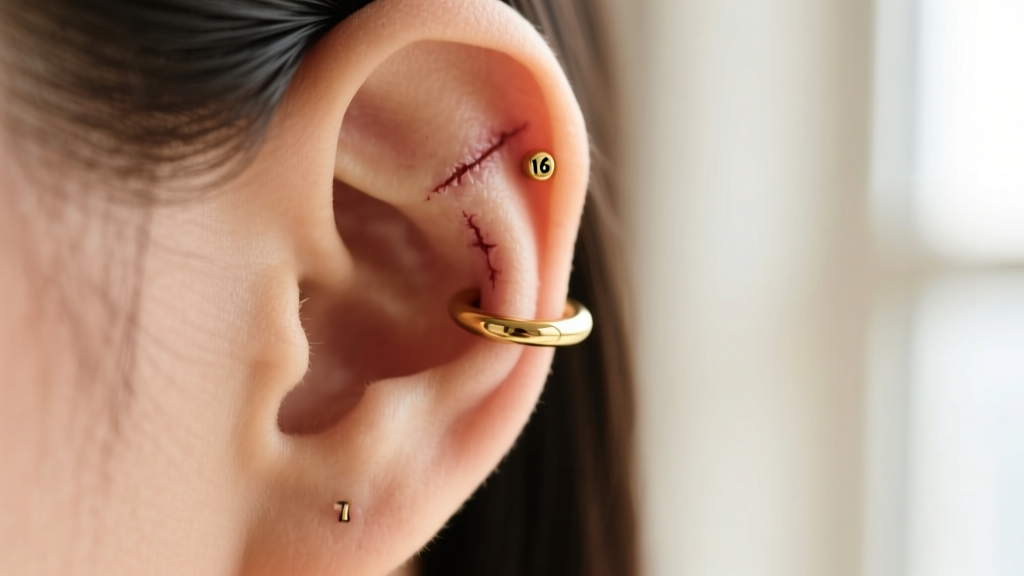
One of the most common mistakes beginners make is buying jewelry based on aesthetics without checking the earring gauge size chart. This often leads to the dreaded "cheese cutter effect."
If you have a 16G cartilage piercing but insert a delicate 20G gold hoop, the thin wire will act exactly like a cheese cutter wire slicing through a block of cheddar. The weight of the jewelry, combined with the thin surface area of the wire, will slowly migrate through your fistula. This causes micro-tearing, chronic inflammation, and eventual rejection, where the body pushes the jewelry entirely out of the skin. Always match your jewelry gauge to your piercing gauge. If you are unsure of your size, consult a professional piercer or use measuring tools.
Conversely, forcing a 14G earring into a 16G piercing will cause immediate trauma, swelling, and potential blowouts (where tissue is pushed out the back of the piercing). Never stretch a piercing without professional guidance and proper tapers.
Material Grades Matter Just as Much as Gauge
While your earring gauge size chart dictates the physical dimensions of the post, the material dictates how your immune system reacts to it. For initial piercings or irritated fistulas, the APP mandates the use of implant-grade titanium, specifically ASTM F-136. This is the exact same grade of titanium used in medical joint replacements. It is entirely nickel-free and biocompatible.
Surgical steel (316L) is often marketed as "hypoallergenic," but it contains up to 10% nickel. Once a piercing is fully healed (which takes 6 to 12 months for cartilage), 316L steel is generally safe for most people. However, if you experience itching, flaking, or persistent swelling, switch immediately to ASTM F-136 titanium or solid 14k/18k nickel-free gold. Brands like Neometal, BVLA, and Maria Tash specialize in these high-grade materials, with basic titanium labret posts typically ranging from $30 to $50, excluding the decorative gemstone ends.
How to Measure Your Existing Jewelry
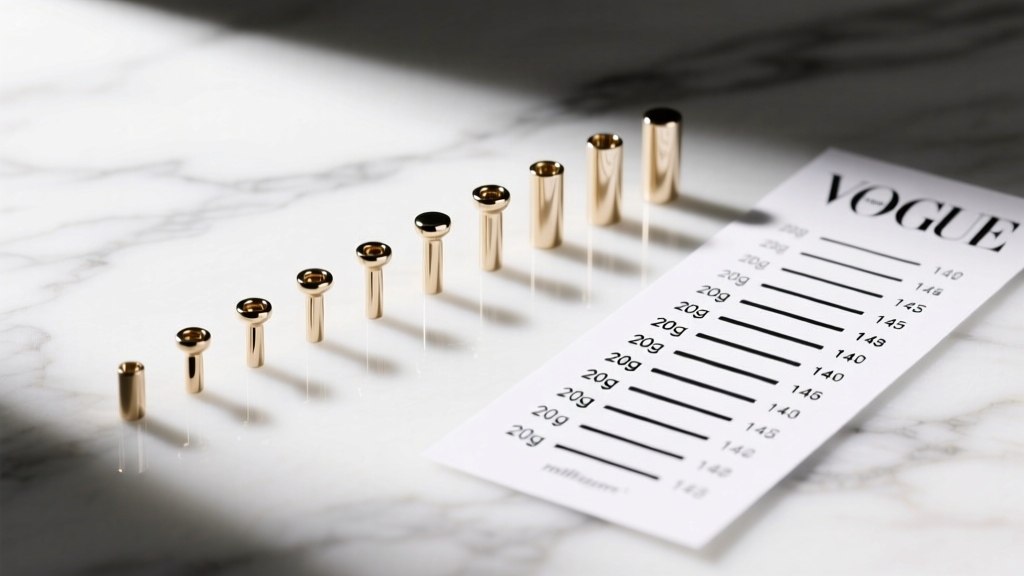
If you have lost your piercing paperwork and need to figure out your gauge, do not guess. Guessing leads to buying expensive jewelry that will not fit. Here is how to measure your current earrings accurately:
- Invest in Digital Calipers: A standard ruler cannot measure fractions of a millimeter accurately. Purchase a basic digital caliper (available for $12 to $20 online). This is an essential tool for any jewelry collector.
- Measure the Post, Not the Decoration: Open the caliper jaws and place them around the straight metal post or the wire of the hoop that actually passes through your skin. Do not measure the decorative gem, the backing, or the hinge.
- Check the Inside Diameter for Hoops: If you are buying a hoop, you also need to know the inner diameter (ID). Measure the distance from the inside edge of the post to the inside edge of the opposite side of the hoop. This ensures the hoop will wrap around your ear's anatomy without squeezing the tissue.
Final Takeaways for Earring Shopping
Navigating the world of body jewelry is incredibly rewarding once you understand the foundational metrics. Keep an earring gauge size chart bookmarked on your phone for quick reference while shopping. Remember that 20G and 18G are generally reserved for standard earlobes and delicate nose piercings, while 16G and 14G are the structural pillars of cartilage and industrial piercings. By respecting the gauge of your fistula and prioritizing implant-grade materials, you ensure your piercings remain healthy, comfortable, and beautifully adorned for a lifetime. For further reading on healing timelines and aftercare, refer to Healthline's Piercing Gauge Guide to supplement your knowledge base.


