How to Convert Clip Earrings to Pierced: A Metallurgical Guide
Learn how to convert clip earrings to pierced safely. Expert guide on metal compatibility, soldering vs. epoxy, and choosing hypoallergenic posts.

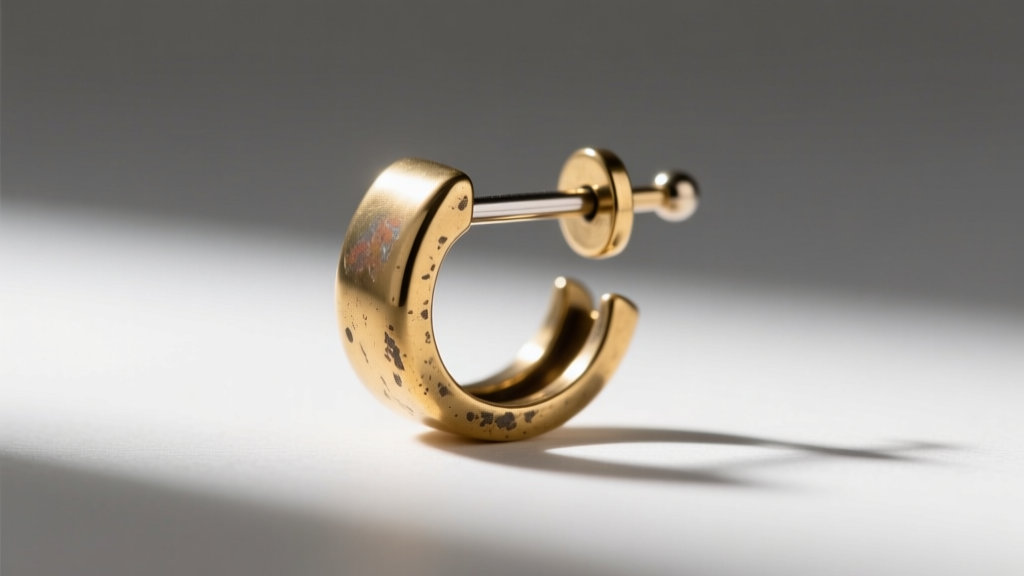
As upcycling and sustainable fashion continue to dominate 2026 jewelry trends, vintage clip-on earrings are experiencing a massive renaissance. However, the screw-back and paddle-clip mechanisms of the mid-20th century are notoriously uncomfortable for modern wearers. If you are wondering how to convert clip earrings to pierced styles without ruining the antique piece, you must look beyond simple DIY hacks and understand the underlying metallurgy of the jewelry. Converting clip-ons is not just about gluing a post; it is an exercise in material science, galvanic compatibility, and structural engineering.
In this comprehensive guide, we will explore the material properties of vintage findings, compare bonding methods, and provide a masterclass in selecting the correct hypoallergenic posts for your newly converted treasures.
The Metallurgy of Vintage Findings: Why Base Metals Matter
Before you pick up a pair of flush cutters to remove the clip mechanism, you must identify the base metal of the earring. The material composition dictates whether you can use traditional heat-based soldering or if you must rely on advanced chemical adhesives.
- Zamak (Pot Metal): Heavily used in 1940s and 1950s costume jewelry, Zamak is a zinc-based alloy. It has a very low melting point (around 385°C). Because standard jewelry solder flows at temperatures exceeding 400°C, applying a torch to Zamak will melt the earring into a puddle. Conversion method: Mechanical bonding or epoxy only.
- Brass and Copper Alloys: Common in mid-century artisan pieces, brass is highly malleable and accepts silver solder beautifully. However, it requires aggressive surface preparation to remove oxidation before a bond can form.
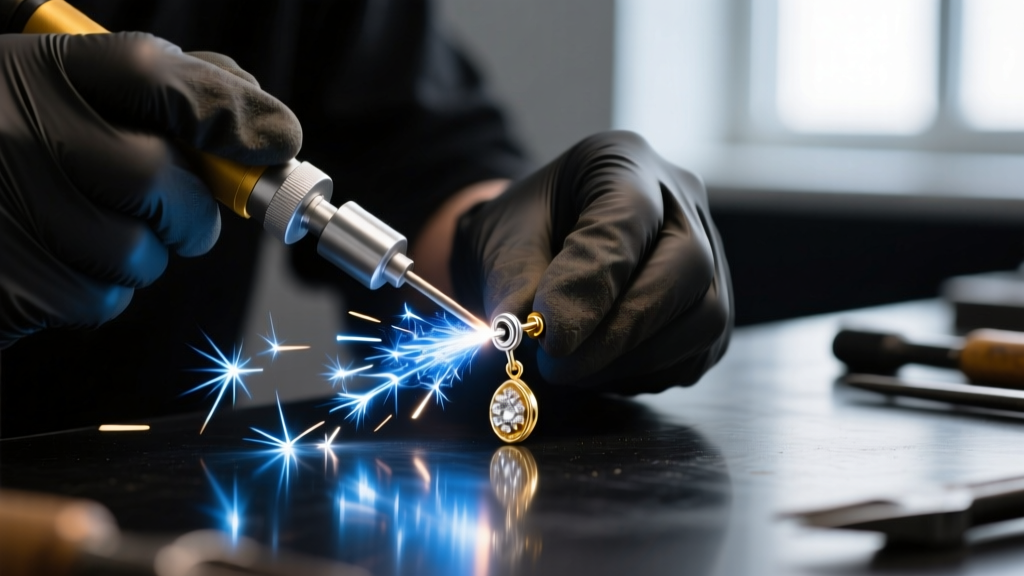
- Sterling Silver and Gold-Filled: High-end vintage clip-ons often feature precious metals. These are ideal candidates for laser welding or traditional torch soldering, allowing for seamless, permanent post attachments.
Understanding these properties prevents catastrophic damage to irreplaceable vintage pieces. For a deeper dive into identifying base metals, the Gemological Institute of America (GIA) offers extensive resources on historical jewelry metallurgy and alloy identification.
Bonding Methods: Soldering vs. Adhesives
Once the base metal is identified, you must select a bonding method. The structural integrity of the earring post relies on its resistance to shear stress—the lateral force applied when taking the earring on and off.
| Bonding Method | Shear Strength | Compatible Metals | Best Use Case |
|---|---|---|---|
| Torch Soldering | Extremely High | Sterling Silver, Brass, Copper, Gold | Lightweight studs, high-heat tolerant bases |
| Laser Welding | Extremely High | All Metals (including Zamak and Titanium) | Heavy dangles, heat-sensitive base metals |
| Two-Part Epoxy | Moderate to High | All Metals, Glass, Resin | Pot metal bases, complex mixed-media pieces |
| Cyanoacrylate (Super Glue) | Low (Brittle) | Non-porous surfaces | Not recommended for jewelry conversion |
While many online tutorials suggest cyanoacrylate (Super Glue), professional jewelers strictly avoid it for post conversions. Cyanoacrylate cures brittle and degrades rapidly when exposed to the natural oils and moisture of the human skin. Instead, a two-part jeweler's epoxy or UV-curing structural resin provides the necessary flexibility and moisture resistance for daily wear.
Step-by-Step: How to Convert Clip Earrings to Pierced
Follow this precise workflow to ensure a clean, durable conversion. This process assumes you are using a two-part epoxy for a Zamak or mixed-metal base, which is the most common scenario for vintage costume jewelry.
Step 1: Mechanism Removal and Surface Prep
Using high-quality flush cutters, snip the hinge and paddle of the clip-on mechanism as close to the base plate as possible. Do not pull or twist the metal, as this can warp the decorative face of the earring. Once removed, use a fine-grit diamond file to flatten any remaining nubs. Next, clean the bonding area with 99% isopropyl alcohol or acetone to remove decades of accumulated skin oils, polish, and dirt. The surface must be clinically clean for the adhesive to penetrate the microscopic pores of the metal.
Step 2: Selecting and Prepping the Post
For standard lobe piercings, a 20-gauge (0.81mm) or 18-gauge (1.02mm) post is required. If your earring is a heavy Art Deco dangle, opt for 18-gauge to prevent the post from bending under the weight. Use a micro-mesh pad to lightly scuff the flat pad of the earring post; this increases the surface area for the epoxy to grip.
Step 3: Application and Curing
Mix a jeweler-grade two-part epoxy (such as Devcon 5-Minute Epoxy). Apply a microscopic drop to the earring base—too much will squeeze out and ruin the antique patina. Press the post pad firmly into the epoxy, ensuring it is perfectly perpendicular to the earring face. Use a silicone mold or a specialized jewelry curing stand to hold the piece at a 90-degree angle while the epoxy cross-links and cures for a full 24 hours.
Choosing the Right Post Material for Sensitive Ears
Vintage earrings were often made with high nickel content, which causes contact dermatitis. When converting the piece, the post itself must act as a biocompatible barrier. According to the Association of Professional Piercers (APP), only specific material grades are safe for prolonged skin contact.
"Implant-grade titanium (ASTM F136) is the gold standard for sensitive piercings. It contains zero nickel, is highly resistant to corrosion, and is significantly lighter than surgical steel, reducing drag on the earlobe."
If you are soldering the post, you cannot use titanium with standard silver solder due to its oxide layer. Instead, you must use 14k or 18k yellow gold posts for torch soldering, or rely on a professional with a laser welder to fuse titanium to the vintage base. For epoxy conversions, you can purchase pre-made 20-gauge titanium posts with 3mm flat pads specifically designed for glue-on applications.
Troubleshooting Common Conversion Failures
Even with careful planning, material science can throw a wrench in your conversion. Here are the most common failure modes and how to engineer around them.
1. Galvanic Corrosion
If you glue a stainless steel post to a copper or brass base, the introduction of sweat (an electrolyte) creates a galvanic cell. This micro-battery effect will rapidly corrode the base metal, turning the earring green and eventually causing the post to detach. Solution: Always use a titanium or high-karat gold post, which are highly noble metals and resist galvanic reactions, or apply a clear nano-ceramic coating to the back of the vintage base before attaching the post.
2. Adhesive Creep on Heavy Dangles
Epoxy can suffer from "creep"—a slow deformation under constant mechanical stress. If you convert a heavy chandelier clip-on, the downward pull of gravity will eventually weaken the glue joint. Solution: For heavy pieces, do not rely solely on a flat glue pad. Drill a microscopic 1mm pilot hole into the base metal and use a post with a wire-tail that inserts into the hole, securing it with epoxy. This creates a mechanical lock that bears the shear weight.
3. Post Shearing
If a post snaps off cleanly at the base, it is usually due to metal fatigue from bending the earring while inserting the friction back. Solution: Upgrade from standard 20-gauge brass posts to 18-gauge stainless steel or titanium, and always support the post with your thumb while pushing the butterfly clutch onto the end.
Final Thoughts on Upcycling Vintage Jewelry
Learning how to convert clip earrings to pierced styles is a deeply rewarding intersection of historical preservation and modern material science. By respecting the melting points of vintage alloys, choosing biocompatible titanium posts, and utilizing structural epoxies over brittle super glues, you can breathe new, wearable life into forgotten jewelry boxes. Whether you are a hobbyist upcycler or a professional bench jeweler, treating these conversions with metallurgical respect ensures your vintage treasures will safely adorn modern ears for decades to come.


