How to Convert Clip On Earrings to Pierced Safely & Easily
Learn how to convert clip on earrings to pierced with our expert guide. Discover the best conversion kits, soldering tips, and material safety.

The Appeal of Upcycling Vintage Jewelry
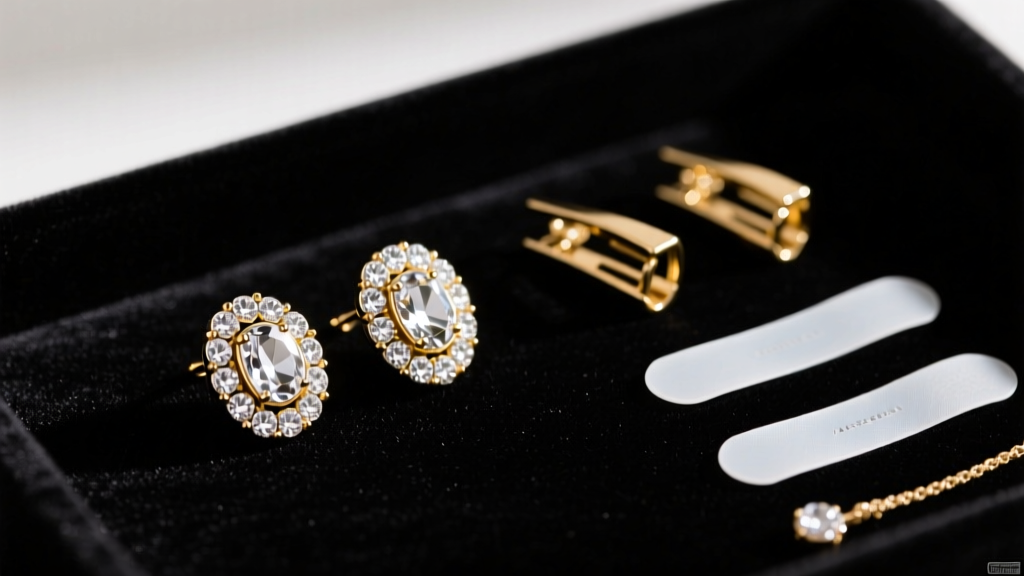
The resurgence of vintage and antique jewelry has brought a fascinating challenge to modern collectors: what to do with decades-old clip-on earrings. From the glamorous rhinestone cascades of the 1950s to the bold, geometric gold designs of the 1980s, clip-ons offer incredible craftsmanship that is rarely seen in today's mass-market accessories. However, the tension-based mechanisms of vintage clip-ons are notoriously uncomfortable, often causing earlobe fatigue within minutes of wear. If you want to convert clip on earrings to pierced styles, you are not alone. Upcycling these treasures allows you to preserve historical artistry while adapting them for modern, comfortable daily wear. This comprehensive buying and execution guide will walk you through the exact materials, methods, and professional considerations required to successfully transform your clip-ons into pierced masterpieces without ruining their structural integrity or value.
Understanding the Anatomy: Clip-On vs. Pierced
Before attempting any conversion, it is vital to understand the structural differences between the two earring types. Clip-on earrings rely on a mechanical hinge and a paddle or screw-back mechanism that pinches the earlobe. The center of gravity for a clip-on is designed to rest against the flat surface of the earlobe, supported by the tension of the clip. Pierced earrings, conversely, rely on a post that passes through the earlobe, with the weight distributed along the axis of the piercing hole. When you remove the clip-on mechanism, you fundamentally alter the earring's center of gravity. If a post is simply glued to the back of a heavy vintage drop earring without considering weight distribution, the earring will droop forward, pointing toward the floor rather than hanging elegantly. Recognizing this physics shift is the first step in a successful conversion.
Method 1: DIY Earring Conversion Kits (No-Solder)
For costume jewelry, gold-plated brass, or pieces with heat-sensitive gemstones (like rhinestones, pearls, and enamel), DIY conversion kits are the safest route. These kits typically include flat metal pads attached to standard earring posts, which you bond to the back of the earring using specialized adhesives. However, not all adhesives are created equal, and choosing the wrong one is the most common point of failure in DIY conversions.
Choosing the Right Adhesive
- E6000 Jewelry Adhesive: This is the industry standard for DIY jewelry crafting. It remains slightly flexible after curing, which allows it to absorb minor shocks and temperature changes without cracking. It requires a 24-to-72-hour cure time and must be used in a well-ventilated area due to strong fumes.
- UV Curing Resin: Ideal for quick fixes and clear bonding, UV resin cures in seconds under an ultraviolet lamp. It creates a rigid, glass-like bond. However, it can become brittle over time and is not recommended for heavy dangle earrings that experience high torque.
- Cyanoacrylate (Superglue): Never use standard superglue for jewelry conversion. It dries extremely brittle, degrades when exposed to skin oils and moisture, and will inevitably fail, resulting in the loss of your earring.
Surface Preparation Protocol
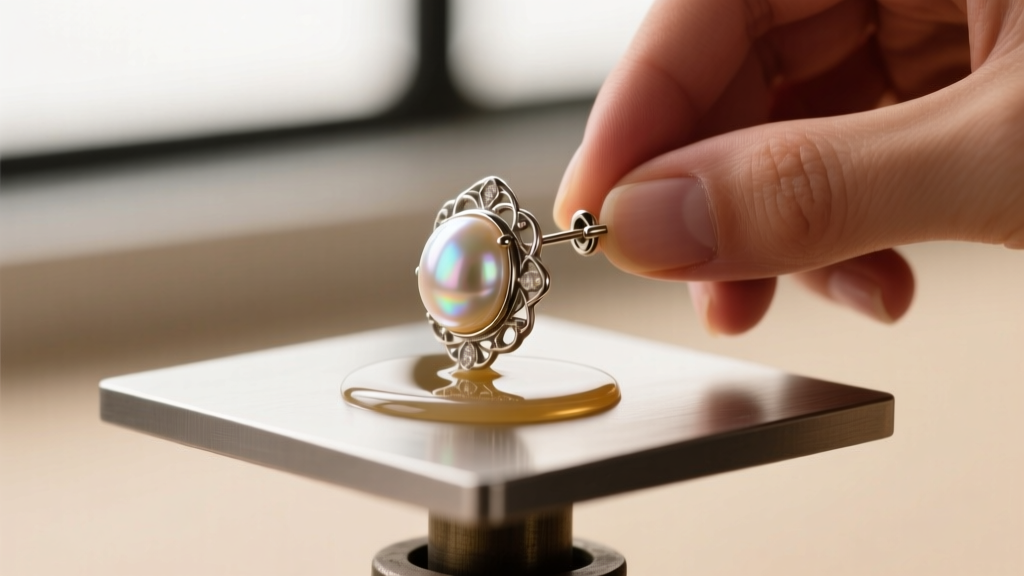
The bond is only as strong as the surface it adheres to. First, use flush cutters to carefully snip off the clip-on paddle, leaving the hinge base as flat as possible. Next, use a fine-grit diamond file or 600-grit sandpaper to lightly scuff the metal pad on the conversion post and the back of the earring base. This creates microscopic grooves for the adhesive to grip. Finally, wipe both surfaces with 90% isopropyl alcohol to remove all oils, dust, and polishing compounds before applying your adhesive.
Method 2: Professional Soldering and Laser Welding
If your vintage earrings are made of solid fine metals—such as 14k or 18k gold, platinum, or sterling silver—gluing a base-metal conversion post is a disservice to the piece. For fine jewelry, professional soldering or laser welding is mandatory. According to the Gemological Institute of America (GIA), improper heat application can permanently damage the crystalline structure of certain gemstones and destroy the patina of antique metals.
Torch Soldering vs. Laser Welding
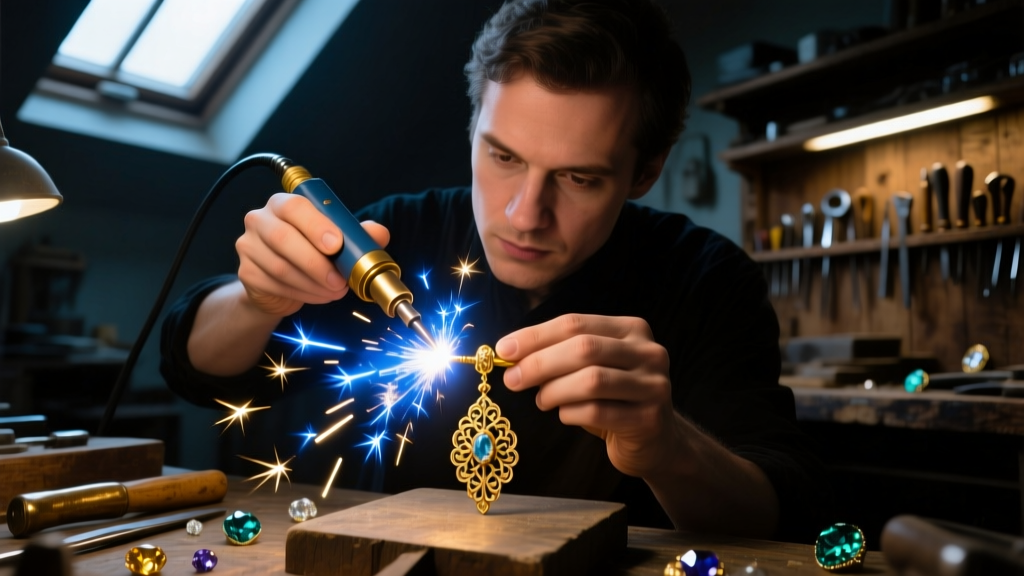
Traditional torch soldering requires heating the entire metal component to the melting point of the solder (often between 1,200°F and 1,400°F for gold). This ambient heat will instantly shatter vintage rhinestones, melt delicate enameling, and turn pearls into chalk. Laser welding, however, uses a highly focused beam of light to melt a microscopic pin-point of metal. The surrounding area remains completely cool to the touch. A skilled jeweler can laser-weld a solid 14k gold post directly to a vintage filigree backing, even if the piece is fully loaded with fragile paste stones, without causing any thermal damage.
Material Compatibility and Soldering Methods
| Base Material | Recommended Method | Heat Sensitivity | Estimated Pro Cost |
|---|---|---|---|
| Solid 14k/18k Gold | Laser Welding or Torch Soldering | Moderate (Watch for stones) | $40 - $85 per pair |
| Platinum | Laser Welding (Requires high heat) | Low (Very heat resistant) | $75 - $120 per pair |
| Sterling Silver | Torch Soldering (Silver solder) | High (Conducts heat rapidly) | $25 - $50 per pair |
| Gold Vermeil / Plated | DIY Adhesive Kit (No heat) | Extreme (Heat strips plating) | $10 - $20 (DIY Kit) |
Selecting the Right Post Gauge and Backing
When you convert clip on earrings to pierced designs, selecting the correct post thickness (gauge) and backing mechanism is crucial for both comfort and security. The Association of Professional Piercers (APP) recommends specific metal grades and sizes to prevent allergic contact dermatitis and tearing.
Gauge Sizes Explained
The standard piercing size for most earlobes is 20-gauge (0.81mm) or 18-gauge (1.02mm). If you are converting a lightweight vintage stud, a 22-gauge (0.64mm) post is acceptable and mimics the delicate look of mid-century fine jewelry. However, if you are converting heavy 1980s gold drops or large chandelier earrings, you must use an 18-gauge or even 16-gauge (1.29mm) post. A thin post on a heavy earring will act like a cheese wire, slowly migrating through the earlobe and eventually tearing the piercing entirely.
Upgrading the Earring Backing
Standard friction backs (butterfly backs) are insufficient for heavy vintage conversions. The tension of the friction back will easily slip down the post under the weight of the earring. Instead, invest in specialized backings:
- La Pousette (Locking) Backs: These feature a mechanical locking mechanism that clicks securely into a grooved post. They are the gold standard for heavy, valuable antique drops.
- Screw Backs: The post is threaded, and the backing screws on. While secure, the threads can strip over time or become clogged with skin oils and lotion.
- Silicone O-Rings: A cheap, highly effective alternative for heavy earrings. The silicone grips the post tightly and provides a soft cushion against the back of the earlobe, reducing pressure points.
Common Mistakes That Ruin Vintage Jewelry
Even with the best intentions, amateur conversions can permanently devalue antique jewelry. Avoid these critical errors:
- Leaving the Clip Mechanism Attached: Some beginners simply glue a post to the outside of the closed clip-on paddle. This adds massive, unnecessary weight, pushes the earring awkwardly far from the earlobe, and looks visually bulky. The paddle must be removed.
- Ignoring the Center of Gravity: If you place the post dead-center on a long, teardrop-shaped earring, the top will be too heavy, and the earring will flip upside down on the ear. The post must be placed slightly above the visual center of gravity to ensure the drop hangs straight.
- Using Unpadded Pliers: When snapping off the clip-on hinge, always wrap the jaws of your flush cutters in painter's tape or use a microfiber cloth. Bare steel jaws will instantly gouge and scratch soft gold vermeil or silver.
Cost Breakdown: DIY vs. Professional Jeweler
Deciding whether to tackle the conversion yourself or hire a professional depends entirely on the material value and sentimental worth of the piece. Here is a realistic cost breakdown for 2026:
- DIY Conversion Kit (Adhesive & Posts): $12 - $25. Best for costume jewelry, Bakelite, and plated metals.
- Professional Laser Welding (Gold/Platinum): $40 - $120+. Best for solid fine metals, heirloom pieces, and stone-set filigree.
- Professional Torch Soldering (Silver): $25 - $50. Best for solid sterling silver without heat-sensitive stones.
- Custom Post Fabrication: $50+. Required if the earring needs a specialized saddle or saddle-back to distribute weight across a larger surface area on the earlobe.
Final Thoughts on Upcycling Jewelry
Learning how to convert clip on earrings to pierced styles is a rewarding intersection of historical preservation and modern practicality. By respecting the original materials, understanding the physics of weight distribution, and choosing the correct bonding or welding method, you can rescue beautiful pieces of jewelry history from the bottom of a drawer and bring them back into the light. Whether you are carefully applying UV resin to a 1960s Trifari pearl or watching a master jeweler laser-weld a platinum post onto an Art Deco diamond drop, the result is a wearable piece of art that bridges the gap between generations.


