How to Turn Clip On Earrings Into Pierced: A Step-by-Step Guide
Learn exactly how to turn clip on earrings into pierced styles with our expert jeweler's guide covering soldering, epoxy methods, and post sizing.

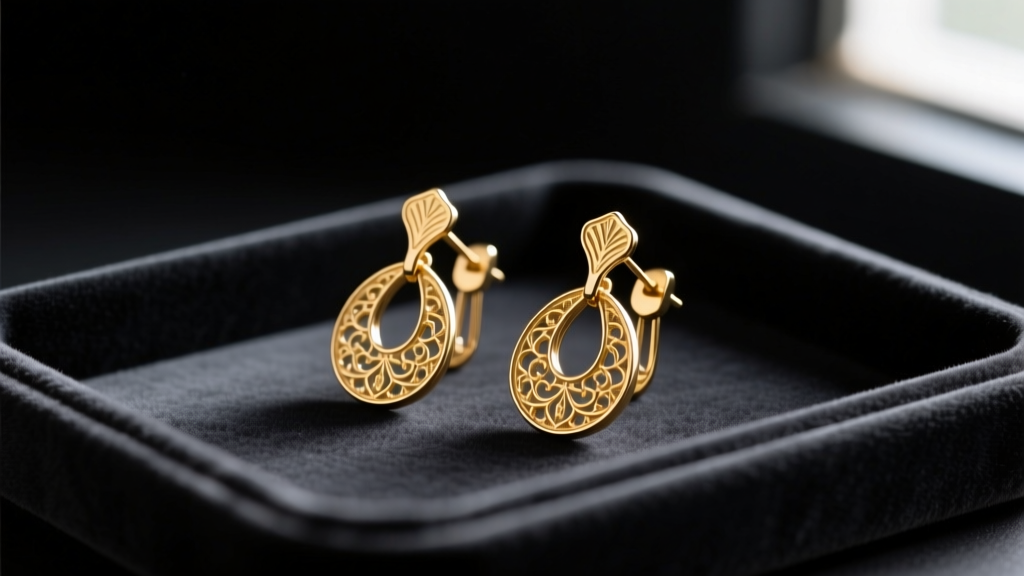
Why Convert Vintage and Clip-On Earrings?
The secondary market for vintage jewelry is thriving, but finding pristine, high-quality pierced earrings from the 1940s through the 1980s can be a challenge. During these decades, clip-on earrings dominated the market due to shifting cultural norms around body modification. Today, collectors and jewelry enthusiasts frequently ask how to turn clip on earrings into pierced pieces to make them wearable for modern, pierced ears. Converting these pieces not only preserves historical craftsmanship but also allows you to customize unique, one-of-a-kind accessories. However, this process is not as simple as snapping off the clip and gluing on a post. It requires a fundamental understanding of metallurgy, structural integrity, and jewelry fabrication techniques.
Assessing Your Clip-Ons: Metal Types and Limitations
Before you pick up a pair of pliers or a torch, you must identify the base metal of the earring. This single step dictates which conversion method you can safely use. Applying heat to the wrong alloy will permanently destroy the piece.
| Base Metal / Material | Identification Clues | Recommended Conversion Method | Heat Tolerance |
|---|---|---|---|
| Sterling Silver (925) | Stamped '925' or 'Sterling', tarnishes black | Traditional Silver Soldering | High (Flows at ~1,300°F) |
| Solid Karat Gold (10k-18k) | Stamped 10k, 14k, 18k, heavy weight | Gold Soldering (Requires specific karat solder) | High (Varies by karat) |
| Zamac / Pot Metal | Greyish cast under scratches, lightweight, no stamps | Two-Part Epoxy (Cold Connection) | Extremely Low (Melts at ~400°F) |
| Gold-Filled / Gold-Plated Brass | Worn edges showing brass underneath, stamped 'GF' | Two-Part Epoxy or Laser Welding | Low (Plating will blister/burn) |
| Resin, Bakelite, or Lucite | Non-metallic, lightweight, warm to the touch | Two-Part Epoxy | None (Will melt or scorch) |
According to metallurgical guidelines from Rio Grande, a leading jewelry supply authority, attempting to torch-solder pot metal (Zamac) or plated brass will result in the metal blistering, melting into slag, or releasing toxic zinc oxide fumes. Always default to the cold-connection epoxy method if you are unsure of the metal composition.
Method 1: The Traditional Soldering Technique (For Solid Metals)
If you have confirmed your vintage pieces are solid sterling silver or karat gold, soldering provides the most durable, permanent bond. This method ensures the earring post can withstand the daily mechanical stress of being pushed through a healed ear lobe.
Tools and Materials Required
- Butane micro-torch or oxy-propane jeweler's torch
- Medium or Easy silver solder (for sterling) or appropriate karat gold solder
- Prips flux or standard borax flux and a natural hair brush
- Cross-locking tweezers and a titanium soldering pick
- Flat-pad earring posts (20-gauge or 18-gauge)
- Pickle solution (warm citric acid or Sparex #2) and copper tongs
Step-by-Step Soldering Process
- Prep the Surface: Use a jeweler's saw or flush cutters to carefully remove the existing clip-on mechanism or screw-back hinge. File the back of the earring completely flat using a 400-grit sanding stick. The solder joint requires maximum surface area contact.
- Apply Flux and Solder: Paint a thin layer of flux onto the flat pad of the earring post. Place a small pallion (chip) of medium silver solder onto the pad. Heat gently with your torch until the solder flows and coats the pad. This is called 'pre-sweating' the post.
- Position and Heat: Apply flux to the back of the earring body. Using cross-locking tweezers, hold the pre-sweated post perfectly perpendicular to the earring back. Apply heat to the body of the earring, not the post. Heat will travel to the post and re-melt the solder, creating a seamless capillary joint.
- Quench and Clean: Once the solder flashes and flows, remove the heat and let it air cool for 30 seconds before dropping it into the warm pickle solution to dissolve the oxidized flux.
Method 2: The Two-Part Epoxy Method (For Plated or Non-Metal Pieces)
For gold-plated, enameled, or non-metallic vintage earrings, heat is the enemy. The two-part epoxy method creates a remarkably strong mechanical bond without risking the integrity of the original piece. According to Stuller's jewelry fabrication resources, modern structural epoxies can achieve tensile strengths exceeding 3,000 PSI when properly prepped.
Step-by-Step Epoxy Process
- Remove the Hardware: Use end-cutting pliers to snip the clip-on hinge as close to the base as possible. Grind the remaining nub completely flat using a rotary tool with a silicone polishing wheel or a fine-grit file.
- Score the Surfaces: Epoxy requires mechanical 'tooth' to adhere properly. Use 220-grit sandpaper to heavily score both the back of the earring and the flat pad of the earring post. Wipe both surfaces with isopropyl alcohol to remove all dust and skin oils.
- Mix and Apply: Mix a high-quality jeweler's epoxy (such as Devcon 5-Minute or G-S Hypo Cement for smaller pads). Apply a micro-drop to the earring back—avoid using too much, as squeeze-out will ruin the aesthetic.
- Cure in a Jig: Press the post into place. Use a third-hand tool, a silicone putty block, or a specialized earring-curing jig to hold the post at a strict 90-degree angle while the epoxy cures for 24 hours.
Selecting the Right Earring Posts and Backs
The success of your conversion heavily relies on choosing the correct post dimensions. A mismatched post will cause the earring to droop or irritate the piercing.
Gauge and Pad Sizing Framework
- 20-Gauge (0.8mm): The industry standard for standard lobe piercings. Use this for lightweight studs and small drops.
- 18-Gauge (1.0mm): Necessary for heavier vintage dangles or if the wearer has stretched lobes. Provides structural rigidity to prevent the post from bending.
- 6mm Pad: Ideal for small, lightweight buttons or studs under 1 inch in diameter.
- 10mm to 12mm Pad: Mandatory for heavy, oversized vintage clips. A larger pad distributes the weight and provides a wider glue/solder surface area, preventing the 'floppy earring' syndrome.
Expert Troubleshooting Tip: If a converted earring leans forward on the ear, the post was likely soldered or glued slightly off-axis, or the earring is too top-heavy for the post placement. To fix top-heavy vintage drops, solder the post slightly higher up on the earring back (closer to the center of gravity) rather than dead center or at the bottom edge.
Troubleshooting Common Conversion Failures
Even experienced jewelers encounter issues when modifying vintage findings. Here is how to diagnose and fix the most common failure modes:
- The Post Snaps Off: This usually occurs when an epoxy bond fails due to skin oils or lack of surface scoring. Always sand the pad and clean with alcohol. If soldered, the joint may have been 'cold' (the solder didn't fully flow). Re-pickle, re-flux, and re-solder with Easy grade solder.
- The Earring Droops: The post is too thin (20g) for the weight of the earring, or the pad is too small. Upgrade to an 18-gauge post with a 10mm pad, and recommend the wearer use a heavy-duty silicone friction back or a flat 'clutch' back to support the lobe.
- Discoloration on Gold-Filled Pieces: If you accidentally applied heat to a gold-filled piece and the brass core bled through, you cannot reverse this. You must re-plate the entire piece using an electroplating pen or send it to a professional plating service.
When to Hire a Professional Jeweler
While learning how to turn clip on earrings into pierced styles is a rewarding bench skill, certain pieces should always be handed over to a professional. If the earring features heat-sensitive gemstones (like opals, emeralds, or turquoise), vintage enameling (guilloché or plique-à-jour), or if the piece is a highly valuable signed antique (such as Trifari or Miriam Haskell), the risk of thermal shock or devaluation is too high. A professional jeweler can utilize a laser welder, which fuses metals using highly localized light pulses without transferring ambient heat to the surrounding stones or enamel, ensuring your vintage treasures remain intact and wearable for decades to come.


