How to Convert Earrings to Clip Ons: A Pain-Free DIY Guide
Learn how to convert earrings to clip ons securely. Discover troubleshooting tips for heavy dangles, studs, and comfort hacks for non-pierced ears.

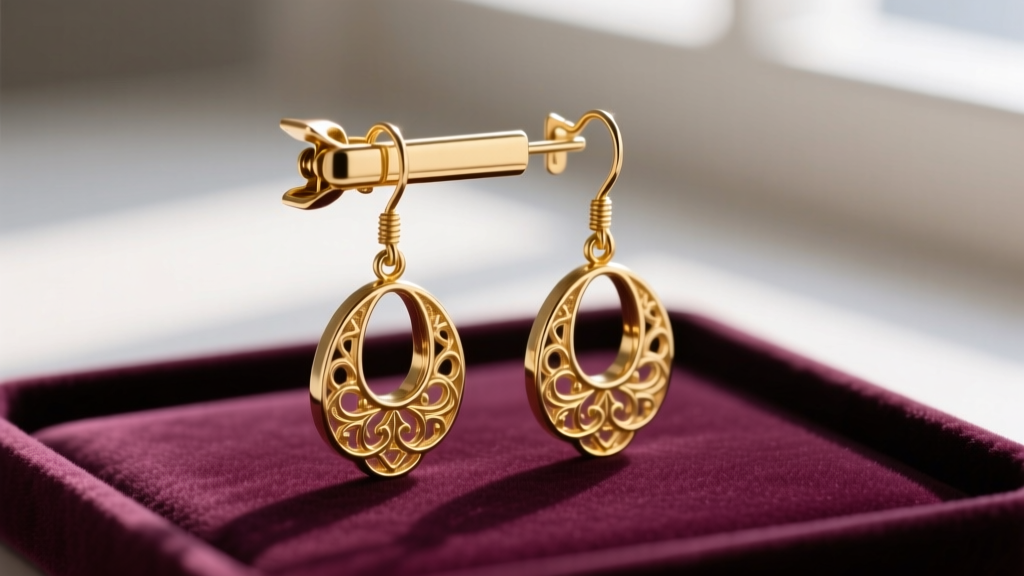
Finding the perfect pair of vintage dangles or modern geometric studs, only to realize they are designed for pierced ears, is a common frustration for jewelry lovers with unpierced lobes. Fortunately, learning how to convert earrings to clip ons is a highly rewarding DIY skill that opens up the entire jewelry market to you. However, simply jamming a post into a cheap converter often leads to pinched earlobes, drooping designs, and lost earrings. This comprehensive troubleshooting guide will walk you through the physics, mechanics, and material science of successful earring conversion.
The Physics of Clip-On Tension and Earlobe Fatigue
Before cutting or modifying any jewelry, it is crucial to understand the biomechanics of the earlobe. Unlike a pierced hole, which supports weight from the center of the tissue, a clip-on relies on surface friction and clamping pressure. When you attach a 2-inch dangle earring to a clip-on hinge, you create a lever arm. A 15-gram earring that extends 50mm downward exerts significantly more rotational torque on the hinge than a 15-gram stud that sits flush against the skin.
This rotational force is the primary culprit behind 'earlobe fatigue'—that deep, aching pain that forces you to remove clip-ons after just an hour. To combat this, the surface area of the clip must be maximized to distribute the pressure. Standard vintage paddle clips often feature a small 8mm contact point, which concentrates the clamping force and causes immediate pinching. Upgrading to modern 12mm or 15mm domed silicone pads is the first critical step in any successful conversion project.
Step-by-Step: Converting Different Earring Types
The method you choose depends entirely on the original earring's finding (the part that goes through the ear). Here is how to handle the three most common scenarios.
Scenario A: The Straight Post (20-Gauge / 0.81mm)
Most standard studs and lightweight drops use a 20-gauge or 18-gauge straight post. According to jewelry manufacturing standards outlined by Rio Grande, a 20-gauge wire measures exactly 0.81mm in diameter. To convert these without damaging the earring, use a friction-fit tube converter. These converters feature a tiny metal tube with an inner diameter (ID) of 0.9mm. Simply push the earring post into the tube; the internal silicone grip will hold it securely. If the post is too long, do not bend it—use a pair of precision flush cutters to snip the excess wire cleanly, then file the edge smooth to prevent scratching the converter's internal grip.
Scenario B: The French Wire (Fishhook)
French wires are common on chandelier and heavy dangle earrings. You cannot use a tube converter here. Instead, you need a 'clip-on paddle with a top loop.' Open the loop on the converter using two pairs of flat-nose pliers, slide the French wire through, and gently close the loop. Ensure the gap is completely flush; even a 0.5mm gap will allow the earring to slip off during wear.
Scenario C: Cutting the Post for Glue-On Pads
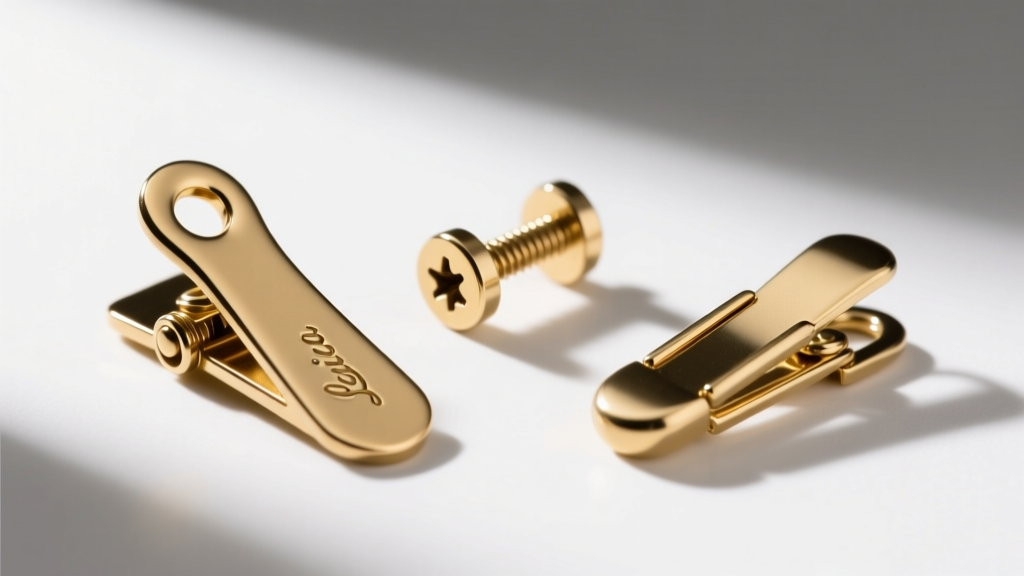
If the earring has an unusually thick post (16-gauge or larger) or an odd shape that won't fit a tube converter, you must remove the post entirely. Cut the post flush against the earring base using heavy-duty flush cutters. Sand the back of the earring with 400-grit sandpaper to create a rough surface for adhesion. Apply a two-part jewelry epoxy (avoid super glue, which becomes brittle and fails under the flexing tension of a clip-on) to a flat metal glue-on pad, and attach it to the earring. Allow 24 hours for a full cure before attaching the clip mechanism.
Troubleshooting Common Conversion Failures
Even with the right tools, DIY conversions can present mechanical challenges. Use this troubleshooting matrix to diagnose and fix issues.
| Symptom | Root Cause | Technical Fix |
|---|---|---|
| Severe Pinching / Lobe Pain | High tension on a small surface area; metal digging into skin. | Replace metal paddles with 12mm domed silicone pads. Adjust hinge tension using nylon-jaw pliers to widen the gap slightly. |
| Earring Droops Forward | Center of gravity is too far forward; lever arm effect. | Switch to a screw-back converter. The threaded barrel (usually M1.4 threads) allows you to adjust the clamping angle to tilt the earring upward. |
| Converter Slips Off Easily | Earlobe thickness mismatch; hinge gap is too wide. | Gently squeeze the top of the hinge with nylon-jaw pliers to narrow the resting gap. Never use bare metal pliers, which will mar the finish. |
| Post Spins Inside Tube | Friction grip has worn out or post is slightly under-gauge. | Apply a microscopic drop of clear nail polish to the earring post, let it dry completely to add thickness, then reinsert into the tube. |
Material Grades and Allergy Prevention
When sourcing converters, material composition is just as important as the mechanical design. Many inexpensive, mass-produced converters found in craft stores are made from 'nickel-silver' (also known as German silver). Despite the name, this alloy contains no actual silver but is heavily laden with nickel, a primary trigger for contact dermatitis. The Mayo Clinic notes that nickel allergy is one of the most common causes of allergic contact dermatitis, affecting up to 36% of women.
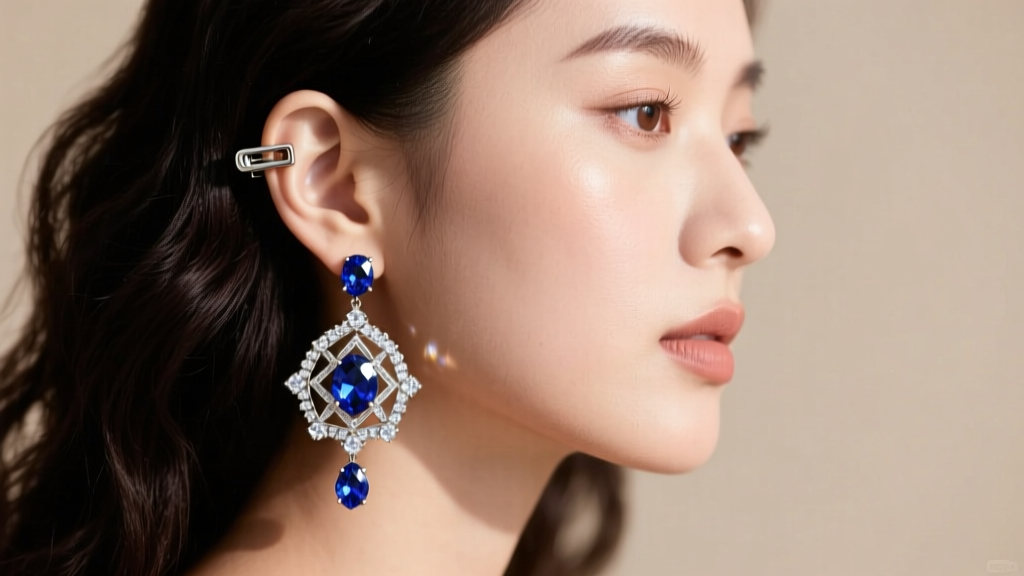
To avoid severe allergic reactions on the sensitive skin of the earlobe, strictly source converters made from 316L surgical stainless steel, titanium, or nickel-free brass that has been heavily rhodium-plated. If you are converting high-end gold or platinum earrings, ensure the glue-on pads or tube converters are also crafted from matching karat gold to prevent galvanic corrosion, which can occur when two dissimilar metals rest against each other in the presence of skin oils and moisture.
Advanced Comfort Hacks for Heavy Dangles
For statement pieces weighing over 15 grams, standard clip-ons will inevitably fail. Here are two advanced troubleshooting hacks used by professional jewelers:
- The Heat-Mold Technique: If using thick silicone cushions, gently warm them with a hair dryer or heat gun on a low setting for 10 seconds. Immediately clip them onto the ear (or a silicone earlobe mold) and let them cool. The silicone will temporarily soften and mold to the exact unique curvature of the wearer's lobe, creating a custom-fit suction effect that drastically reduces slipping.
- Counterweighting: If a converted dangle refuses to sit flush and constantly tilts forward, attach a tiny, discreet lead-free fishing split-shot weight or a small dollop of epoxy putty to the top-rear of the earring's backing plate. This shifts the center of gravity backward, neutralizing the forward torque and allowing the clip to rest flat against the ear.
Mastering how to convert earrings to clip ons requires patience and an understanding of jewelry mechanics. By prioritizing surface area distribution, selecting hypoallergenic materials, and properly adjusting hinge tension, you can transform any pierced earring into a comfortable, secure, and pain-free masterpiece.


