Converting Clip Earrings to Pierced: Care & Repair Guide
Learn essential care, cleaning, and maintenance steps after converting clip earrings to pierced. Protect vintage solder joints and delicate stones.
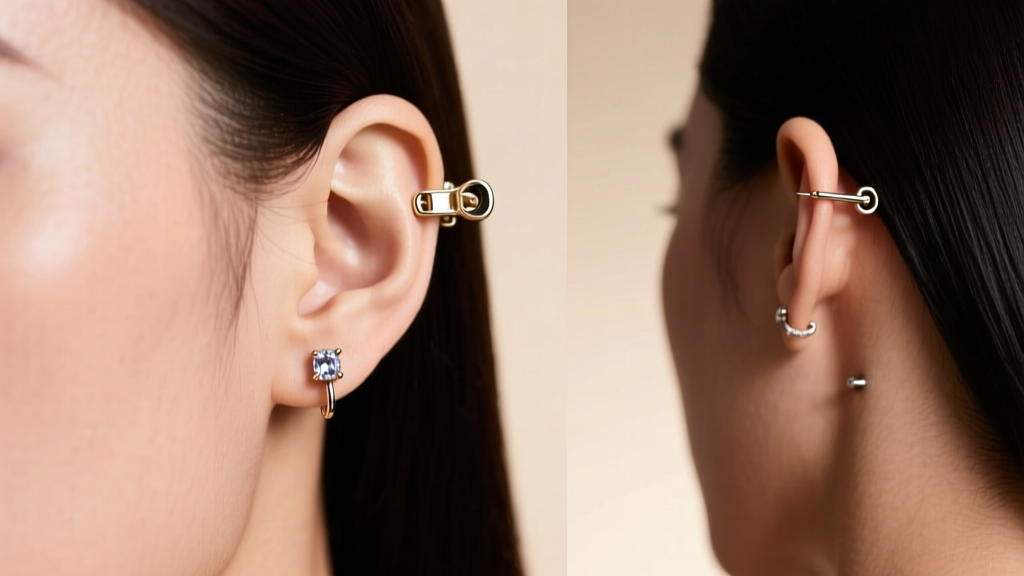
The Resurgence of Vintage: Why Post-Conversion Care Matters in 2026
The secondary market for vintage and estate jewelry has exploded, bringing Art Deco, Mid-Century, and 1980s designer clip-on earrings back into mainstream rotation. However, because modern consumers overwhelmingly prefer pierced ears, the demand for converting clip earrings to pierced styles has never been higher. While a skilled jeweler can seamlessly attach a new post to an antique base, the conversion process fundamentally alters the structural integrity and thermal history of the piece.
When you convert a clip-on to a pierced earring, the original tension mechanism is removed, and a new metal post is fused to the base via laser welding or torch soldering. This introduces new metallurgical vulnerabilities. The care, maintenance, and cleaning protocols for a converted vintage piece are vastly different from those for modern, mass-produced jewelry. Neglecting these specific nuances can lead to catastrophic failures, such as shattered foil-backed rhinestones, detached solder joints, or severe contact dermatitis from exposed base metals. This comprehensive guide details the exact aftercare and maintenance frameworks required to preserve your converted heirlooms.
The Metallurgy of Conversion: Understanding Your New Solder Joint
To properly care for converted earrings, you must first understand how they were modified. Jewelers typically use one of two methods to attach a new post to a vintage clip-on base:
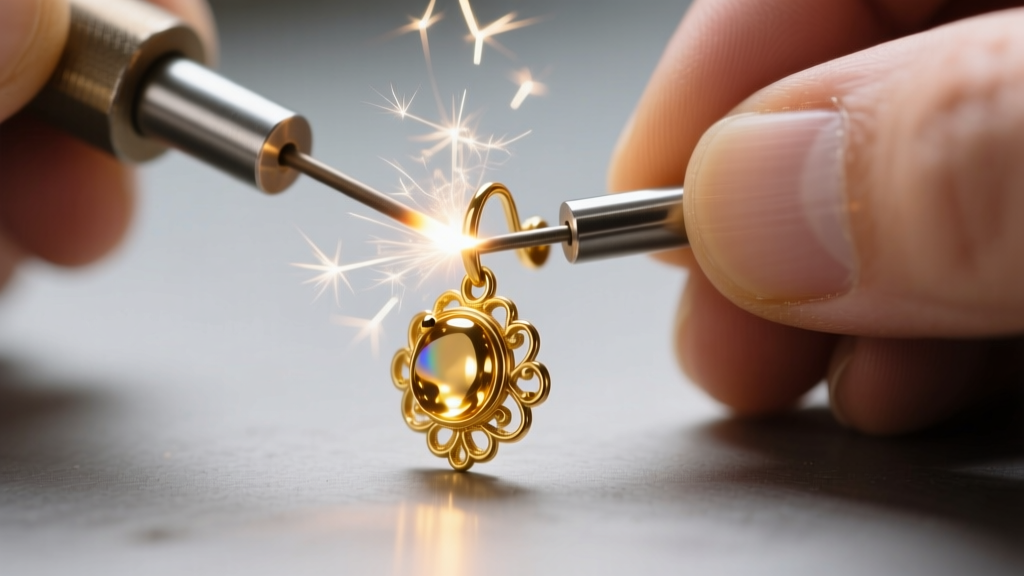
- Laser Pulse Welding: The gold standard for vintage pieces in 2026. A laser welder uses highly localized, microscopic bursts of heat to fuse the new post to the base. This method is critical for pieces with glued-in stones, pearls, or heat-sensitive enamel, as the thermal transfer is minimal.
- Torch Soldering: A traditional method requiring a jeweler's torch and a soldering alloy (often a gold or silver mix). The entire earring base is heated to the solder's flow point. This requires quenching in water, which can cause thermal shock and crack porous stones like turquoise, opals, or emeralds.
If your vintage clip-on was gold-plated brass or pot metal, the jeweler likely used a low-temperature, easy-flow solder to prevent blistering the plating or melting the base metal. These low-temperature solder joints are inherently more brittle than high-karat gold fusions. According to the Jewelers of America, understanding the solder type dictates how much mechanical stress the earring can withstand during daily wear and cleaning.
Immediate Aftercare and Mechanical Stress Testing
The first 72 hours after picking up your converted earrings are critical. While laser-welded joints set instantly, the newly attached post—usually 14k gold, 18k gold, or implant-grade titanium—has not yet been work-hardened to your specific ear anatomy.
Post Gauge and Weight Limits
Vintage clip-ons are notoriously heavy. A standard modern earring post is 20-gauge (0.81mm thick), but forcing a heavy 1950s chandelier clip onto a 20-gauge post will result in immediate bending and eventual snapping at the solder seam. When commissioning the conversion, or when caring for a newly converted piece, refer to this structural framework:
| Earring Weight | Required Post Gauge | Thickness (mm) | Maintenance Note |
|---|---|---|---|
| Under 5 grams | 20-Gauge (Standard) | 0.81mm | Standard friction backs apply; avoid pulling straight out. |
| 5 to 12 grams | 18-Gauge (Heavy) | 1.02mm | Use wide-hole butterfly backs to prevent post bending during insertion. |
| Over 12 grams | 16-Gauge or Leverback | 1.29mm+ | Requires periodic professional tightening; avoid sleeping in them entirely. |
Pro Tip: Never grip the decorative face of a heavy converted earring to push the friction back onto the post. Always support the earring from the rear, holding the base of the new post with your thumb and forefinger to prevent leveraging the solder joint.
Cleaning Protocols for Converted Vintage Pieces
The most common way collectors destroy converted vintage earrings is by using ultrasonic cleaners. While ultrasonic waves are excellent for removing sebum and lotion from solid diamond and platinum jewelry, they are lethal to vintage constructions. The high-frequency vibrations will shatter fragile paste glass, detach delicate foil backings on rhinestones, and liquefy the antique adhesives holding cabochons in place.
The 4-Step Manual Cleaning Method
To safely clean converted clip-ons without compromising the solder joint or the stones, follow this protocol recommended by gemological experts:
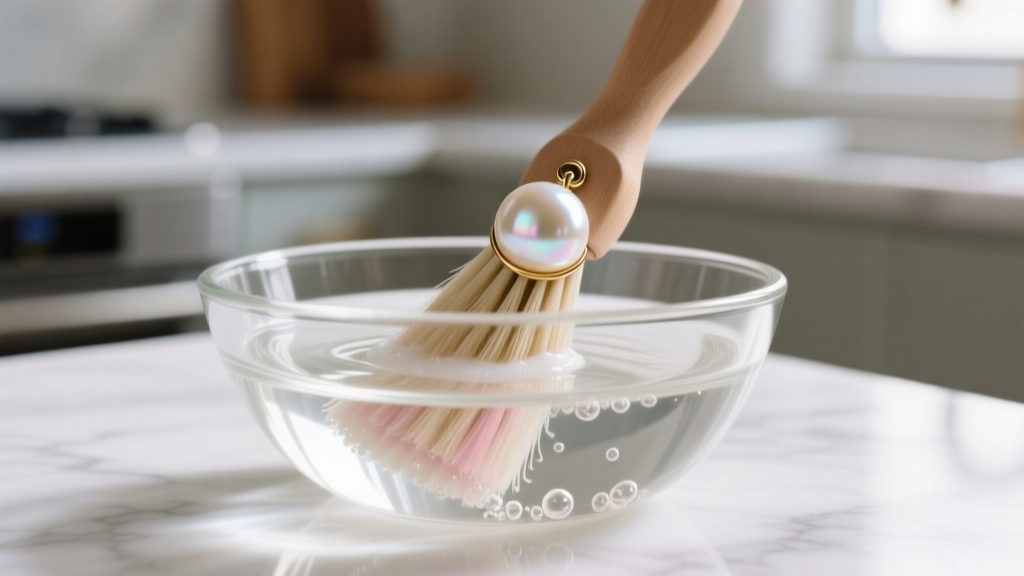
- Prepare a Neutral Solution: Mix lukewarm distilled water with a single drop of pH-neutral, phosphate-free castile soap. Avoid ammonia-based cleaners, which can strip the gold plating often found on vintage base metals.
- Targeted Agitation: Dip a soft-bristled baby toothbrush or a specialized jewelry cleaning brush into the solution. Gently brush the front decorative elements and the new post. Avoid aggressive scrubbing directly on the rear solder seam, especially if the jeweler left any residual flux or if the base metal is exposed.
- The Rinse: Do not hold the earring under high-pressure running water, which can dislodge tension-set stones. Instead, swish it gently in a separate bowl of clean, lukewarm distilled water.
- Drying: Pat dry with a lint-free microfiber cloth. Use a cool-setting hair dryer or compressed air to blow moisture out from behind the stones and the clip-on hinge remnants. Trapped moisture against a base metal scar will cause rapid oxidation and green skin discoloration.
For highly porous vintage stones like jade, turquoise, or coral, skip the liquid entirely. The Gemological Institute of America (GIA) strictly advises against immersing porous gems, as they can absorb soapy water and suffer permanent discoloration. Use a barely damp microfiber cloth to wipe the surface instead.
Long-Term Maintenance: Preventing Skin Irritation and Galvanic Corrosion
A major, often overlooked issue when converting clip earrings to pierced styles is the lingering presence of the original base metal. Many mid-century clip-ons were crafted from unmarked brass, copper alloys, or nickel-heavy pot metal. Even if the jeweler solders a hypoallergenic 14k gold or ASTM F136 implant-grade titanium post to the back, the wide, flat base of the original earring will still rest directly against your earlobe.
This creates two distinct problems:
- Contact Dermatitis: If you have a nickel allergy, the base metal will trigger a reaction, regardless of the post material.
- Galvanic Corrosion: When two dissimilar metals (like a new titanium post and an old brass base) are in contact in the presence of an electrolyte (your sweat), a micro-galvanic cell is formed. This accelerates the corrosion of the base metal and can degrade the solder joint over time.
The Barrier Solution
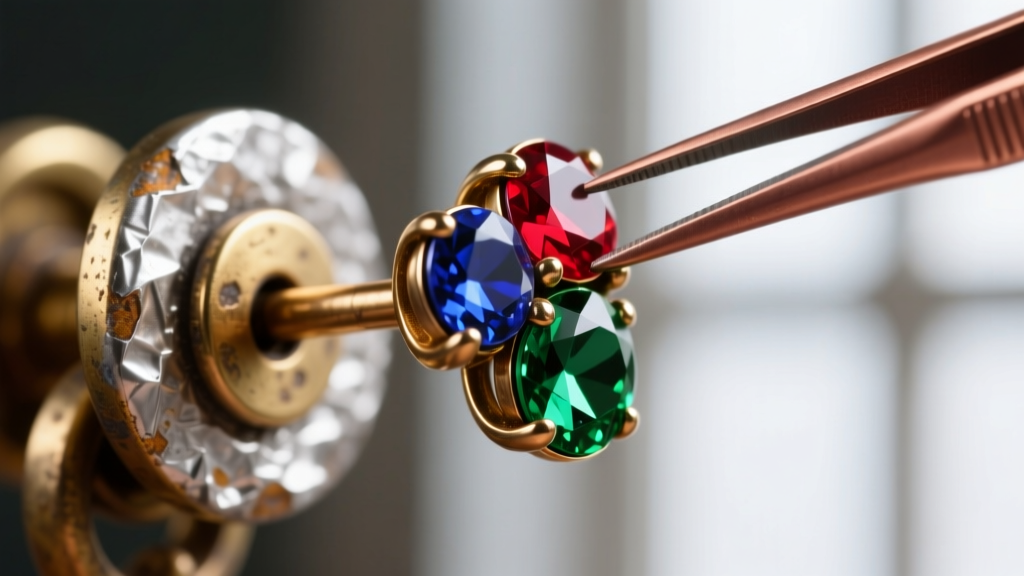
To maintain the piece and protect your skin, apply a medical-grade barrier to the back of the earring. In 2026, specialized jewelry sealants and hypoallergenic nano-coatings are available that create an invisible, durable shield over base metals. Alternatively, a master jeweler can laser-weld a thin, custom-cut disc of implant-grade titanium over the entire back of the vintage clip-on base before attaching the post, completely encapsulating the allergenic metals.
Troubleshooting Common Conversion Failures
Even with meticulous care, converted earrings endure unique mechanical stresses. Here is how to identify and address common failure modes:
- The Post Snaps Cleanly at the Base: This indicates a "cold solder joint" or inadequate laser penetration. The jeweler failed to achieve proper metallurgical fusion. Action: Do not attempt to glue it. Return to the jeweler for a complete re-weld, requesting they score the base metal slightly to increase surface area for the solder.
- The Post Bends Repeatedly: High-karat gold (18k or 22k) is exceptionally soft. If your vintage earring is heavy, a gold post will bend every time you insert it. Action: Have the jeweler replace the gold post with an 18-gauge titanium or platinum post, which possess vastly superior tensile strength and memory.
- Residual Clip Hinge Snags Hair: If the jeweler removed the clip paddle but left the hinge barrel, it will catch on hair and pull, stressing the earring. Action: Request a "flush cut" and laser-polishing of the hinge remnants to ensure a completely smooth back profile.
Conclusion
Converting clip earrings to pierced wear is a brilliant way to rescue forgotten vintage treasures and integrate them into your daily wardrobe. However, the marriage of antique construction and modern piercing standards requires a disciplined approach to aftercare. By respecting the thermal limitations of vintage solder joints, abandoning ultrasonic cleaners, and proactively managing base-metal skin contact, you can ensure your converted heirlooms remain structurally sound and visually stunning for decades to come.


