Converting Pierced Earrings to Clip On: An Expert Technical Guide
Master the mechanics of converting pierced earrings to clip on. Expert guide on tension adjustments, adhesive vs. screw-backs, and weight limits.

The Physics of Non-Pierced Earring Mechanics
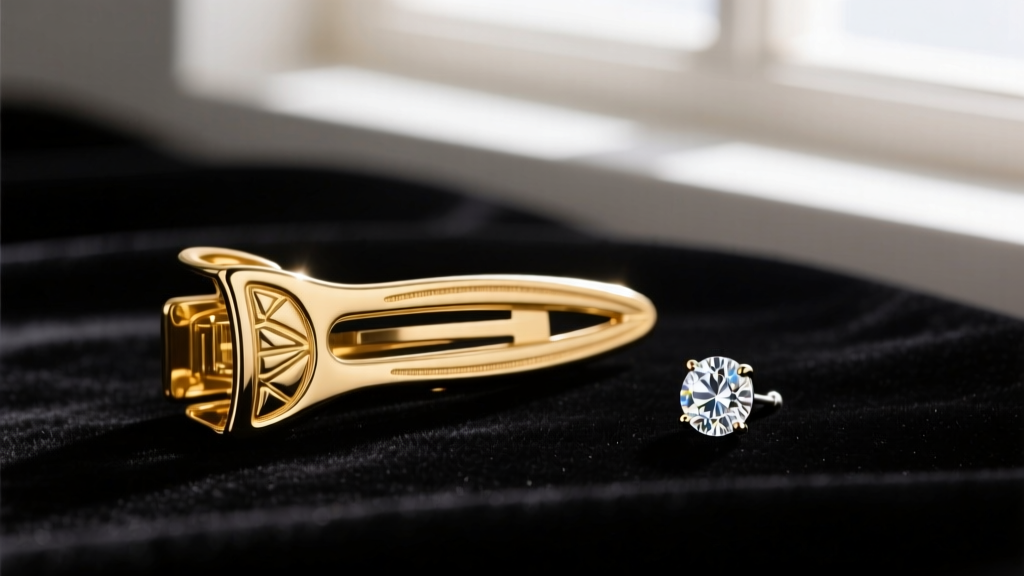
Converting pierced earrings to clip on is not merely a matter of swapping a finding; it is an exercise in applied physics and ergonomic design. The average human earlobe thickness ranges from 1.5mm to 2.5mm. To secure an earring without piercing, the clip mechanism must exert enough clamping force to counteract gravity and kinetic movement, but not so much that it restricts capillary blood flow, causing ischemic pain. A standard paddle-back clip exerts approximately 1.5 to 2.5 Newtons of force. Understanding this balance is the first step in professional earring conversion.
When we discuss converting pierced earrings to clip on, we must also consider the metallurgical properties of the findings. High-quality clip-on springs are typically forged from beryllium copper or spring-tempered stainless steel. These alloys resist work hardening—the gradual brittleness and loss of tension that occurs when cheaper brass or nickel-silver findings are repeatedly opened and closed. Investing in premium findings ensures the converted earring maintains its structural integrity over years of wear.
Tension vs. Screw-Back: Choosing the Right Finding
Before beginning any conversion, you must select the appropriate mechanism based on the earring's weight and silhouette:
- Paddle-Back (Tension Clips): Best for lightweight studs and small hoops (under 6 grams). They rely entirely on the spring tension of the metal arm.
- Screw-Back with Hinged Paddle: Essential for medium to heavy drops (6 to 12 grams). The threaded barrel allows the wearer to micro-adjust the clamping pressure to their exact earlobe thickness.
- Invisible Clip-Ons (Omega or Hinged Hoops): Specifically designed for converting hoop earrings. They feature a curved, spring-loaded arm that mimics the continuous line of a pierced hoop.
Step-by-Step: Converting Post and Wire Earrings
The methodology for conversion depends heavily on whether you are seeking a non-destructive, temporary solution or a permanent, professional-grade modification. Below, we detail the two primary approaches utilized by master jewelers.
Method A: Mechanical Post Converters (The Zero-Damage Route)
For heirloom pieces or high-end jewelry where altering the original post is unacceptable, mechanical converters are the standard. These are essentially silicone or precision-milled metal sleeves that slide over the existing 20-gauge (0.8mm) or 18-gauge (1.0mm) earring post.
To use a mechanical converter, you simply remove the standard butterfly clutch, slide the converter sleeve over the post, and lock it into the integrated clip-on paddle. While this method preserves the original jewelry, it adds approximately 3mm to 5mm of depth to the earring, which can cause heavier dangles to tilt forward awkwardly. According to technical guides from Rio Grande, mechanical converters are best reserved for studs and rigid, lightweight geometric shapes.
Method B: Cutting and Soldering (The Permanent Route)
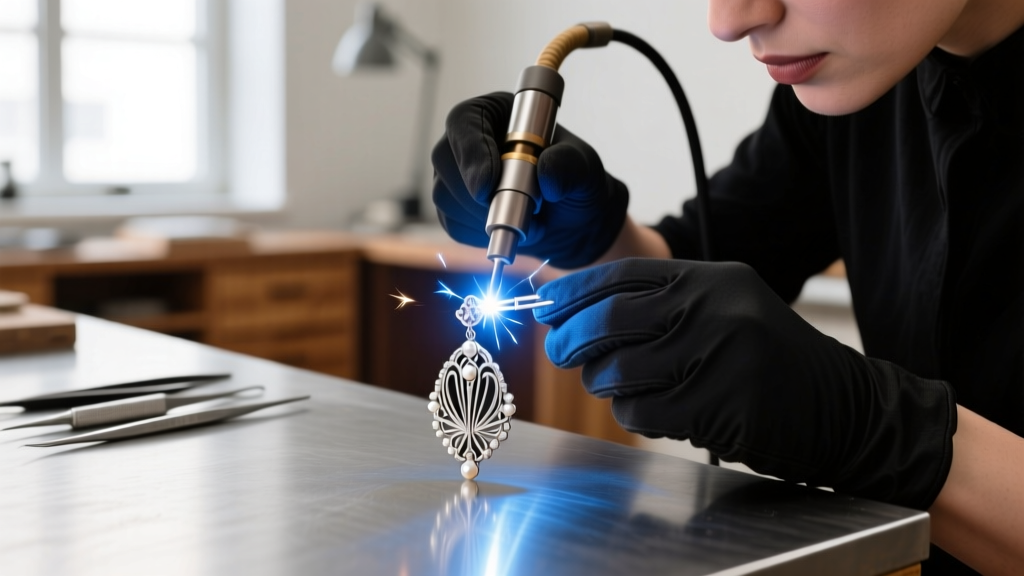
For a seamless, factory-finish conversion, the original post or French wire must be removed and a dedicated clip-on finding soldered in its place. This requires precision tools and heat management.
- Post Removal: Using a 0.8mm flush cutter, snip the earring post as close to the base as possible. File the remaining nub completely flush with the earring back using a 400-grit needle file.
- Preparation: Apply a heat-shield gel or use a titanium heat sink to protect any nearby gemstones. Thermal shock can fracture diamonds, and heat can shatter opals or melt resin-backed stones.
- Soldering: Apply a medium-temperature silver or gold solder (depending on the base metal). For heat-sensitive pieces, professional jewelers utilize a laser welder, which concentrates heat into a microscopic 0.2mm spot, leaving the surrounding metal and stones completely unaffected.
- Pickling and Finishing: Quench the piece in a warm citric acid pickle solution to remove oxidation, then polish the joint to ensure a seamless transition between the earring body and the new clip mechanism.
Material Compatibility and Adhesive Failure Modes
Not all conversions require a soldering torch. In the realm of fashion jewelry, base metals, or porous materials like carved jade and turquoise, adhesives are often the only viable option. However, choosing the wrong adhesive is the leading cause of conversion failure.
Many amateurs reach for cyanoacrylate (Super Glue). This is a critical error. Cyanoacrylate cures into a rigid, brittle plastic that lacks shear strength. The kinetic twisting motion of an earlobe will cause a cyanoacrylate bond to snap within days. Instead, professionals rely on flexible, high-tensile epoxies.
| Adhesive Type | Best Substrates | Cure Time | Shear Strength | Failure Mode |
|---|---|---|---|---|
| Two-Part Epoxy (e.g., 330) | Metal to Metal, Glass | 12-24 Hours | High (3000+ psi) | Peeling under extreme heat |
| Flexible Urethane (e.g., E6000) | Base Metal, Acrylic, Wood | 24-72 Hours | Medium (1500 psi) | Creep deformation under heavy loads |
| UV-Curing Resin | Glass, Clear Acrylic | 3-5 Minutes | Low (800 psi) | Brittle shear from rotational force |
| Cyanoacrylate (Super Glue) | None (Not Recommended) | 10-30 Seconds | Very Low (Impact) | Immediate brittle snap |
For a comprehensive breakdown of jewelry adhesives, the technical resources at Halstead Bead emphasize that surface preparation—specifically, scoring the metal pad with 220-grit sandpaper and degreasing with isopropyl alcohol—is just as critical as the chemical composition of the glue itself.
Weight Distribution and Ergonomic Adjustments
The success of converting pierced earrings to clip on hinges on managing the center of gravity. A pierced earring hangs from a fixed point inside the earlobe, allowing it to swing freely. A clip-on, however, pivots on the surface of the lobe. If the earring's center of gravity is too far forward, the clip will continuously tilt, digging the top edge of the paddle into the wearer's cartilage.
Counterweighting Dangle and Drop Styles
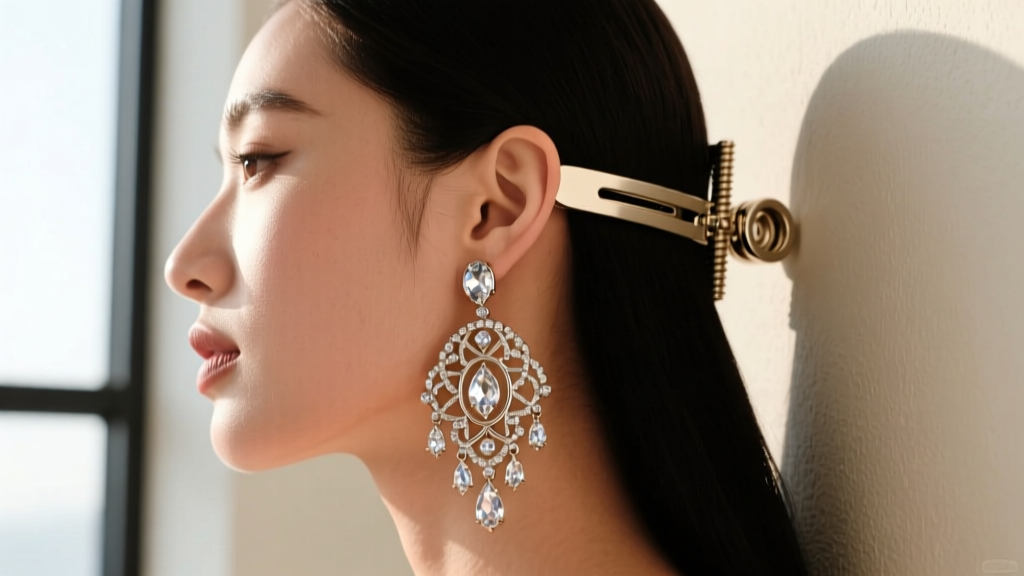
When converting chandelier or heavy drop earrings (exceeding 8 grams), you must engineer a counterbalance. This is achieved by:
- Adding a Lead or Tungsten Counterweight: A small, dense bead is soldered or glued to the upper rear of the earring's backing plate, shifting the center of gravity backward against the earlobe.
- Widening the Paddle: Upgrading to a 12mm or 14mm wide paddle distributes the clamping force over a larger surface area, reducing the pounds-per-square-inch (PSI) pressure on the skin and preventing the 'pinch' effect.
- Adjusting the Hinge Pitch: Using specialized pliers to slightly bend the clip arm upward, ensuring the decorative face sits flush against the lobe rather than angling downward.
Expert Insight: Never attempt to bend the actual spring loop of a beryllium copper clip-on finding to adjust tension. Bending the loop alters the crystalline structure of the alloy, causing immediate work hardening and eventual catastrophic snapping. Always adjust tension by gently bowing the flat paddle arm itself.
Troubleshooting Common Conversion Failures
Even with meticulous technique, converted clip-ons can present ergonomic challenges. Here is how to diagnose and resolve the most common issues encountered after conversion:
Issue: The earring slips down the earlobe during wear.
Diagnosis: The clamping force is insufficient for the earring's weight, or the wearer has exceptionally thin earlobes (under 1.5mm).
Solution: Switch to a screw-back finding with a silicone comfort pad. The silicone increases the coefficient of friction against the skin, while the screw mechanism allows for micro-calibration of the gap width.
Issue: The wearer experiences sharp pain behind the earlobe after 30 minutes.
Diagnosis: Ischemia caused by excessive tension or a sharp edge on the clip paddle.
Solution: File the edges of the paddle with a 600-grit file to create a soft chamfer. Apply a clear, flexible polyurethane dip coating to the paddle to create a soft, medical-grade barrier between the metal and the skin.
Issue: The adhesive bond fails repeatedly on hollow or porous vintage pieces.
Diagnosis: The surface area of the earring back is too small, or the substrate is degrading (common in 1950s pot metal or rhinestone paste).
Solution: Fabricate a custom 'cradle' or bezel cup from thin sterling silver sheet metal. Solder the clip-on finding to the cradle, and then use a flexible urethane adhesive to bond the cradle to the vintage piece, effectively distributing the mechanical stress across a wider surface area.
Mastering the art of converting pierced earrings to clip on requires a synthesis of metallurgical knowledge, ergonomic empathy, and precision craftsmanship. By respecting the physics of tension and selecting the appropriate joining methodology, you can unlock the beauty of fine jewelry for non-pierced ears without compromising on comfort or security.


