How to Make Earrings With Beading Wire: Step-by-Step Dangle Guide
Learn how to make earrings with beading wire using our step-by-step guide. Master crimping, wire wrapping, and material selection.

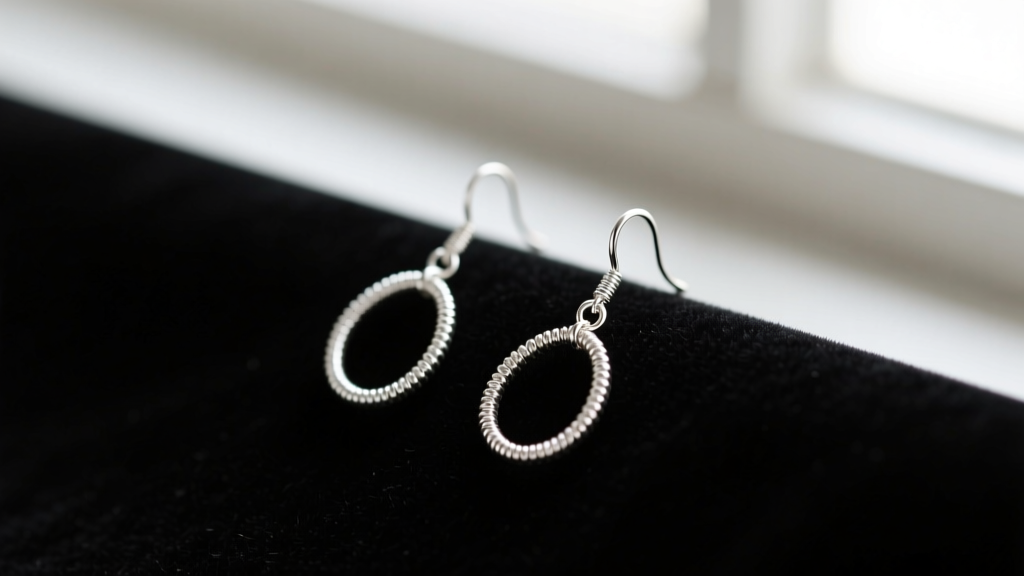
Introduction: Beyond the Rigid Headpin
When most jewelry makers begin crafting dangle earrings, they default to rigid headpins. While headpins are excellent for structured, stacked designs, they severely limit the fluid movement and kinetic drape that makes a dangle earring truly captivating. If you want to create lightweight, sweeping designs that move gracefully with the wearer, learning how to make earrings with beading wire is an essential skill. Beading wire—specifically multi-strand, nylon-coated stainless steel cable—offers unparalleled flexibility, tensile strength, and a professional finish that monofilament or silk thread simply cannot match.
In this comprehensive guide, we will move past generic crafting advice and dive into the metallurgy, exact gauge specifications, and mechanical nuances of working with beading wire. Whether you are stringing heavy lampwork glass or delicate freshwater pearls, mastering the tension and crimping techniques outlined below will ensure your earrings are both beautiful and structurally sound for years to come.
Essential Materials: Selecting the Right Wire and Findings
The success of your beaded dangle earrings hinges entirely on selecting the correct wire strand count and diameter. According to the experts at Soft Flex Company, the nylon coating and the number of inner steel strands dictate the wire's drape and fatigue resistance.
Beading Wire Specification Chart
| Strand Count | Drape Quality | Best Use Case | Avg. Price (per 10 ft) |
|---|---|---|---|
| 7-Strand | Stiff / Rigid | Heavy, structured necklaces; not recommended for dangles. | $3.00 - $5.00 |
| 19-Strand | Moderate / Flexible | Standard glass beads, medium-weight stone dangles. | $8.00 - $12.00 |
| 49-Strand | Supreme / Fluid | Fine gemstones, pearls, lightweight sweeping dangles. | $14.00 - $22.00 |
Diameter Selection Guide
- 0.015-inch (Fine): Ideal for beads with micro-drill holes, such as freshwater pearls, micro-faceted gemstones, and seed beads.
- 0.019-inch (Medium): The industry workhorse. Perfect for standard Swarovski crystals, Czech glass, and most semi-precious stones.
- 0.024-inch (Heavy): Reserved for large, heavy lampwork beads or large-holed metal focal beads that would cause thinner wires to kink under the weight.
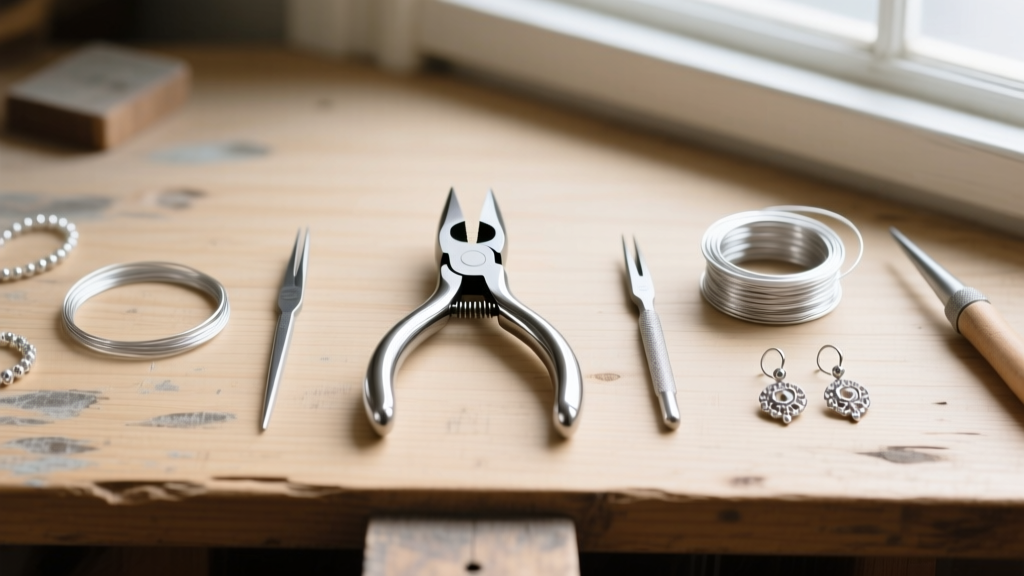
The Essential Tool Kit
Do not attempt to crimp beading wire with standard flat-nose pliers; you will crush the crimp tube unevenly, creating sharp edges that will eventually saw through the nylon coating. To achieve a professional, secure finish, you need the following specialized tools:
- Micro Crimping Pliers: Features two distinct notches—one for forming a 'U' shape and one for folding the 'U' into a secure barrel.
- Flush Cutters: For cleanly snipping the wire without fraying the inner steel strands.
- Nylon Jaw Pliers: Crucial for pulling the wire tail taut without marring the nylon coating or leaving tool marks.
- Wire Guardians (French Wire): Tiny, horseshoe-shaped metal findings that protect the beading wire from the friction of the ear wire loop.
- 2x2mm Sterling Silver Crimp Tubes: Always use tubes rather than round crimp beads. Tubes fold evenly, whereas round beads tend to shatter or slip under pressure. Source high-quality metals from suppliers like Rio Grande to ensure the silver is soft enough to fold without cracking.
Step 1: Prepping the Wire and Planning the Dangle
Determine your desired finished earring length. For a standard dangle that grazes the jawline, a 2.5-inch drop is ideal. Cut a piece of 49-strand, 0.019-inch beading wire that is exactly 4 inches longer than your desired drop length. This extra length is non-negotiable; you need at least 2 inches on the top and 2 inches on the bottom to comfortably maneuver your pliers and thread back through the crimp tubes without fighting the wire's natural memory.
Place a rubber bead stopper on one end of the wire to prevent your carefully selected beads from sliding off while you work. If your design includes a heavy focal bead at the bottom, consider adding a small, flat spacer bead and a crimp tube at the very bottom to secure the focal bead in place before stringing the rest of the design.
Step 2: Stringing and Tension Management
Thread your beads onto the wire according to your design. When working with beading wire, tension management is the most common point of failure for beginners. Unlike silk thread, beading wire has zero stretch. If you string your beads too tightly, the wire will bow between the beads, and the earring will look stiff and unnatural.
Pro-Tip: To test your stringing tension, gently bend the beaded section into a 'U' shape. If the beads gap open widely or the wire resists bending, your stringing is too tight. Add a microscopic amount of slack between each bead group to ensure the wire can flex freely.
Step 3: The Top Crimp and Wire Guardian Integration
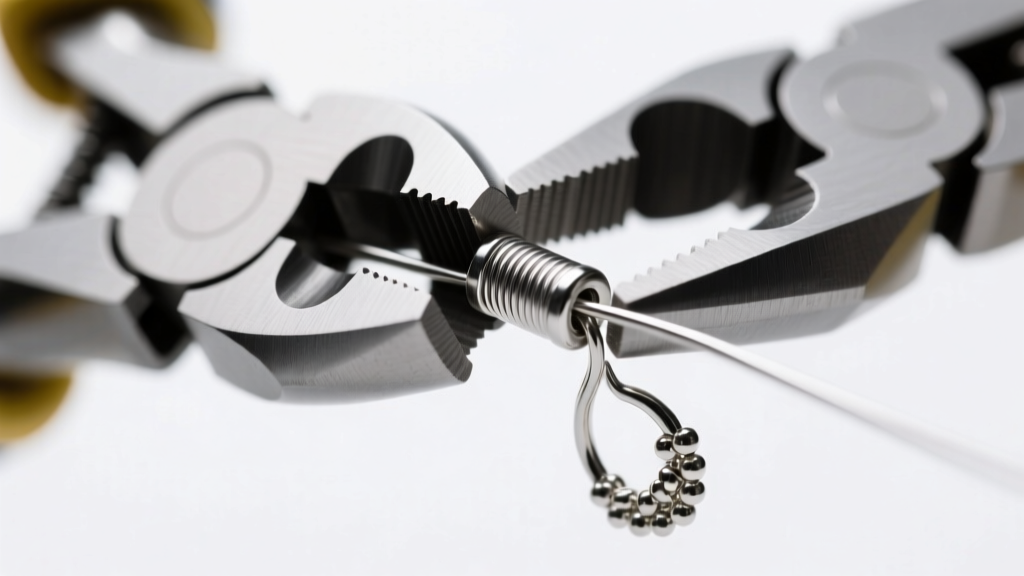
This is the most critical structural step. The top crimp bears the entire dynamic load of the earring as it swings from the ear.
- Thread the Crimp Tube: Slide a 2x2mm sterling silver crimp tube onto the top end of your beaded wire.
- Add the Wire Guardian: Thread the wire through the small horseshoe-shaped wire guardian. This metal shield prevents the steel core of the beading wire from slowly cutting through the loop of your ear wire over time.
- Attach the Ear Wire: Pass the wire through the loop of your chosen ear wire (French hook or leverback), then thread it back through the second hole of the wire guardian.
- Thread Back Through the Crimp: Guide the wire tail back down through the crimp tube and through the first 2-3 beads of your design. Note: Ensure your beads have holes large enough to accommodate two passes of the wire.
- Set the 'Breathing Room': Before crimping, leave exactly 1 to 2 millimeters of slack between the top bead and the crimp tube. If you pull the wire drum-tight, the earring will hang stiffly like a pendulum. This micro-gap allows the beads to articulate and drape naturally.
- The Crimp Sequence: Use your nylon jaw pliers to gently pull the tail taut (maintaining that 1mm slack). Place the crimp tube in the outer U-shaped notch of your micro crimping pliers and squeeze firmly to create a 'U'. Then, move the tube to the inner round notch and squeeze again to fold the 'U' in half, creating a tight, rounded barrel.
Step 4: Finishing and Tail Concealment
Once the top crimp is securely folded, use your flush cutters to trim the excess wire tail as close to the beads as possible. If you used a bottom crimp to secure a focal bead, repeat the crimping process at the bottom, ensuring you leave a 1mm gap below the last bead to prevent the wire from pushing the bead outward.
For a high-end retail finish, you can slide a metal crimp cover over the folded crimp tube and gently close it with chain-nose pliers. The crimp cover will fold into a perfect sphere, making the mechanical crimp look exactly like a seamless metal bead. For more advanced finishing techniques and wire wrapping alternatives, the tutorial library at Fire Mountain Gems offers excellent visual references.
Troubleshooting Common Beading Wire Mistakes
Even experienced jewelers encounter issues when working with multi-strand wire. Here is how to diagnose and fix the most common failure modes:
- The Kinked Wire: If your beading wire develops a sharp crease or kink during handling, do not try to straighten it. A kink means the inner steel strands are permanently bent and the nylon coating is compromised. The wire will eventually snap at the kink point under the weight of the beads. Cut the damaged section off and start over.
- Slipping Crimps: If your crimp tube slides down the wire after crimping, you likely used base-metal round crimp beads or failed to use the two-step U-and-fold method. Switch to sterling silver or gold-filled 2x2mm tubes, which grip the nylon coating far more aggressively than cheap plated metals.
- Frayed Wire Ends: If the wire frays when you cut it, your flush cutters are dull. Dull cutters crush the wire rather than shearing it. Dip the frayed end into a tiny drop of clear jewelry glue or cyanoacrylate to seal the nylon coating before attempting to thread it through a tight bead hole.
Conclusion
Mastering how to make earrings with beading wire opens up a world of fluid, dynamic jewelry designs that rigid headpins simply cannot achieve. By investing in 49-strand wire, sterling silver crimp tubes, and proper micro-crimping pliers, you elevate your craft from amateur hobbyist to professional jeweler. Pay close attention to your tension, always use wire guardians to protect your ear wires, and never compromise on a kinked piece of wire. With these techniques in your arsenal, your dangle earrings will possess the perfect balance of structural integrity and effortless movement.


