How to Craft Custom Resin Flower Earrings: Step-by-Step
Learn how to craft custom resin flower earrings with our step-by-step guide. Master botanical encapsulation, hardware selection, and bubble-free pouring.

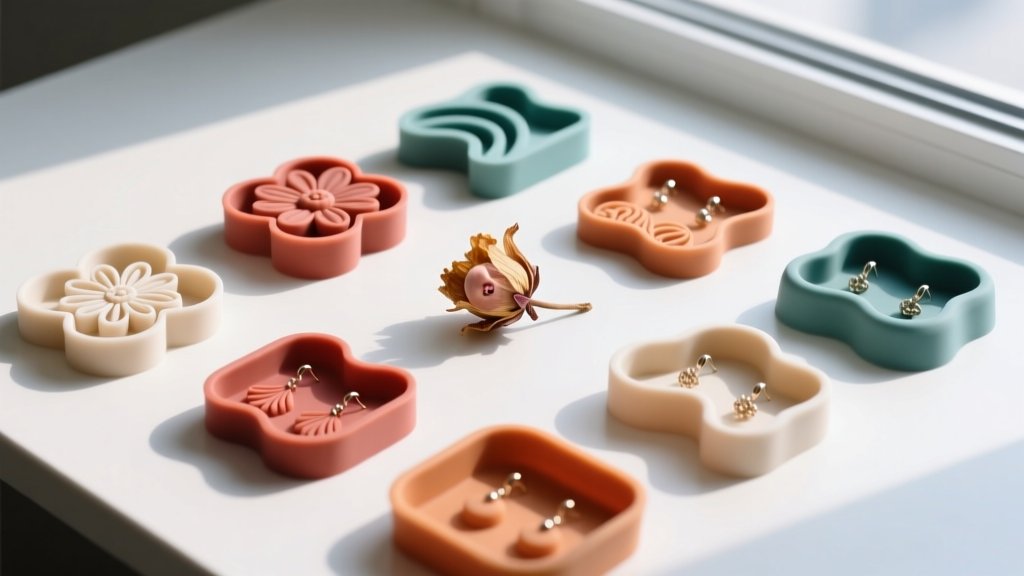
The Renaissance of Botanical Jewelry Making
Crafting your own jewelry has evolved significantly over the last decade, but as of 2026, the demand for hyper-personalized, nature-inspired accessories remains at an all-time high. Learning how to make resin flower earrings is more than just a fun weekend project; it is an intersection of chemistry, botany, and metalsmithing. Whether you are looking to start an Etsy shop or simply want to preserve flowers from a memorable bouquet, mastering the encapsulation process requires a deep understanding of material science. Many beginners fail because they treat resin like simple glue, ignoring the critical variables of moisture content, exothermic reactions, and hardware adhesion. This comprehensive guide will walk you through the exact specifications and professional techniques required to create flawless, museum-quality botanical earrings.
The Science of Botanical Encapsulation
The most common point of failure when creating resin flower earrings is improper botanical preparation. Fresh flowers contain up to 80% water. Because epoxy and UV resins are inherently hydrophobic (water-repelling), introducing moisture into the curing environment leads to a host of structural and aesthetic issues. Trapped water molecules will cause the resin to cure with a milky, opaque cloudiness, or worse, cause the organic matter to rot and turn brown inside the finished cabochon. To achieve crystal-clear encapsulation, the cellular structure of the flower must be entirely dehydrated and subsequently sealed before it ever touches liquid resin. Furthermore, understanding the difference between UV-curing resins and two-part epoxies is vital for controlling the curing environment and preventing thermal shock to delicate petals.
Essential Materials & Hardware Specifications
Professional results require professional-grade materials. Below is the exact bill of materials and hardware specifications recommended for high-quality earring production.
| Material / Tool | Specification | Purpose & Pro-Tip |
|---|---|---|
| Two-Part Epoxy Resin | 1:1 mixing ratio, UV-resistant formula | Provides a crystal-clear, non-shrinking dome. Avoid cheap polyurethanes. |
| Silicone Desiccant | Orange-to-green indicating silica gel beads | Draws moisture from petals without crushing them. Reusable when baked. |
| Botanical Sealer | Matte clear acrylic spray or PVA glue | Prevents resin from bleeding into petal veins, which causes dark 'wet' spots. |
| Earring Posts | 20-gauge (0.8mm) or 22-gauge (0.6mm) | Standard for pierced ears. 20-gauge offers better structural support for heavy resin. |
| Post Material | Grade 23 Titanium or 316L Surgical Steel | Essential for hypoallergenic wear. Titanium is lighter and highly biocompatible. |
| Pad Size | 6mm or 8mm flat pad | Must match the diameter of your finished resin cabochon for seamless adhesion. |
| Adhesive | E6000 Jewelry Glue or UV Resin | E6000 provides a flexible, shock-absorbing bond that prevents the post from snapping off. |
For comprehensive safety protocols regarding VOCs and skin sensitization, always consult the ArtResin safety guidelines and ensure your workspace is equipped with proper ventilation and nitrile gloves.
Step 1: Desiccating and Sealing the Petals
Begin by selecting small, relatively flat botanicals such as baby's breath, pansies, or fern fronds. Thick flowers like roses require specialized pressing techniques that are too bulky for standard earring bezels. Bury your chosen flowers completely in a sealed container of silica gel beads. Leave them undisturbed for 3 to 5 days. The indicating silica beads will change color when they have absorbed maximum moisture, letting you know the environment is saturated. Once the flowers are papery and completely dry, carefully extract them using fine-point tweezers. The final, crucial step is sealing. Hold the dried flower 12 inches away from a can of clear acrylic spray and apply a single, ultra-light mist. This creates a microscopic barrier that stops the liquid resin from penetrating the plant's porous cellular walls, preserving the vibrant, natural color of the petals.
Step 2: Resin Mixing and Degassing
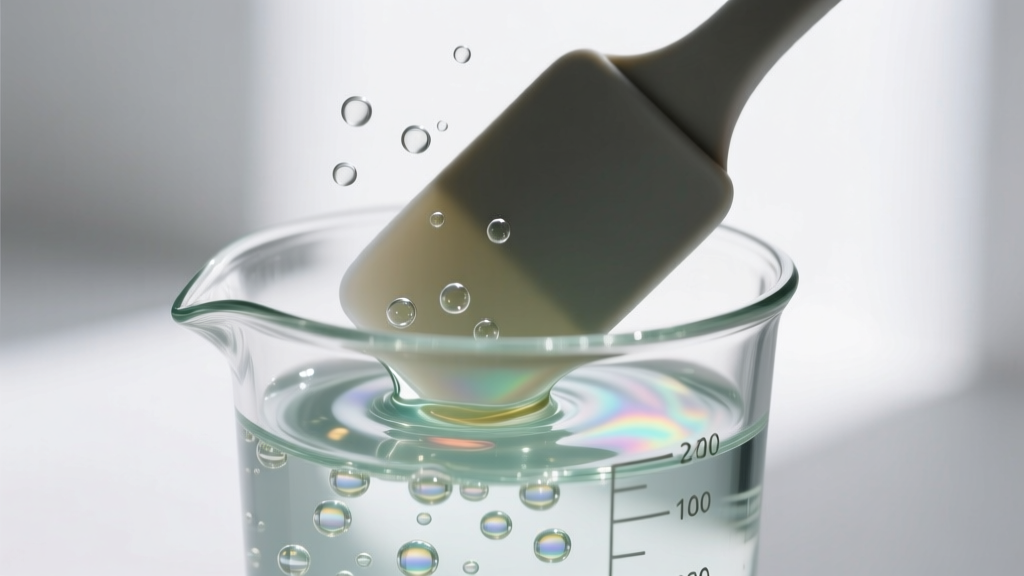
If you are using a two-part epoxy, precise measurement is non-negotiable. Use digital gram scales rather than volume cups, as a 1:1 ratio by weight ensures the chemical cross-linking process completes fully. Stir the mixture slowly with a silicone spatula for a full three minutes, scraping the sides and bottom of the cup to ensure homogeneity. Stirring too vigorously will whip air into the viscous liquid, creating micro-bubbles that are incredibly difficult to remove. Once mixed, let the resin rest in the cup for five minutes. This 'degassing' period allows the larger air bubbles to rise to the surface and pop on their own. For stubborn bubbles, pass a butane torch or a heat gun quickly over the surface of the resin—never hold the heat source in one place, as localized high heat can cause the resin to flash-cure or yellow.
Step 3: The Layered Pour Technique
When working with open-back silicone molds or metal bezel trays, a layered approach guarantees perfect suspension. First, pour a thin base layer of resin into your 10mm or 12mm earring mold. Use a toothpick to guide the resin into the corners and pop any surface tension bubbles. Allow this base layer to become tacky (usually 2-4 hours for epoxy, or 60 seconds under a 36W UV lamp for UV resin). Next, use your tweezers to gently place the sealed, dried flower onto the tacky base. The tackiness acts as a temporary adhesive, preventing the lightweight botanical from floating to the top when you apply the final flood coat. Finally, pour your second layer of resin, slightly overfilling the mold to create a convex, domed surface. Surface tension will hold the dome in place, giving your resin flower earrings a professional, magnified finish.
Step 4: Hardware Adhesion and Finishing
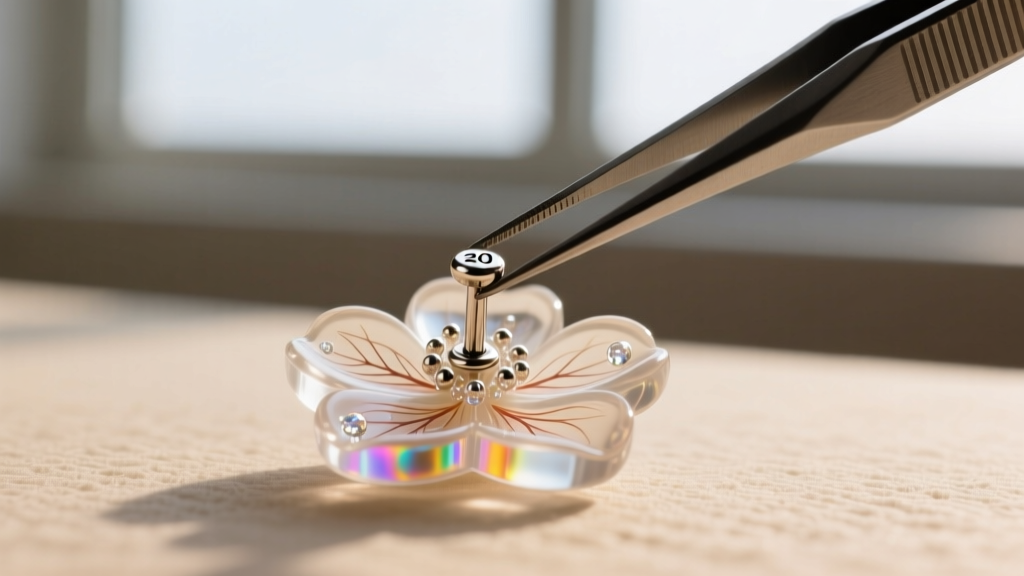
Once the resin has fully cured (24 to 48 hours for epoxy), demold the cabochons. If there are sharp edges or overflow, wet-sand the perimeters using progressive grits of sandpaper, starting at 400 grit and moving up to 2000 grit, finishing with a plastic polish compound. For attaching the hardware, source high-quality findings from reputable suppliers like Rio Grande jewelry findings to ensure the metal alloys are authentic and skin-safe. Apply a micro-drop of E6000 adhesive to the 6mm flat pad of your 20-gauge titanium earring post. Press the post firmly into the center-back of the resin cabochon. Wipe away any squeeze-out immediately with a cotton swab dipped in isopropyl alcohol. Allow the E6000 to cure for a full 24 hours in a well-ventilated area before wearing or packaging.
Troubleshooting Common Resin Flaws
Even experienced jewelers encounter anomalies. Here is a diagnostic matrix for common issues when crafting resin flower earrings:
- Sticky, Uncured Patches: This is almost always caused by inaccurate measuring or insufficient scraping of the mixing cup. The unmixed resin remains liquid. You must sand off the sticky layer and re-pour.
- Yellowing Over Time: All epoxy resins will eventually yellow when exposed to UV light. To delay this, ensure your resin contains HALS (Hindered Amine Light Stabilizers) and UV absorbers. Store finished earrings in dark jewelry boxes.
- Flower Fading or Turning Translucent: The botanical was not sealed properly, or it retained internal moisture. The resin has penetrated the petal. Always use the acrylic spray barrier method.
- Earring Post Snapping Off: The cabochon surface was too smooth for the glue to grip. Lightly scuff the back of the resin with 220-grit sandpaper before applying E6000 to create mechanical teeth for the adhesive.
Final Thoughts on Sustainable Crafting
Making resin flower earrings is a deeply rewarding process that allows you to capture fleeting moments of natural beauty in a permanent, wearable format. By respecting the chemical requirements of the resin, meticulously preparing your botanicals, and selecting hypoallergenic, properly gauged hardware, you elevate your craft from amateur DIY to professional jewelry design. As you refine your technique, experiment with embedding microscopic flakes of gold leaf or using specialized tinted resins to create depth and shadow behind your floral subjects.


