How to Remove the Plastic Circle From Earrings Safely
Learn how to remove the plastic circle from earrings safely. Expert troubleshooting for stuck silicone backs, swollen lobes, and product buildup.

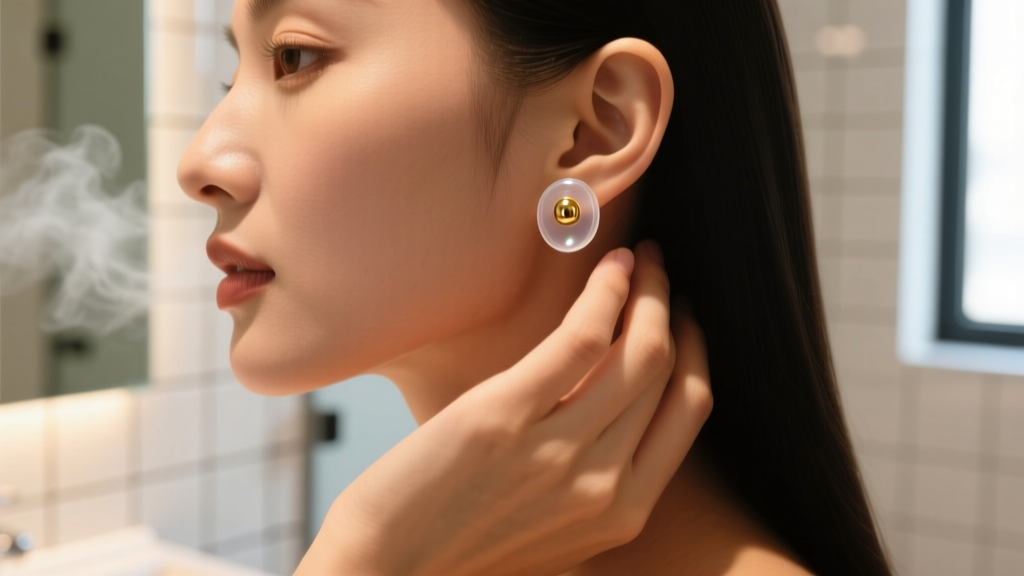
The Anatomy of a Stuck Earring Back
When you search for how to remove the plastic circle from earrings, you are usually dealing with one of three specific jewelry components: a silicone friction push-back, a clear thermoplastic elastomer (TPE) spacer disc, or a silicone O-ring used for stretched lobes. While these components are designed to secure your jewelry, they frequently become stubbornly lodged due to a combination of biological factors, material science, and improper gauge sizing.
As a domain expert in jewelry troubleshooting, I can tell you that forcefully yanking a stuck plastic back is the fastest way to cause micro-tears in the fistula (the piercing channel), leading to contact dermatitis, localized infections, or hypertrophic scarring. To safely extract the backing, we must first understand the physics and chemistry of why it became stuck in the first place.
Why Plastic and Silicone Circles Get Stuck
The Biofilm Buildup Factor
The primary culprit behind a seized earring back is a microscopic biofilm. Throughout the day, your earlobes secrete sebum (natural lipids) and shed desquamated corneocytes (dead skin cells). When these mix with hard water minerals (calcium carbonate) from showering and polymers from hair care products, they form a cement-like residue in the tiny crevices of the plastic backing. Over a few weeks, this biofilm cures, effectively gluing the silicone or plastic to the metal post.
Gauge Mismatches and Radial Pressure
Standard fashion earrings typically feature 20-gauge (0.81mm) or 18-gauge (1.02mm) posts. However, if you are using a professional body jewelry post—often 16-gauge (1.29mm) or 14-gauge (1.63mm)—and forcing it through a standard 20-g silicone push-back, you create immense radial pressure. The elastomer stretches beyond its yield point, gripping the metal post with extreme friction while simultaneously restricting blood flow to the earlobe, causing reactive swelling that traps the backing further.
The Vacuum Seal Effect
Silicone is highly non-porous and flexible. When pushed tightly against the skin, it can create a partial vacuum seal. Pulling directly outward on the backing only tightens this seal and pinches the tissue, making removal exponentially more difficult and painful.
Step-by-Step: How to Remove the Plastic Circle From Earrings
Follow these expert-approved methods in sequential order. Do not skip to tool-assisted extraction until you have attempted the lubrication and thermal techniques.
Method 1: The Lubrication and Friction Technique (Best for Buildup)
This method breaks down the lipid-based biofilm without degrading the silicone.
- Step 1: Wash your hands thoroughly with antibacterial soap.
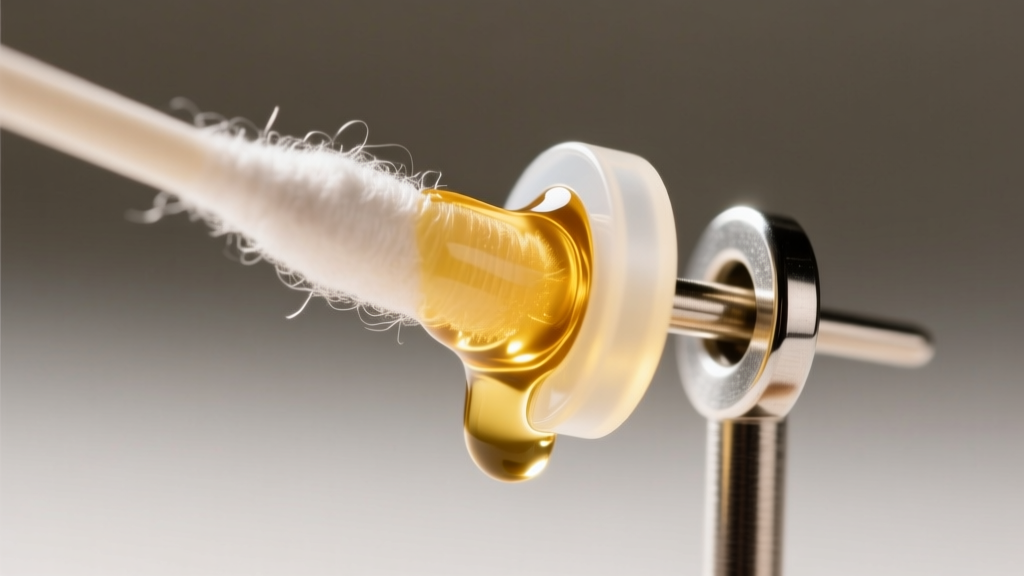
- Step 2: Apply a generous drop of pure jojoba oil, vitamin E oil, or sterile saline solution directly to the junction where the metal post meets the plastic circle. Avoid harsh chemical solvents or rubbing alcohol, which can dry out and shrink the silicone, tightening its grip.
- Step 3: Allow the oil to penetrate for 3 to 5 minutes. Gently massage the earlobe to encourage the oil to seep into the micro-gaps.
- Step 4: Put on a pair of textured nitrile gloves. Bare fingers lack the friction coefficient needed to grip smooth, oiled silicone. The nitrile will grip the plastic circle firmly.
- Step 5: Employ the "Push-Pull" mechanic. With your non-dominant hand, gently push the earring post forward from the front of the earlobe. With your dominant hand, twist and pull the plastic back outward. Pushing the post relieves tension on the swollen tissue and breaks the vacuum seal.
Method 2: The Warm Compress (Best for Swollen Lobes)
If your earlobe is red, warm, and swollen, the tissue has expanded around the backing.
- Step 1: Soak a clean gauze pad in warm (not hot) sterile saline.
- Step 2: Hold the compress against the back of the earlobe for 5 minutes. The warmth promotes localized vasodilation, reducing the reactive edema (swelling) and softening any hardened sebum.
- Step 3: Use the nitrile glove twist-and-pull method outlined above.
Method 3: Tool-Assisted Extraction (For Stubborn Cases)
If the plastic circle is completely seized, you may need mechanical leverage. According to guidelines from the Association of Professional Piercers (APP), using improper tools can crush jewelry or traumatize the fistula.
- The Hemostat Method: Use a pair of curved, locking hemostats (forceps). Critical Warning: You must pad the metal jaws of the hemostat with a small piece of silicone tubing or medical tape to prevent crushing the plastic backing or scratching the metal post.
- Lock and Twist: Clamp the padded hemostat gently onto the plastic circle. Lock it in place. Hold the earring post steady from the front, and slowly rotate the hemostat to break the biofilm seal, then slide it off.
"Never use standard metal pliers from a household toolbox. The serrated teeth will instantly destroy the plastic backing, slip, and cause severe lacerations to the delicate earlobe tissue. Always use padded, medical-grade locking forceps."
Troubleshooting Chart: Diagnosis & Solutions
Use this diagnostic matrix to identify your specific issue and apply the correct targeted solution.
| Symptom / Observation | Probable Cause | Targeted Solution |
|---|---|---|
| White/yellow crust around the post base | Sebum and hard water biofilm | Jojoba oil soak for 5 mins + Nitrile glove grip |
| Earlobe is red, hot, and throbbing | Reactive edema (swelling) / Infection | Warm saline compress; seek a dermatologist if pus is present |
| Post is bent; back won't slide past the kink | Trauma from sleeping in earrings | Use hemostats to hold the back while gently straightening the post |
| Plastic back is stretched and torn | Gauge mismatch (16G post in 20G back) | Cut the silicone back off with sterile cuticle scissors; upgrade to 16G O-rings |
Preventative Care: Upgrading Your Earring Backs
The most effective way to solve the problem of a stuck plastic circle is to eliminate it entirely. Standard silicone and TPE push-backs are mass-produced, porous, and prone to trapping bacteria. The American Academy of Dermatology (AAD) recommends keeping piercing sites clean and free of trapping mechanisms to prevent contact dermatitis and localized infections.
Superior Alternatives to Plastic Circles
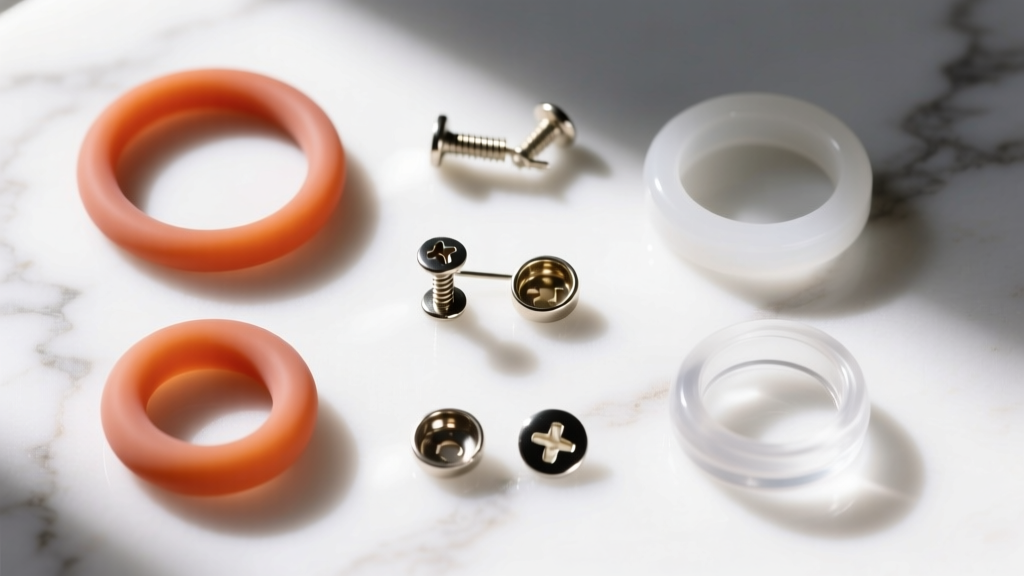
- 14k Gold or Titanium Screw Backs: These feature threaded posts that screw securely into the backing. They cannot be pulled off accidentally, they do not create a vacuum seal, and they are entirely impervious to biofilm buildup. Pricing ranges from $25 to $60 per pair.
- Silicone O-Rings (for thicker gauges): If you wear 16G, 14G, or stretched lobe jewelry, discard flat plastic discs. Use medical-grade silicone O-rings. Because they are circular and lack a solid back plate, they can easily be "rolled" off the post using your thumb, bypassing the friction trap entirely.
- Locking Lever Backs or Laconic Clutches: These mechanical metal backs use a tiny internal spring or lever to lock onto the post groove. They offer the security of a tight fit without the radial squeezing pressure of elastomers.
When to See a Professional Piercer or Doctor
While most stuck earring backs can be resolved at home with patience and lubrication, there are scenarios where you must seek professional help. If the earlobe is severely swollen and the metal post is completely embedded (swallowed) by the tissue, do not attempt to dig it out. Visit a reputable professional piercer who can use a sterile taper to gently push the post through the swelling, or consult a physician for a minor in-office extraction.
Furthermore, if you notice persistent redness, heat, or foul-smelling discharge after removing a stuck backing, you may have developed a localized staph infection. In these cases, the American Academy of Dermatology advises immediate consultation with a healthcare provider for topical or oral antibiotics. By understanding the mechanics of your jewelry and maintaining a strict hygiene routine, you can ensure your earrings remain secure, comfortable, and easy to remove.


